Search Our Database
Provision Linux VM in Proxmox
Introduction
Provisioning a Linux Virtual Machine (VM) in Proxmox Virtual Environment (VE) is a core task for IT teams needing to deploy flexible, secure server infrastructure. Whether you are launching new applications, scaling existing services, or building isolated testing environments, Proxmox allows you to efficiently maximize your underlying hardware. Through the intuitive Proxmox web interface, this guide will show you how to allocate virtual resources—such as CPU, memory, and storage—attach a Linux installation ISO, and configure the operating system. Ultimately, these steps ensure your virtualized workloads are built for optimal performance and easy management.
Prerequisite
- Access to Proxmox VE with privilege to provision new VM
- Linux distro ISO has uploaded to the Proxmox VE
- Basic understanding of Proxmox VE
Step-by-step guide
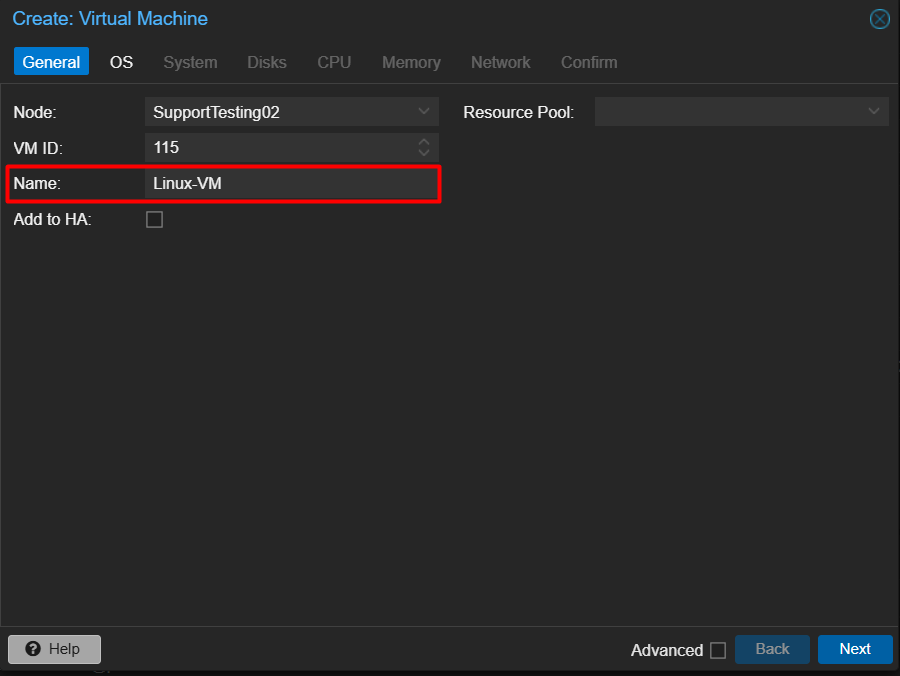
Step 1: Create a new VM
- Enter the VM Name.
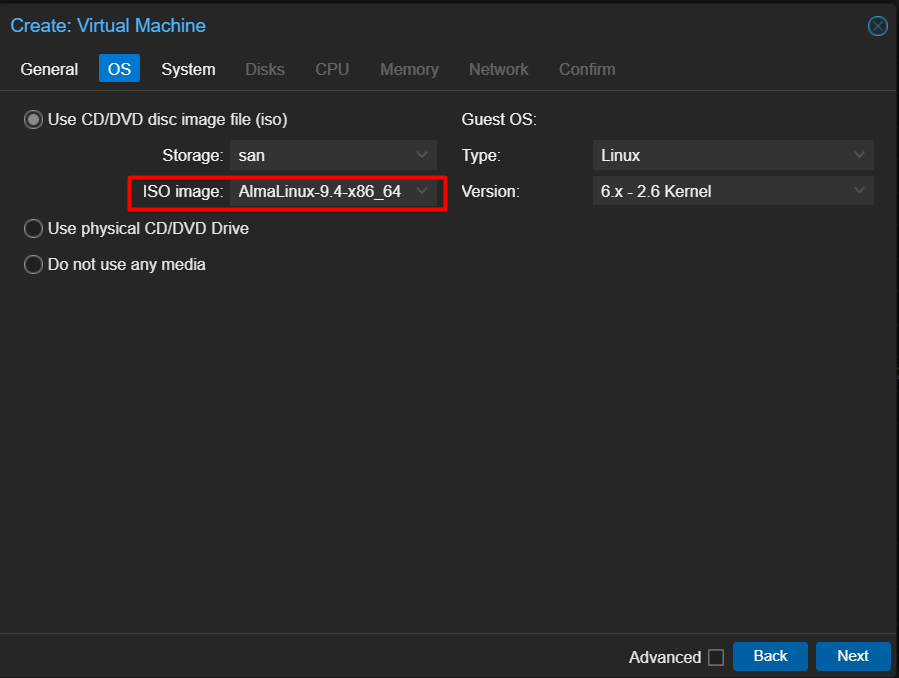
- Select the ISO Image of your choice. In this case will be AmalLinux-9.4-x86_64.
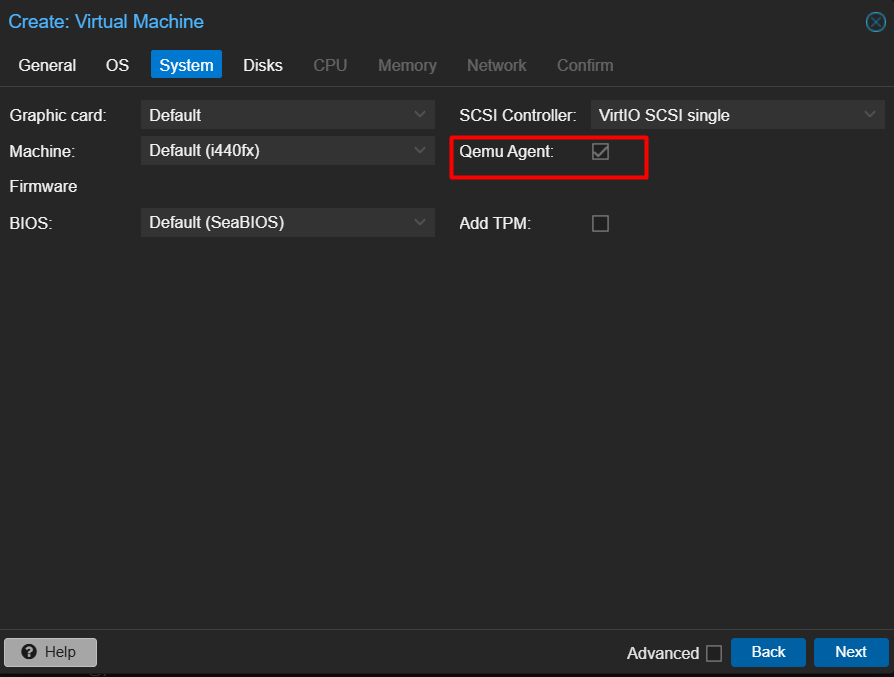
- [Optional] Tick the Qemu Agent option below.
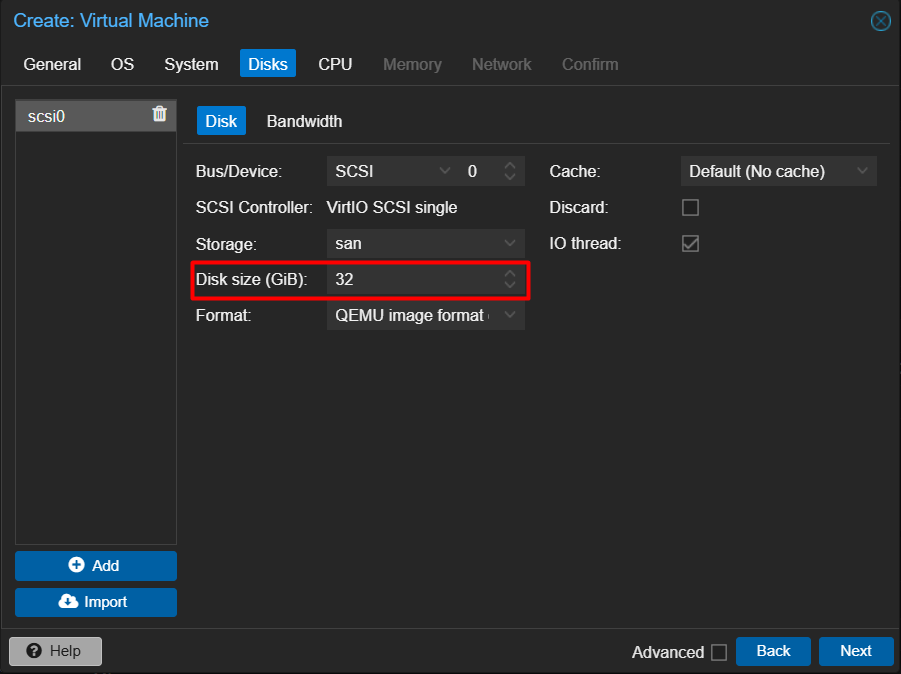
- Enter the VM disk size.
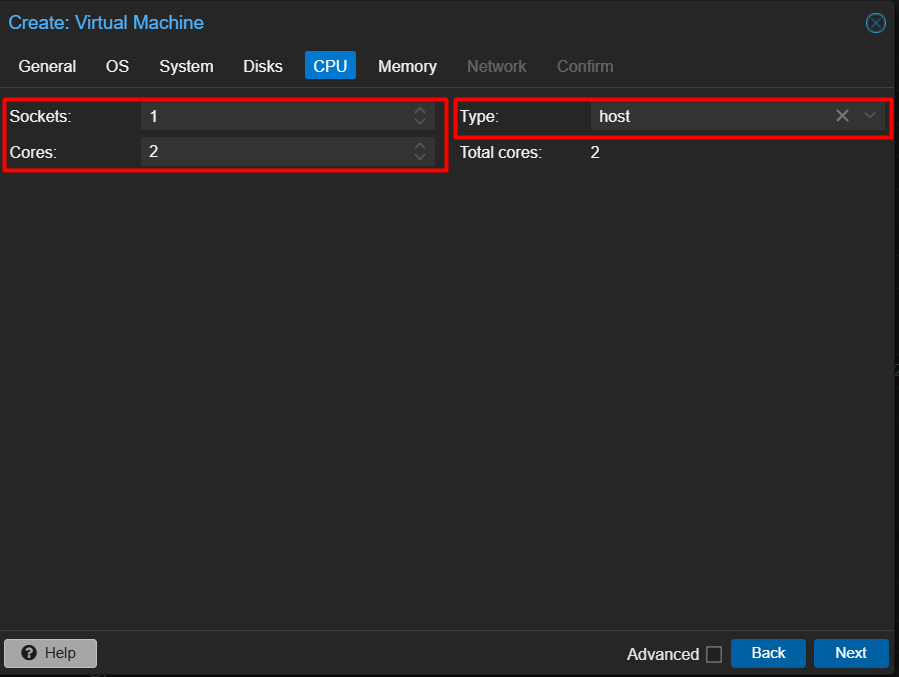
- Enter the Cores you wish to assign to the VM, and select host as the type.
**Using host as CPU type is for better performance but not ideal for HA setup. If you are required to have HA setup, you may use the type that matched with your host CPU, Intel or AMD.
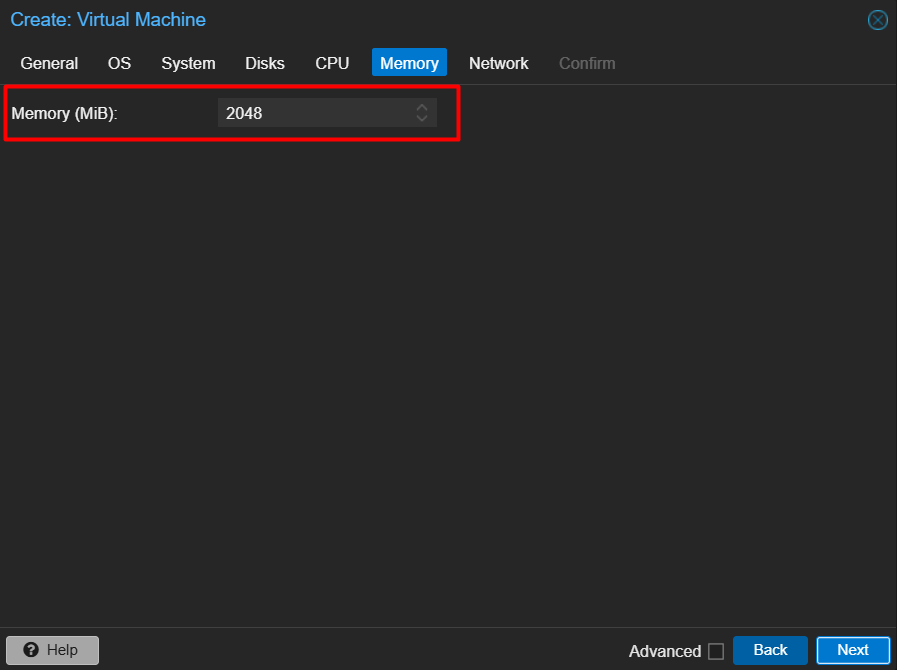
- Enter the Memory that you wish to assign.
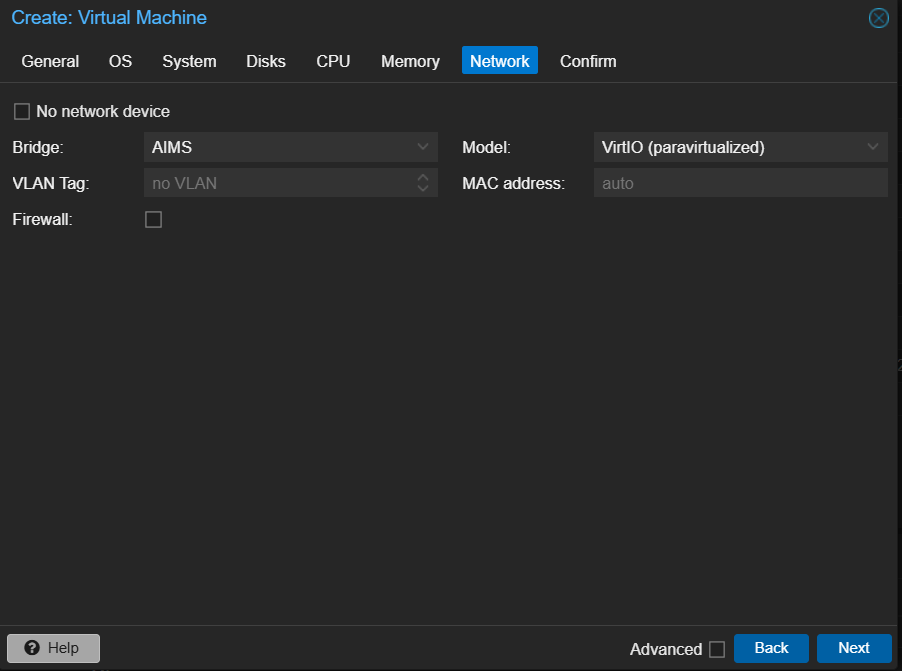
- You may click Next to use the default Network Configuration, or you may enter your own preferred setup.
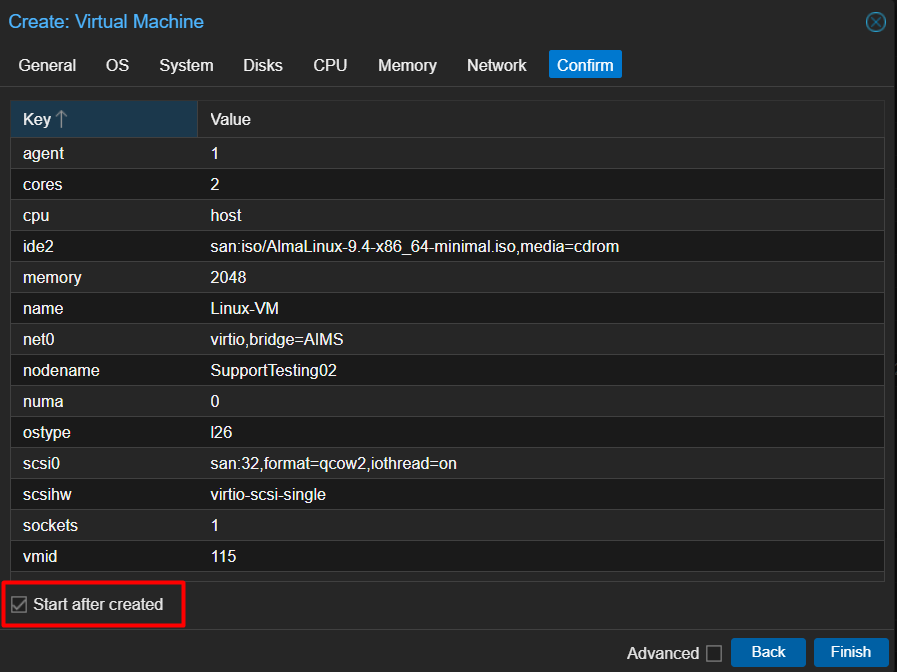
- Tick the Start after created and click on Finish to confirm the VM setup.
Step 2: Installation of Linux
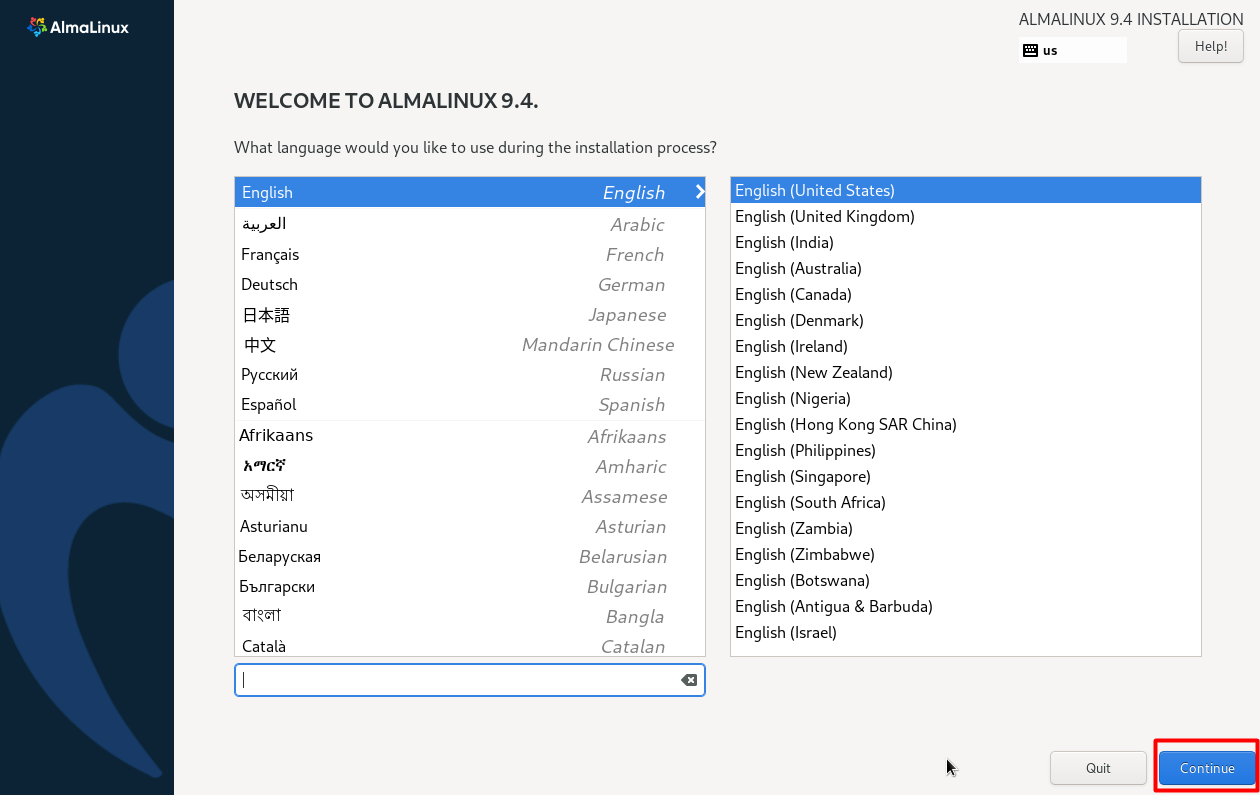
- Select your language and click Continue.
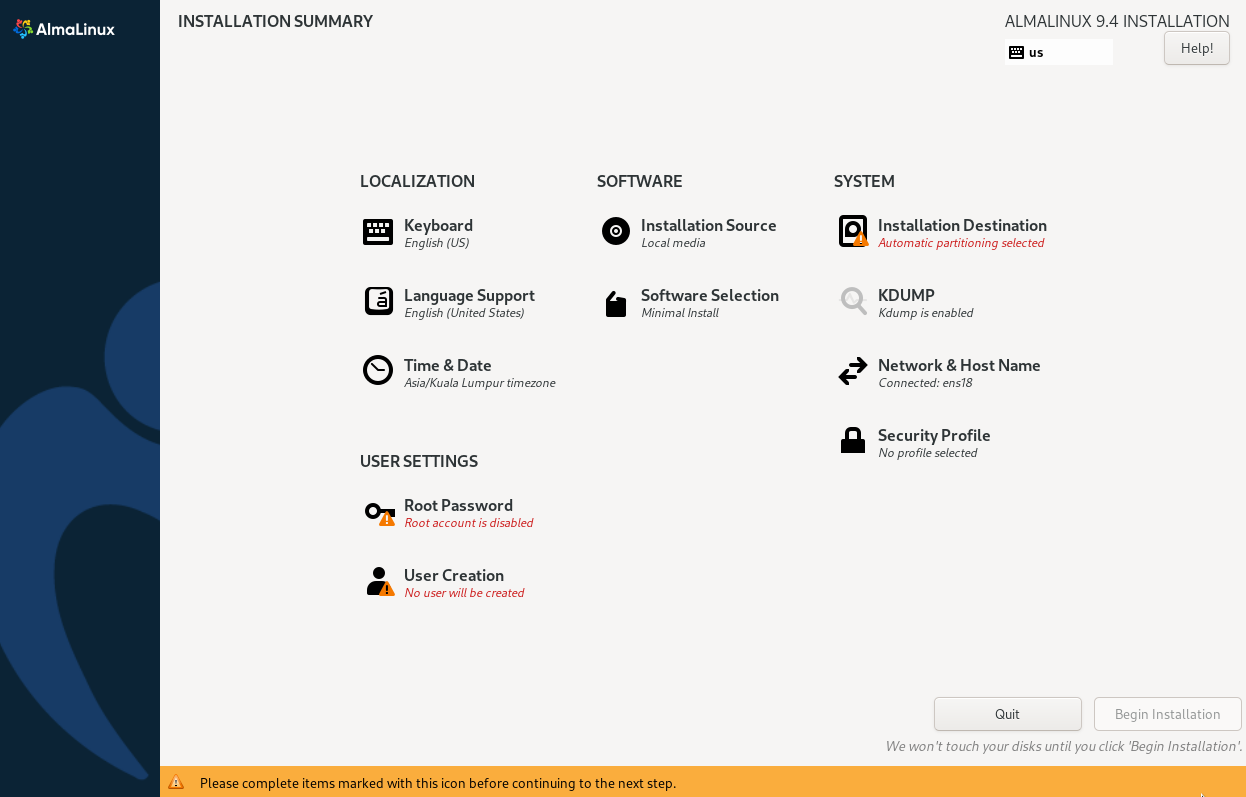
Installation Summary screen:
- The Time & Date option sets the system’s time zone and clock.
- The Installation Destination settings select the target hard drive and partition the storage.
- The Network & Host Name section configures the network connection and creates system name.
- The User Settings configuration allows you to create root or standard user credentials.
Conclusion
By following this guide, you will be able to successfully provision a new Linux VM in Proxmox VE.
For additional assistance or if you encounter any issues, please contact our support team at support@ipserverone.com.