Search Our Database
Provision Linux VM in Proxmox using CloudImage
Introduction
This guide outlines the process of provisioning a Linux virtual machine (VM) in Proxmox VE using a Linux CloudImage and Cloud-Init. It is intended for system administrators and IT users who need to deploy Linux VMs quickly, consistently, and with minimal manual installation steps. This setup is typically used when creating new Linux servers such as Ubuntu, Debian, Rocky Linux, AlmaLinux, or other cloud-image-based distributions within a Proxmox environment. The process is performed mainly through the Proxmox web interface and Proxmox shell, where users download or upload the Linux CloudImage, create a VM, import the CloudImage disk, attach a Cloud-Init drive, and configure settings such as hostname, user credentials, SSH keys, network configuration, and storage. This approach helps speed up VM deployment, standardize Linux server provisioning, and simplify future cloning or template-based deployments in Proxmox.
Prerequisites
- Administrative access to the Proxmox VE web interface
- Basic knowledge of Linux and virtualization concepts
- SSH public key (optional but recommended for secure access)
Step-by-step guide
Step 1: Access to Proxmox SSH
- To access Proxmox via SSH, you may refer to the link below :
- Guide : How to login to Linux Server via SSH
Step 2: Download the Cloud Image
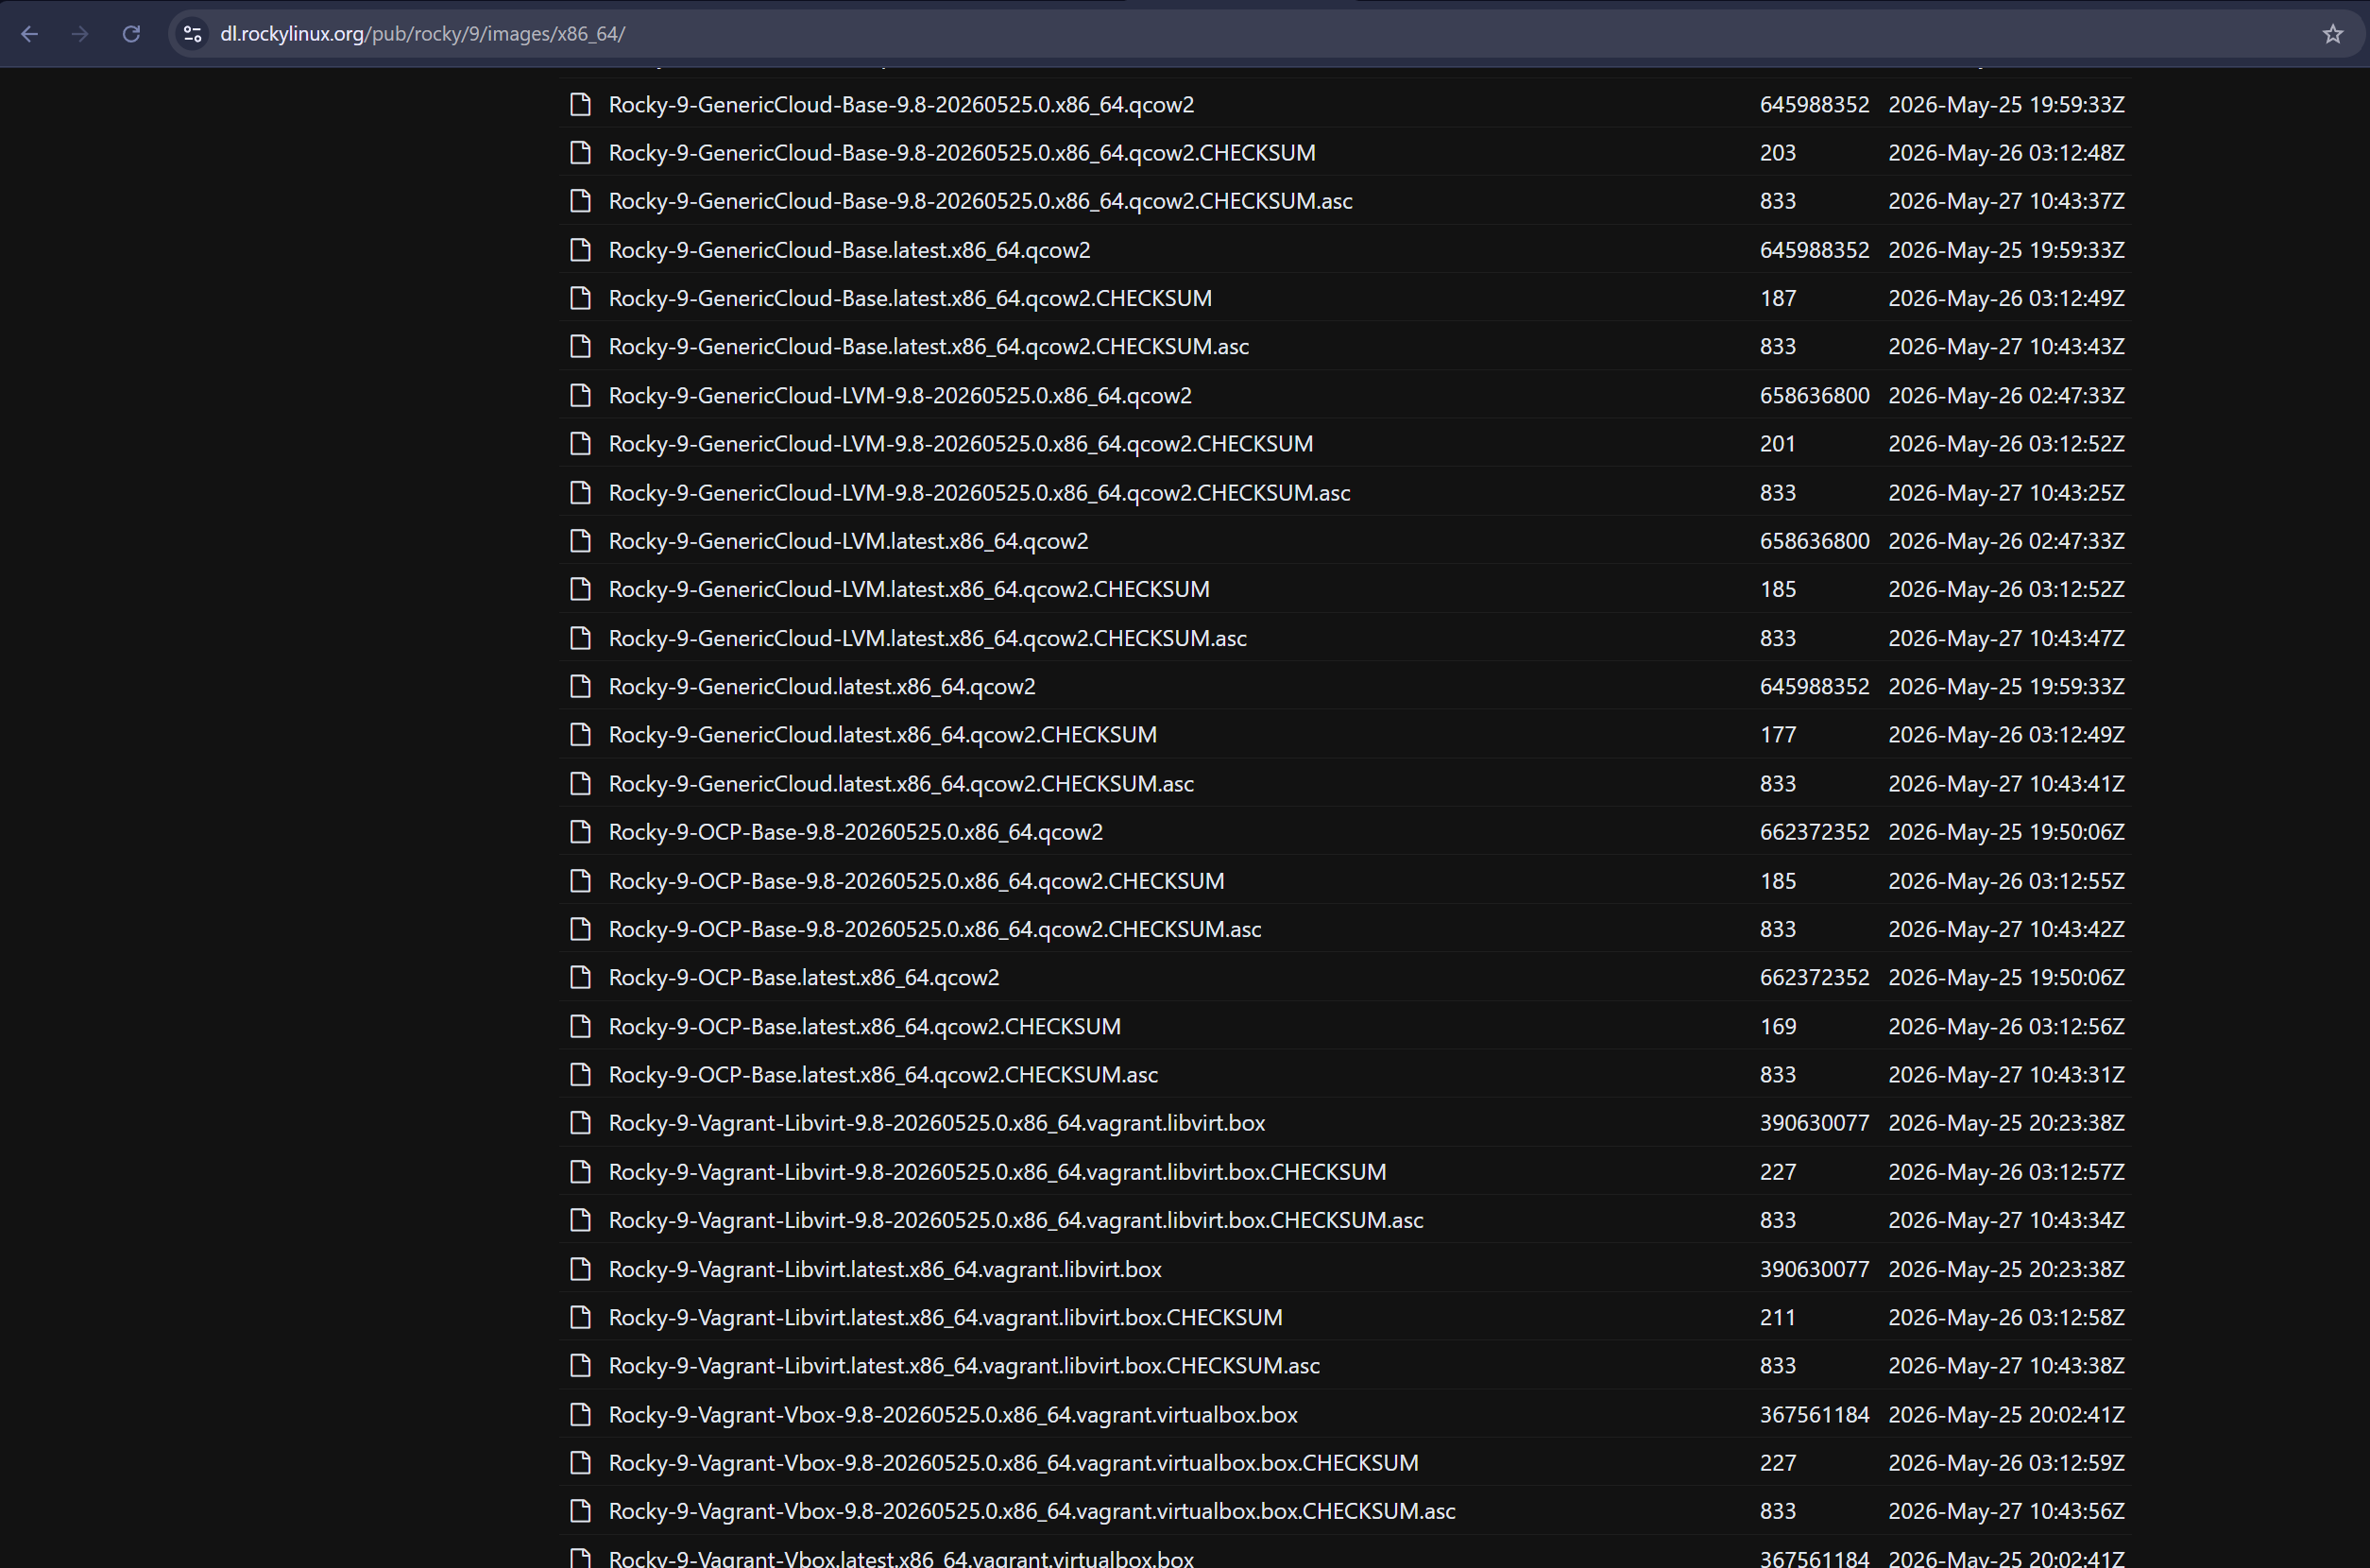
For Rocky Linux, Alma Linux, and Debian
- You can download the specific images required for your need, such as GenericCloud, OCP, or Vagrant that you need. For example :
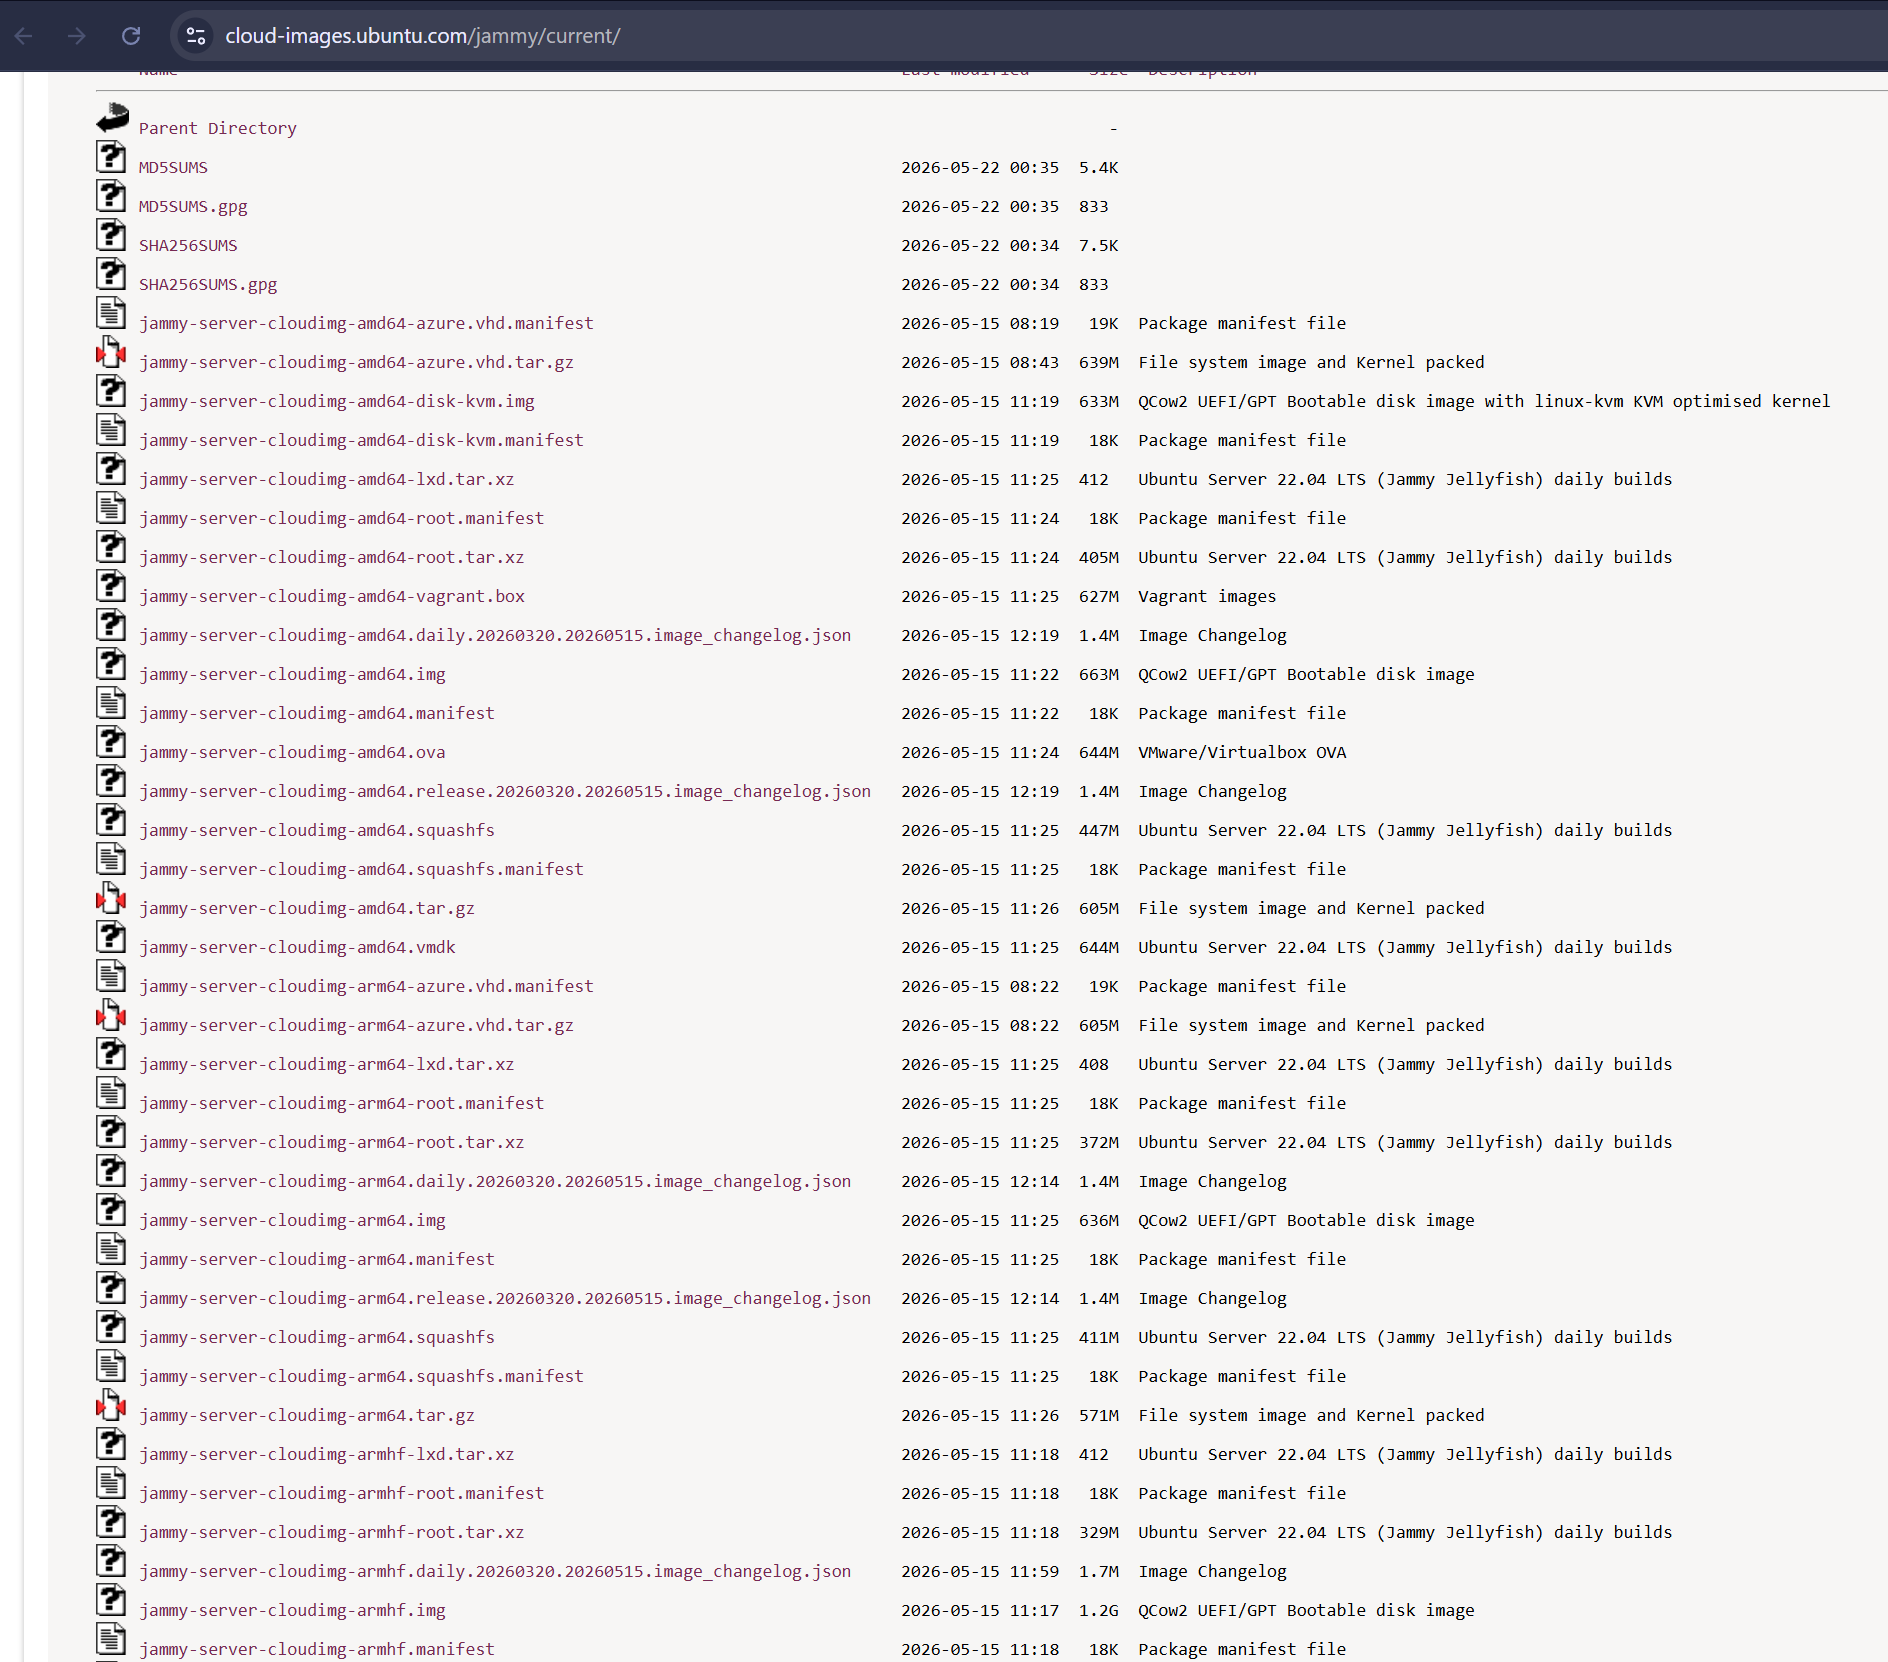
For Ubuntu
- There are various image builds you can choose to download, such as the jammy-server, noble-server or the image that you need. For example :
- For the purpose of this guide, we will be using the Rocky-9-GenericCloud-Base.latest.x86_64.qcow2 cloud image to serve as our example.
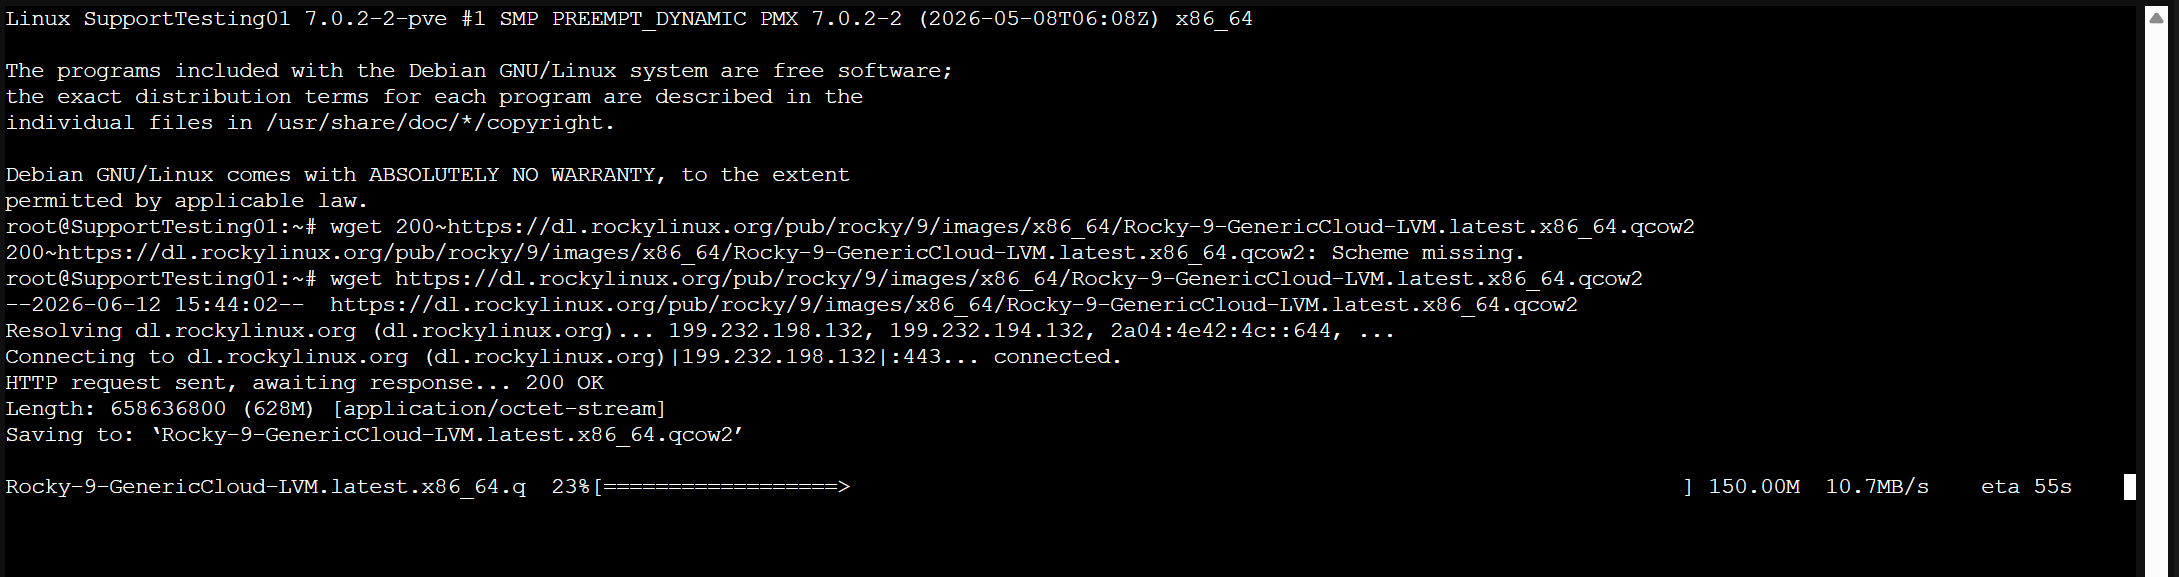
- We will use wget to download the files. If the download speed is running slow, feel free to cancel the process and re-run the command.
Step 3: Start up a new VM
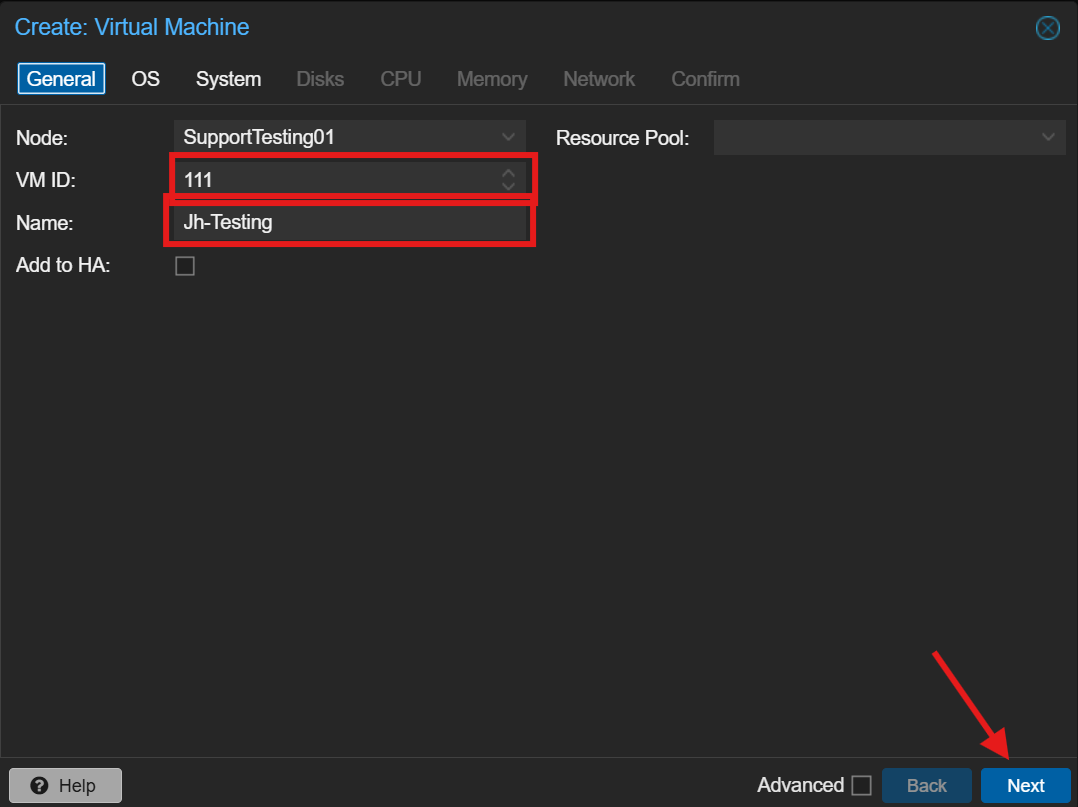
In General
- Enter the VM ID
- Enter the VM Name
- Press Next
In OS
- Select ‘Do not use any media’
- Press Next

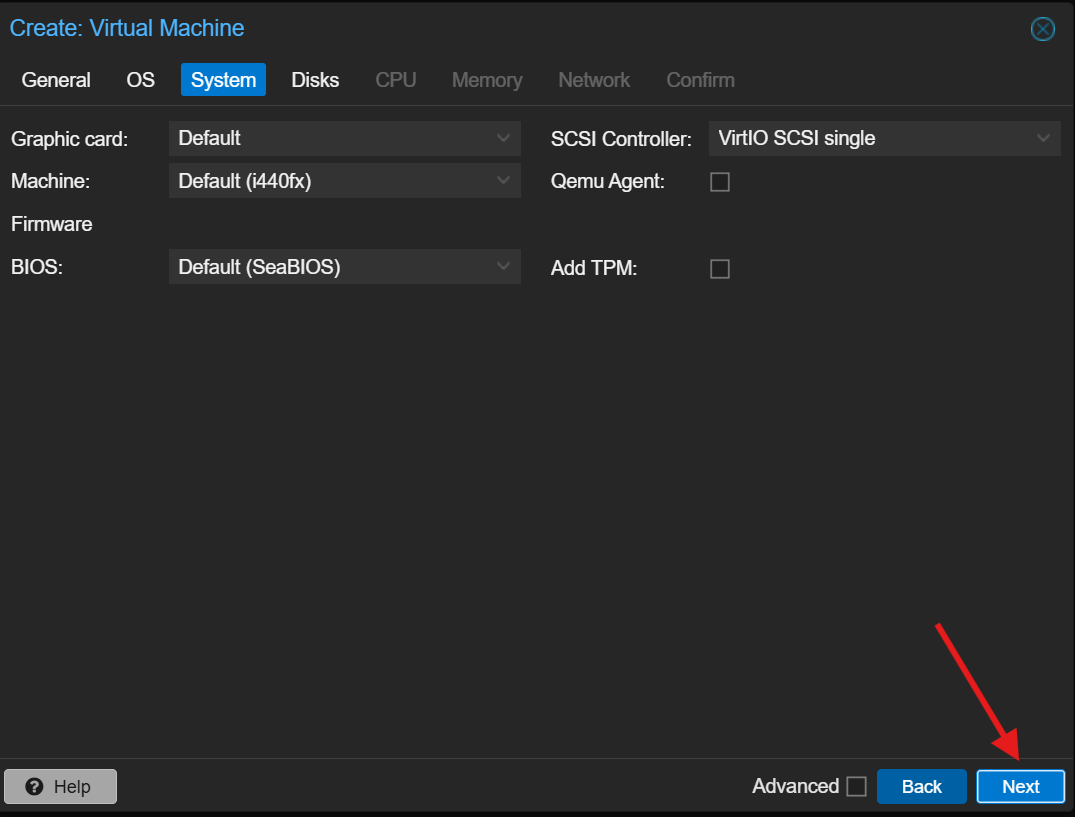
In System
- Can use default settings
- Press Next
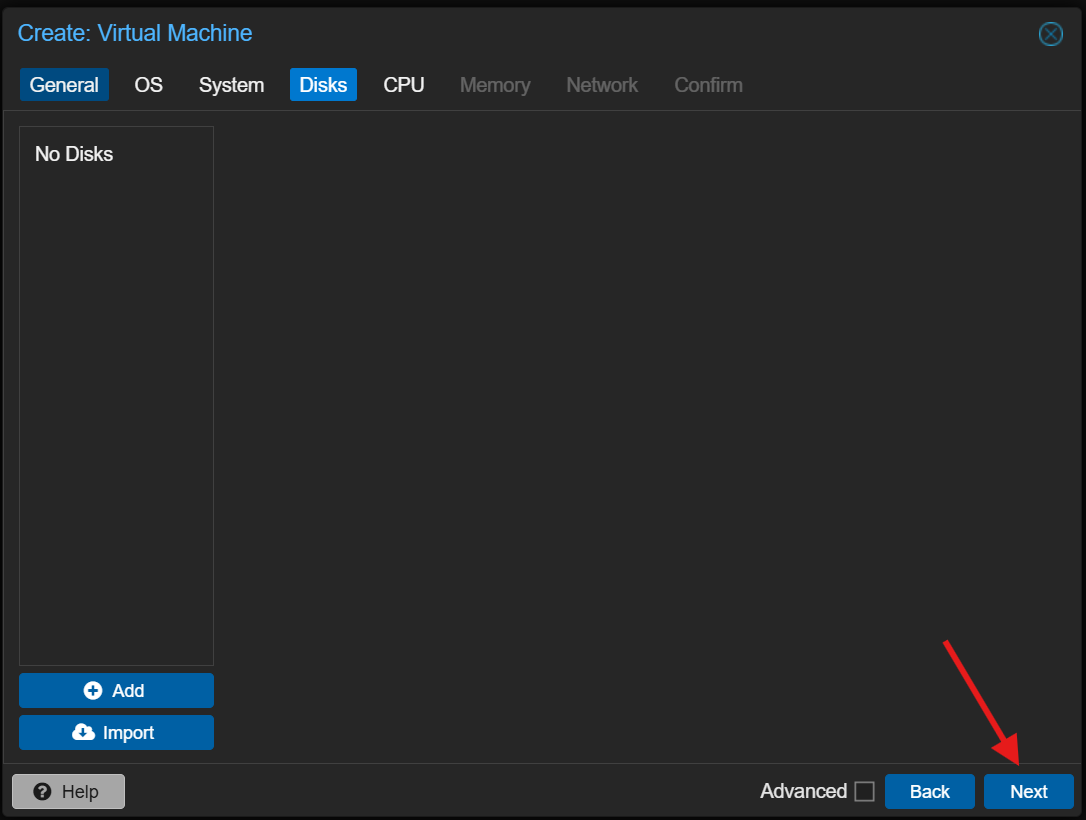
In Disks
- It will have a disk in default
- Click the Trash button to delete the disk
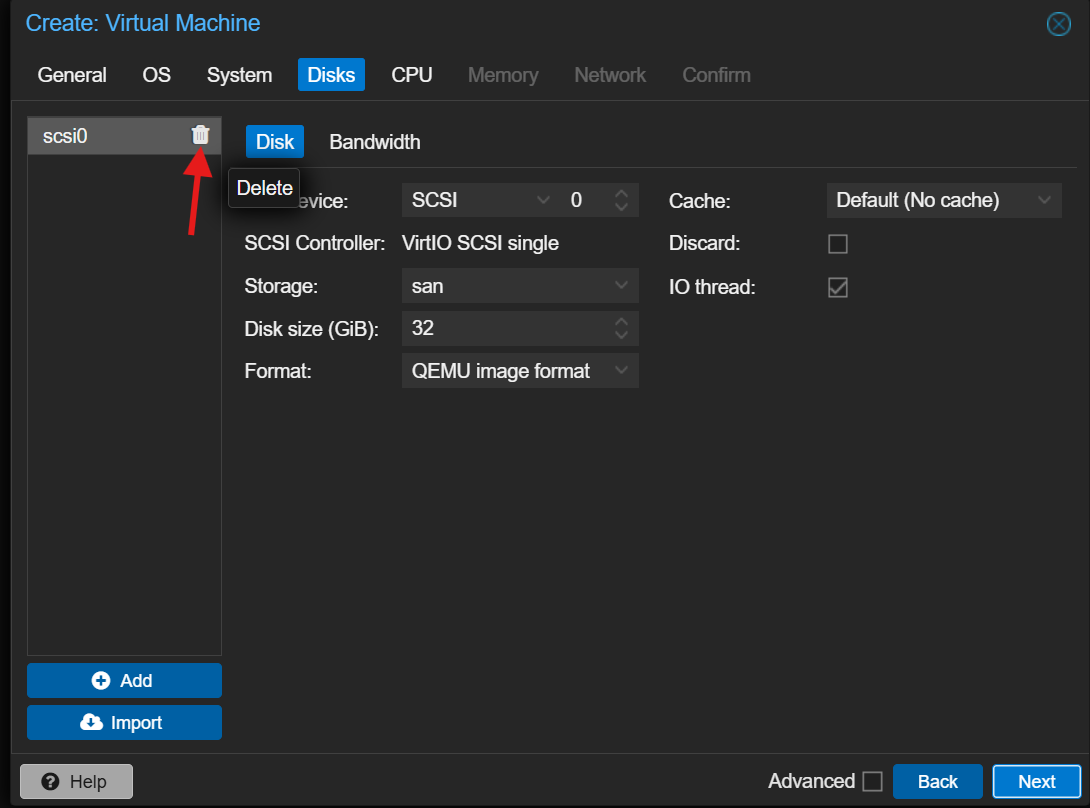
- Press Next
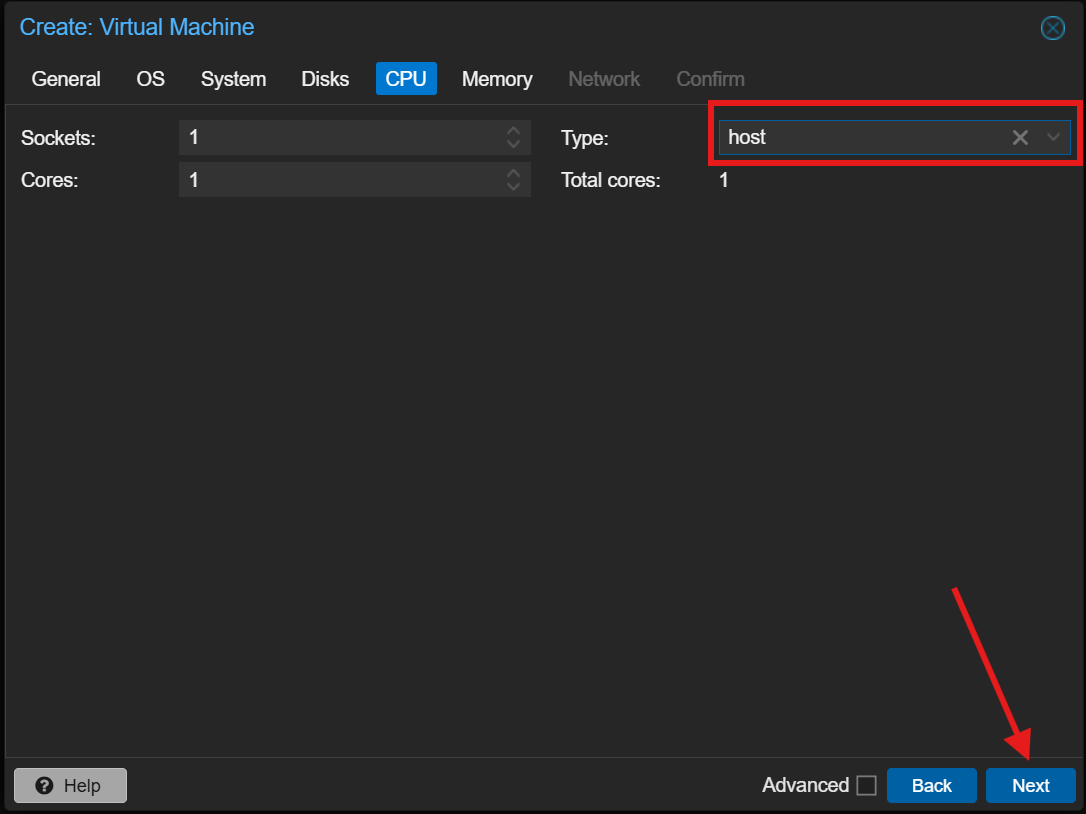
In CPU
-
Depend on the requirements on the cores and set the Type to host.
- Press Next
**Using host as CPU type is for better performance but not ideal for HA setup. If you are required to have HA setup, you may use the type that matched with your host CPU, Intel or AMD.
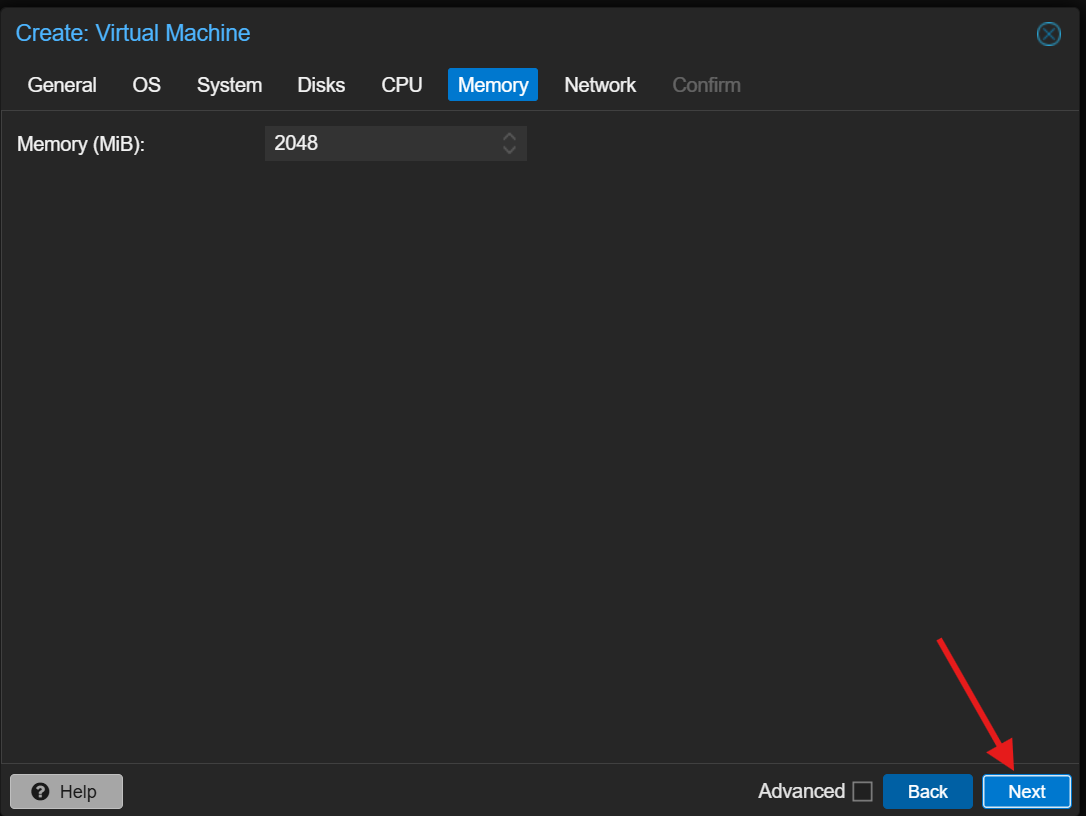
In Memory
-
Depend on the requirements on the memory
- Press Next
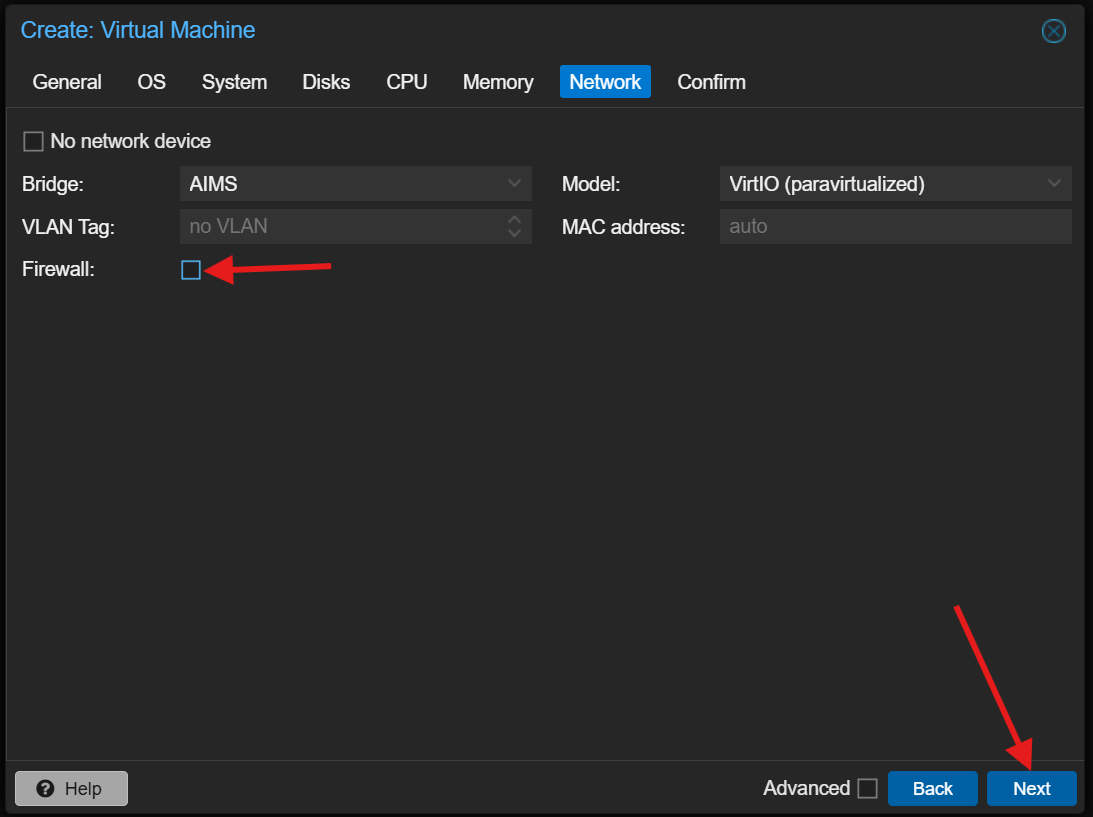
In Network
- The Bridge depends on the host and untick the Firewall
- press Next
In Confirm
- You may check if everything is correctly configure
-
Do not start the VM
-
Click Finish

Step 4: Import the Cloud Image
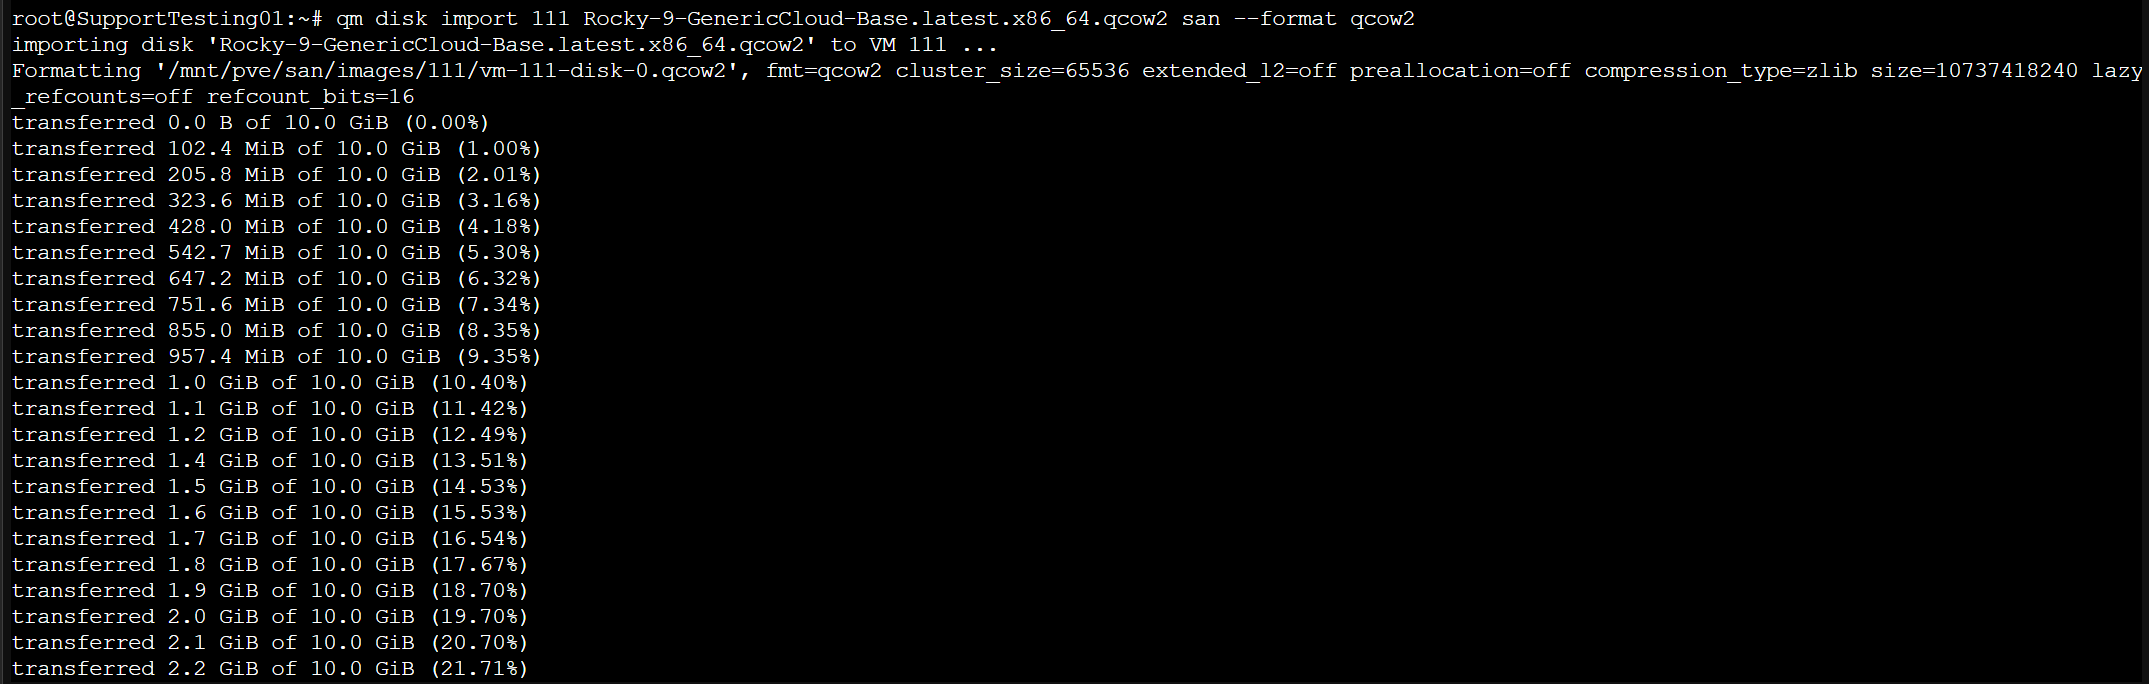
- You need to go into shell and write the code :
qm disk import <VM ID> <Cloud Image> <Destination/SanStorage> --format qcow2
- You may use the tab button to check next command
Step 5 : Add the Cloud Image as DISK and Cloud-Init
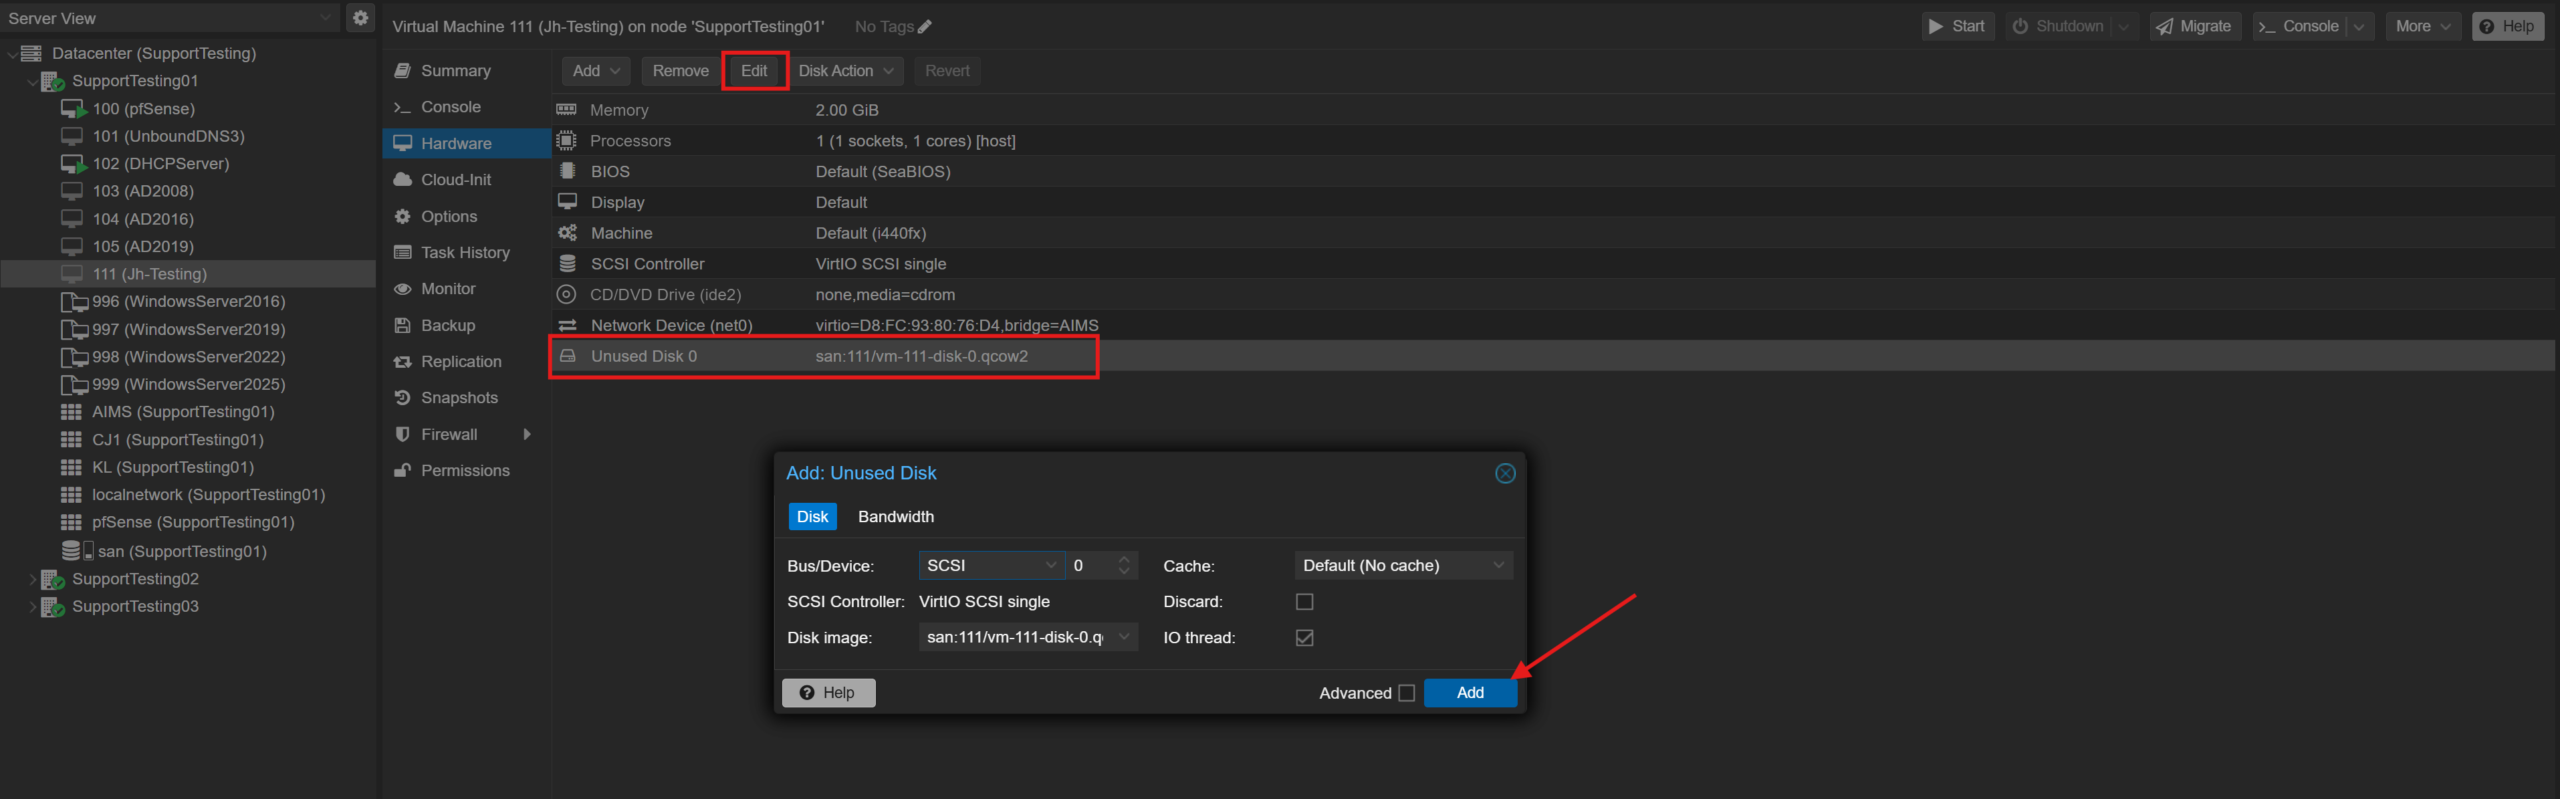
- After import the Cloud Image, you will see an unused disk in the VM settings.
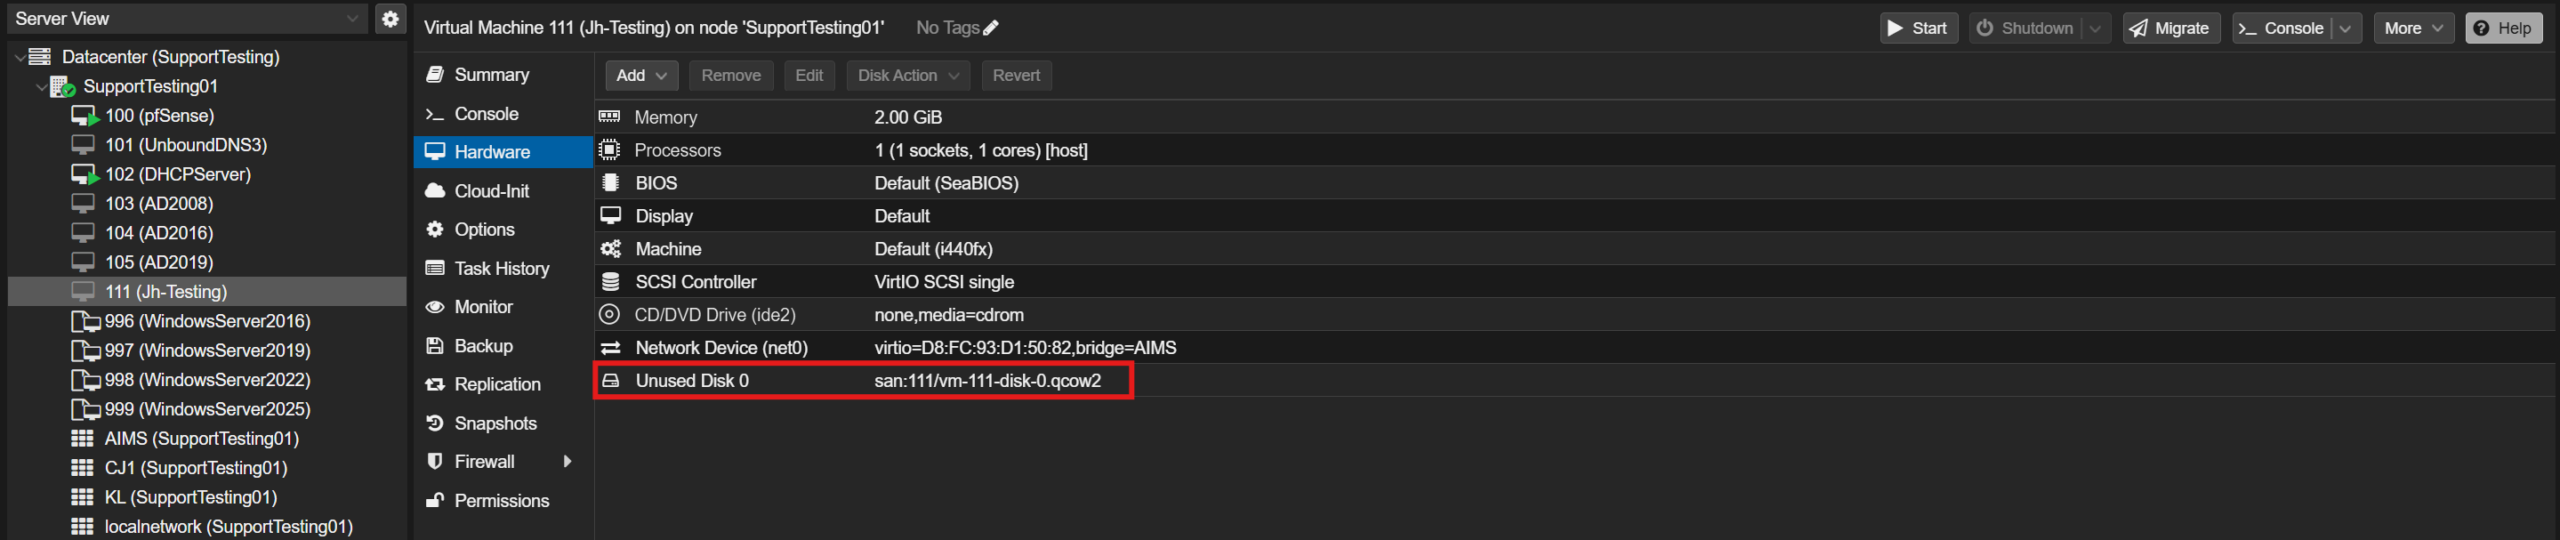
-
Double click or click on the Edit and click on Add
-
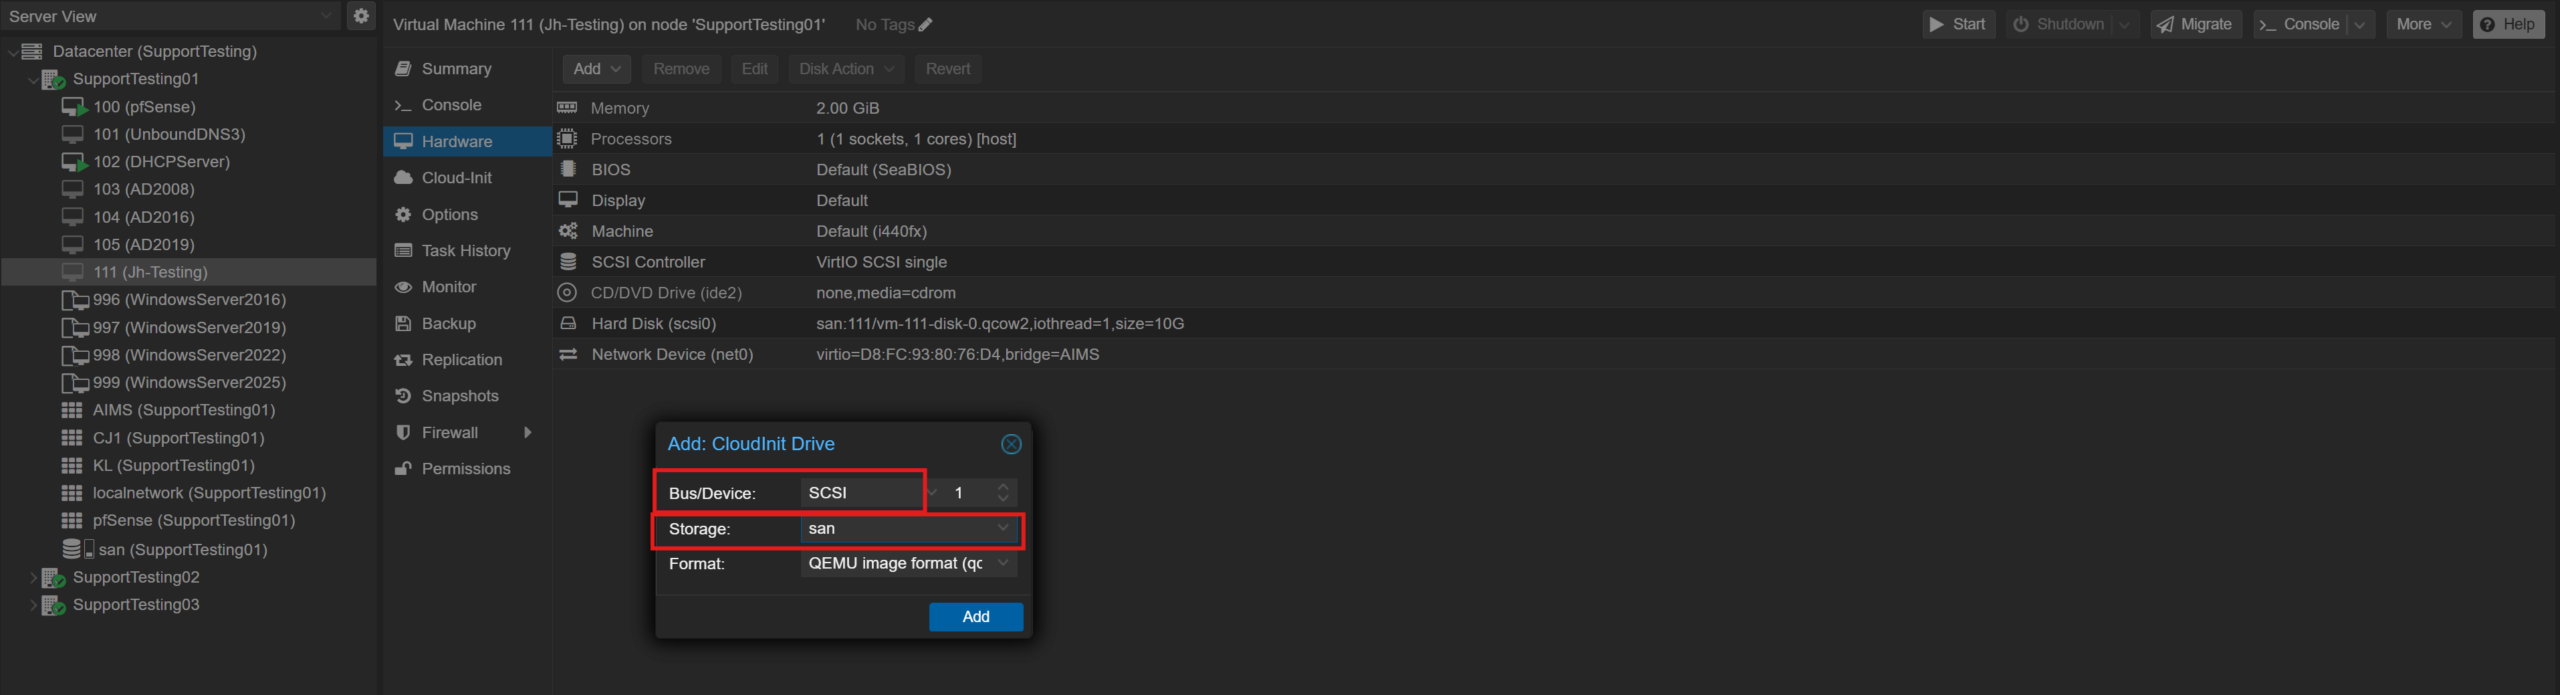
Inside Add, choose CloudInit Drive
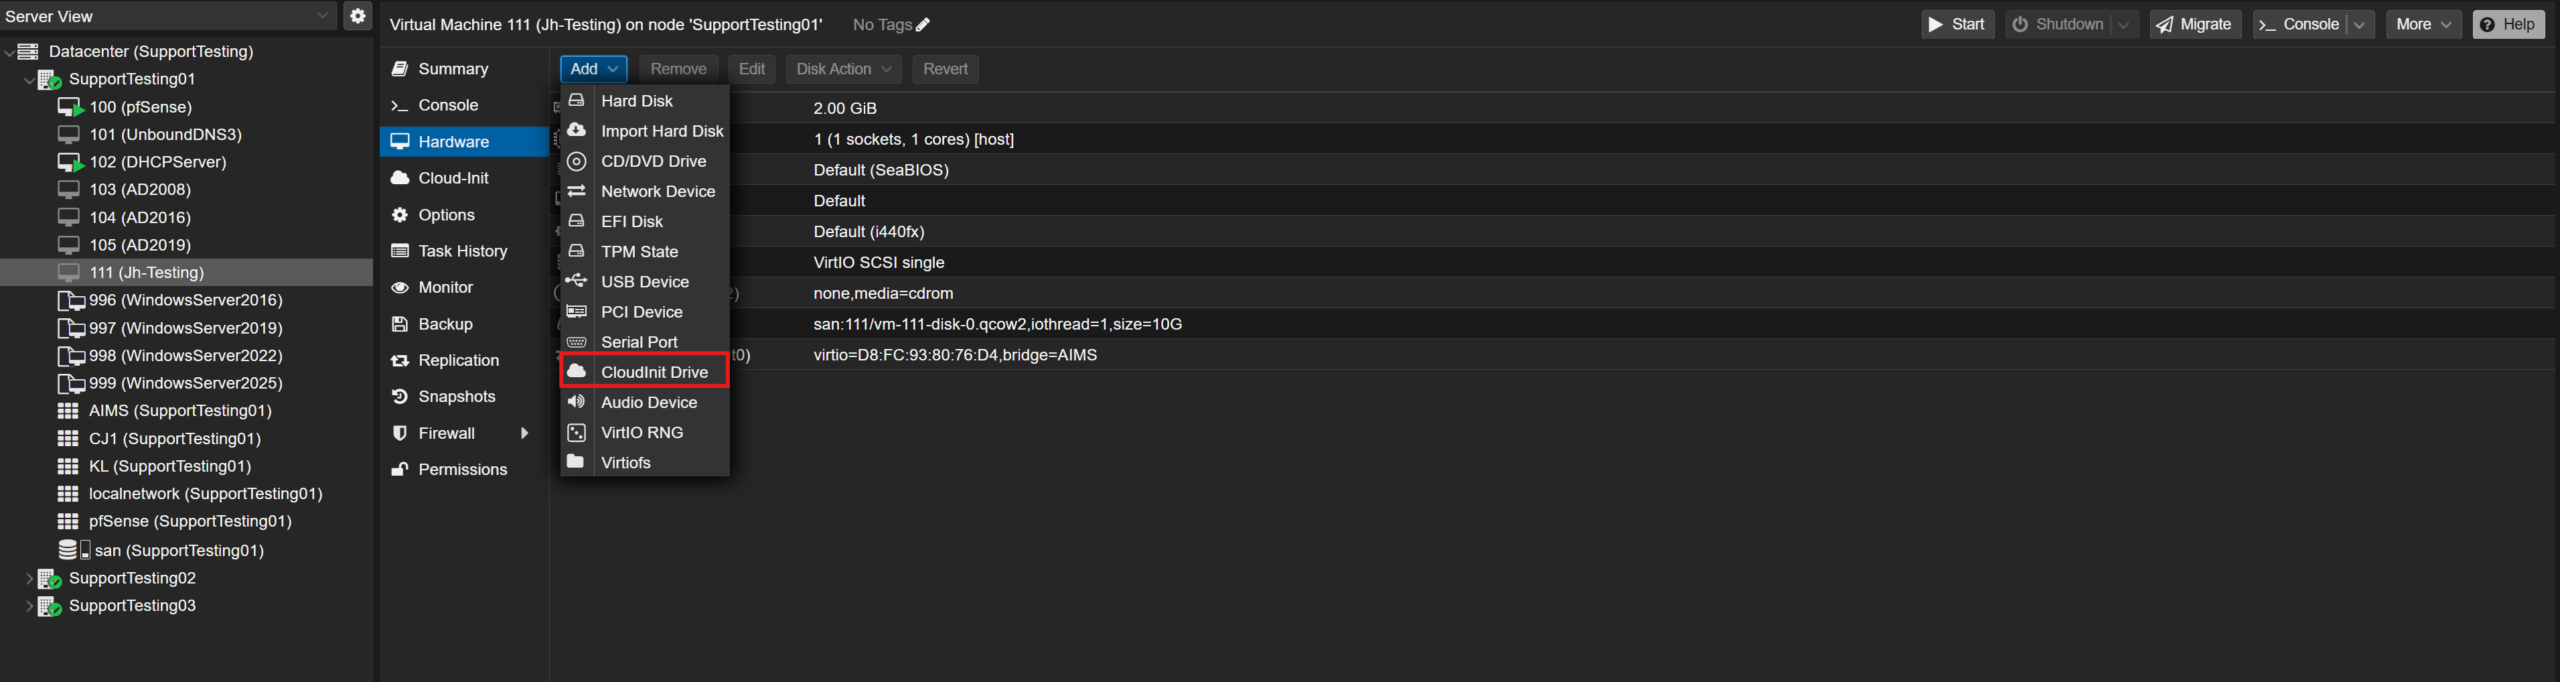
- For Bus, choose SCSI
- For Storage, choose sanstorage
**Storage names vary by environment. Please replace the storage placeholders in the following steps with your actual local storage pool name.
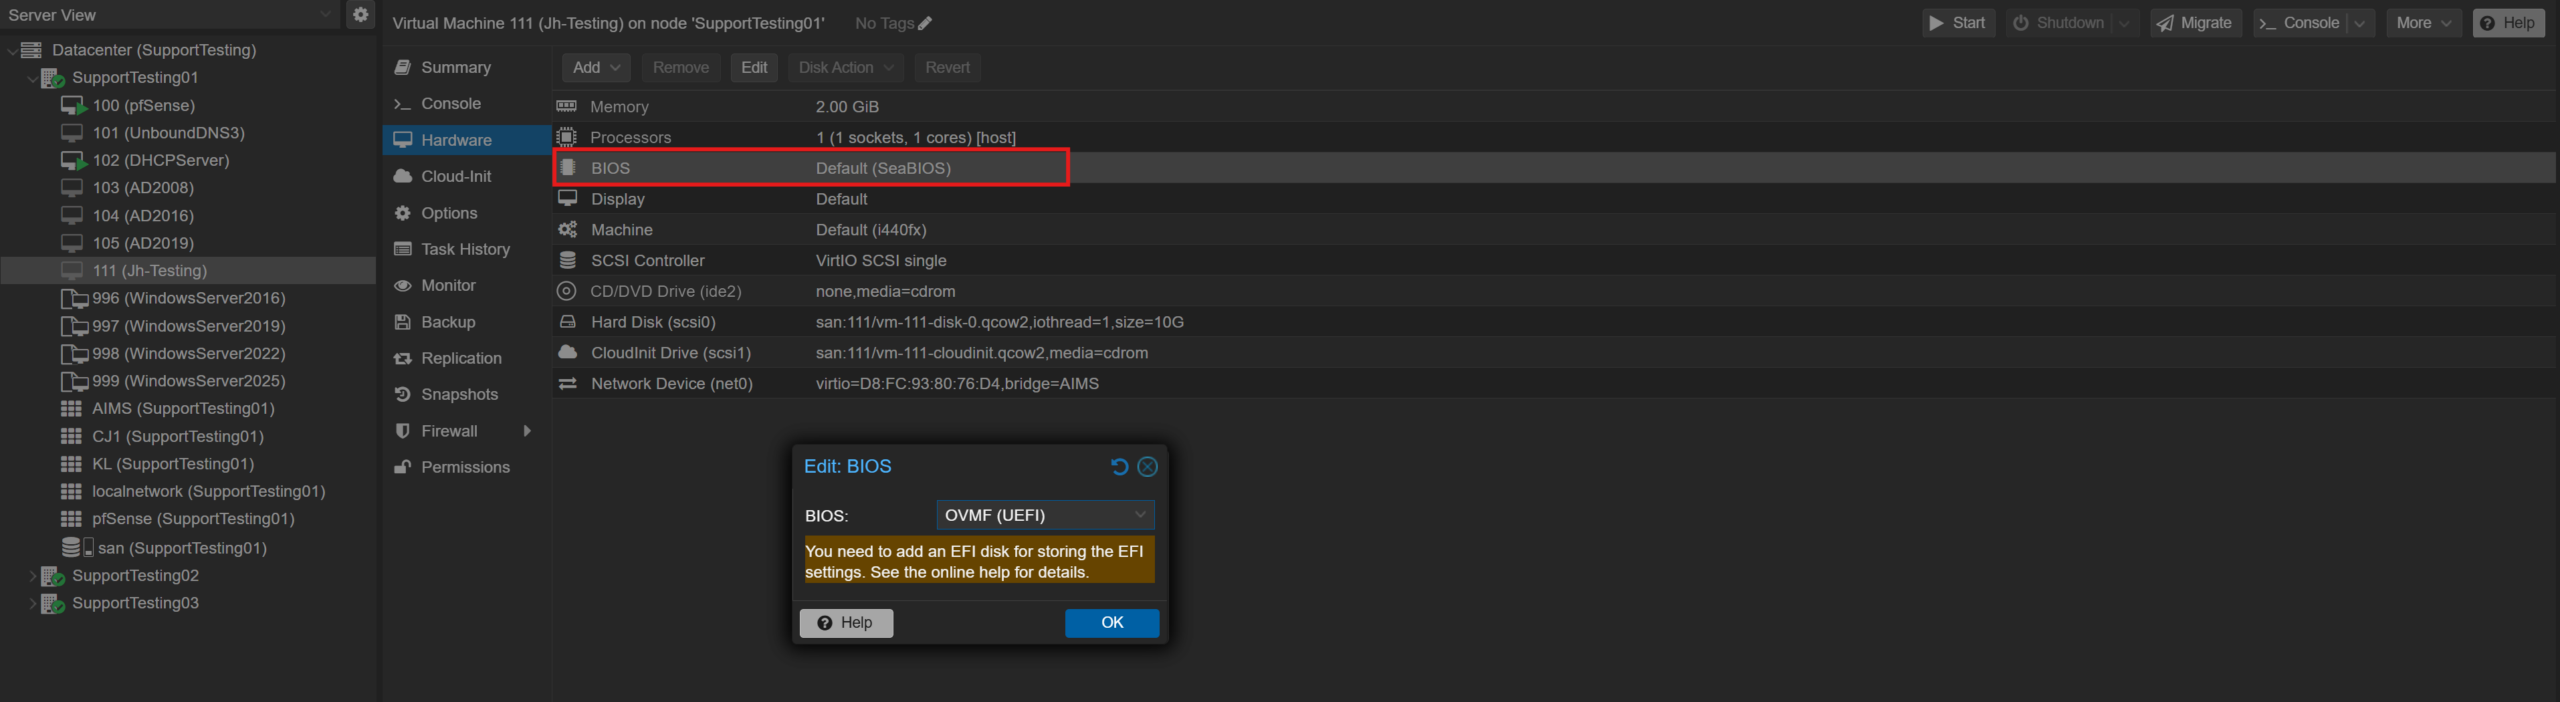
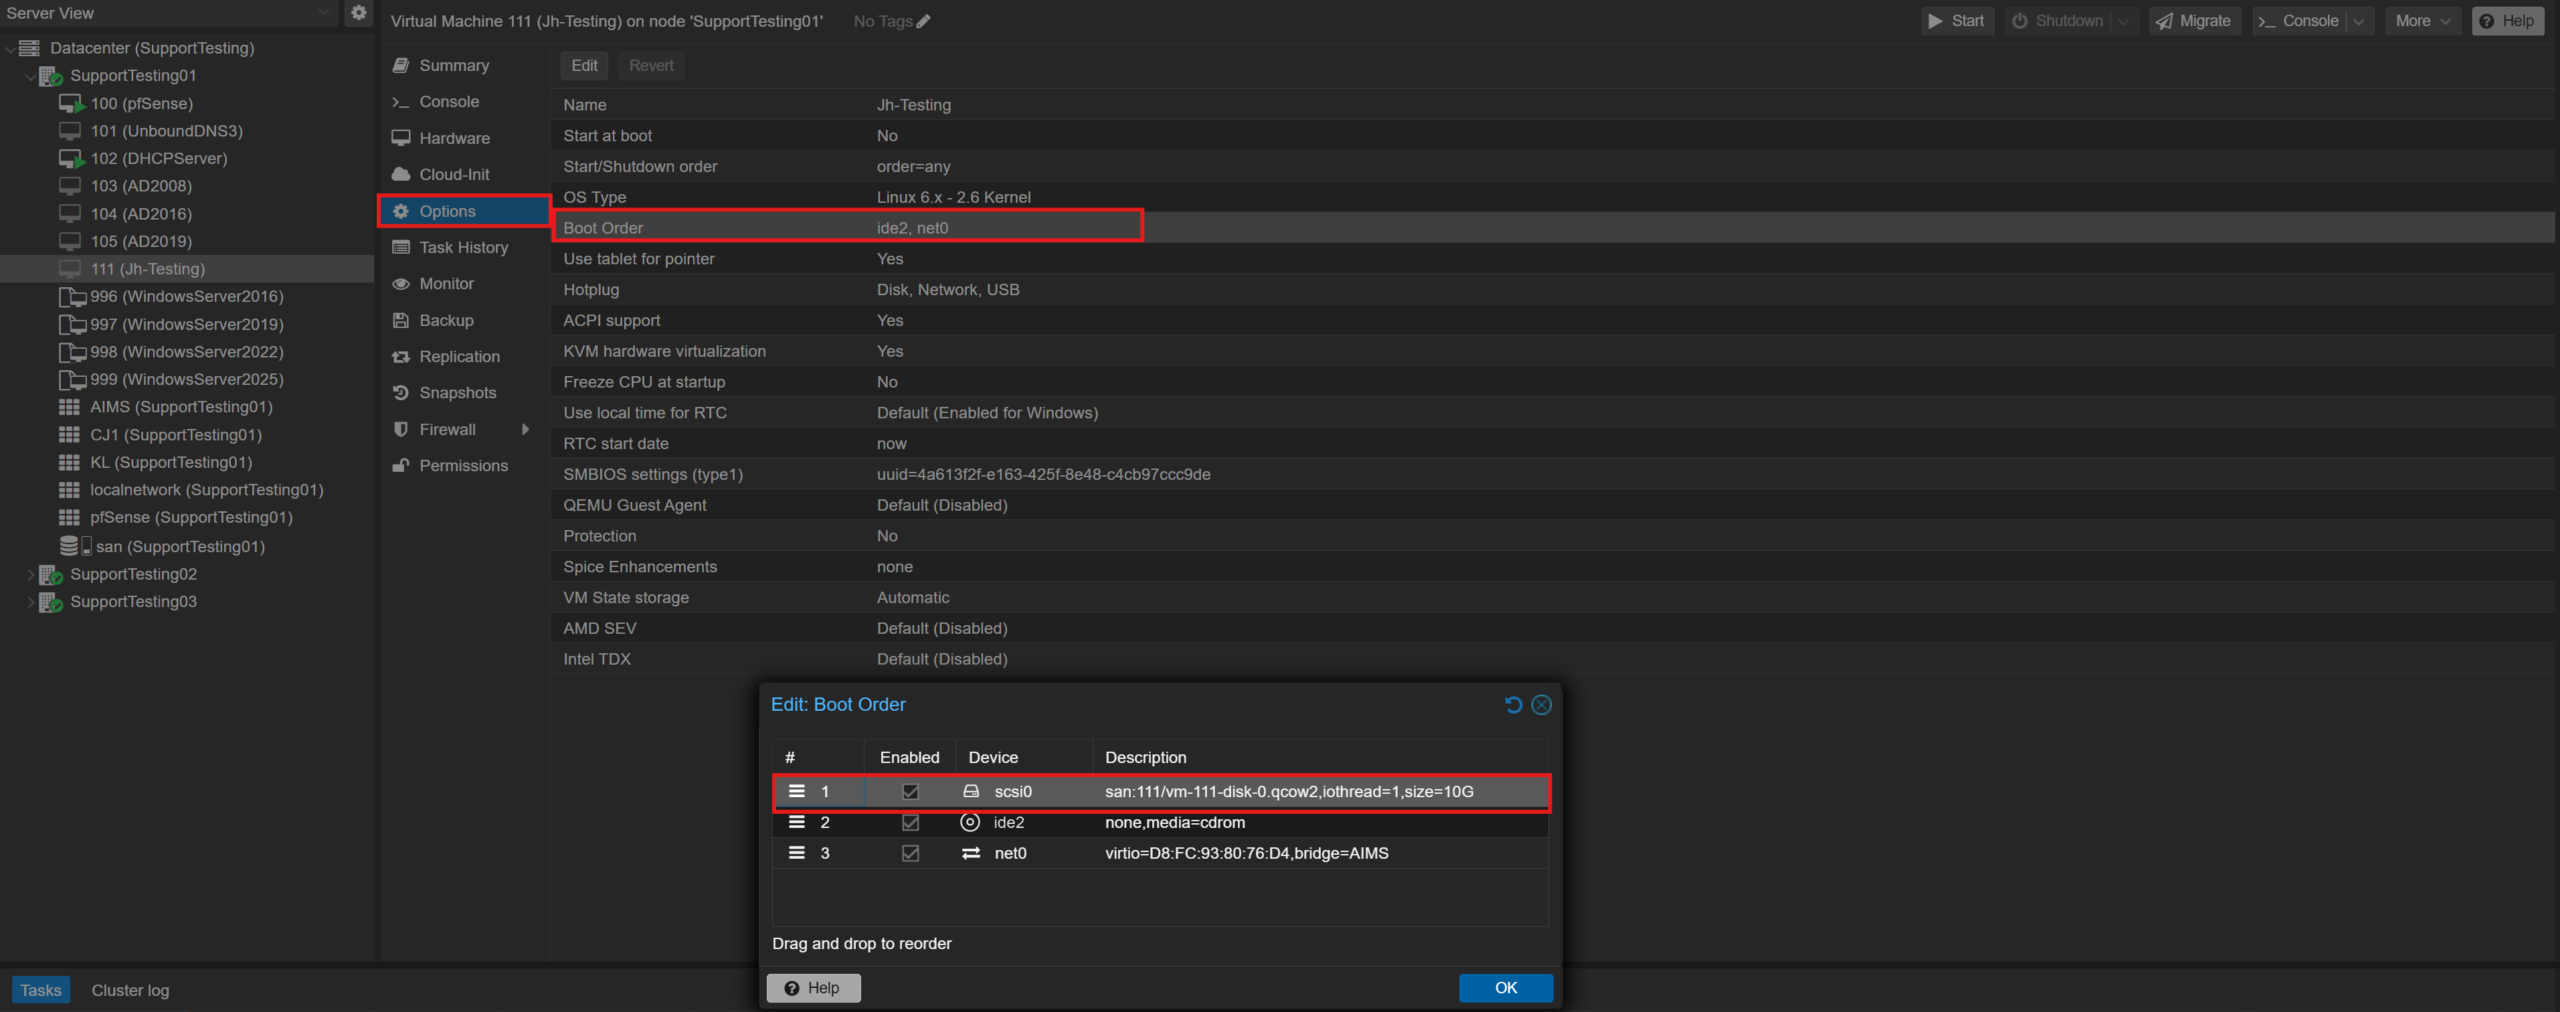
Step 6: Change BIOS and Boot Order and Resize Disk Size
- Change the BIOS from SeaBios to UEFI
-
Go to Options, choose Boot Order and change the disk to first order
- Go back to Hardware, click on the Hard Disk that want to resize, click on Disk Action and choose Resize
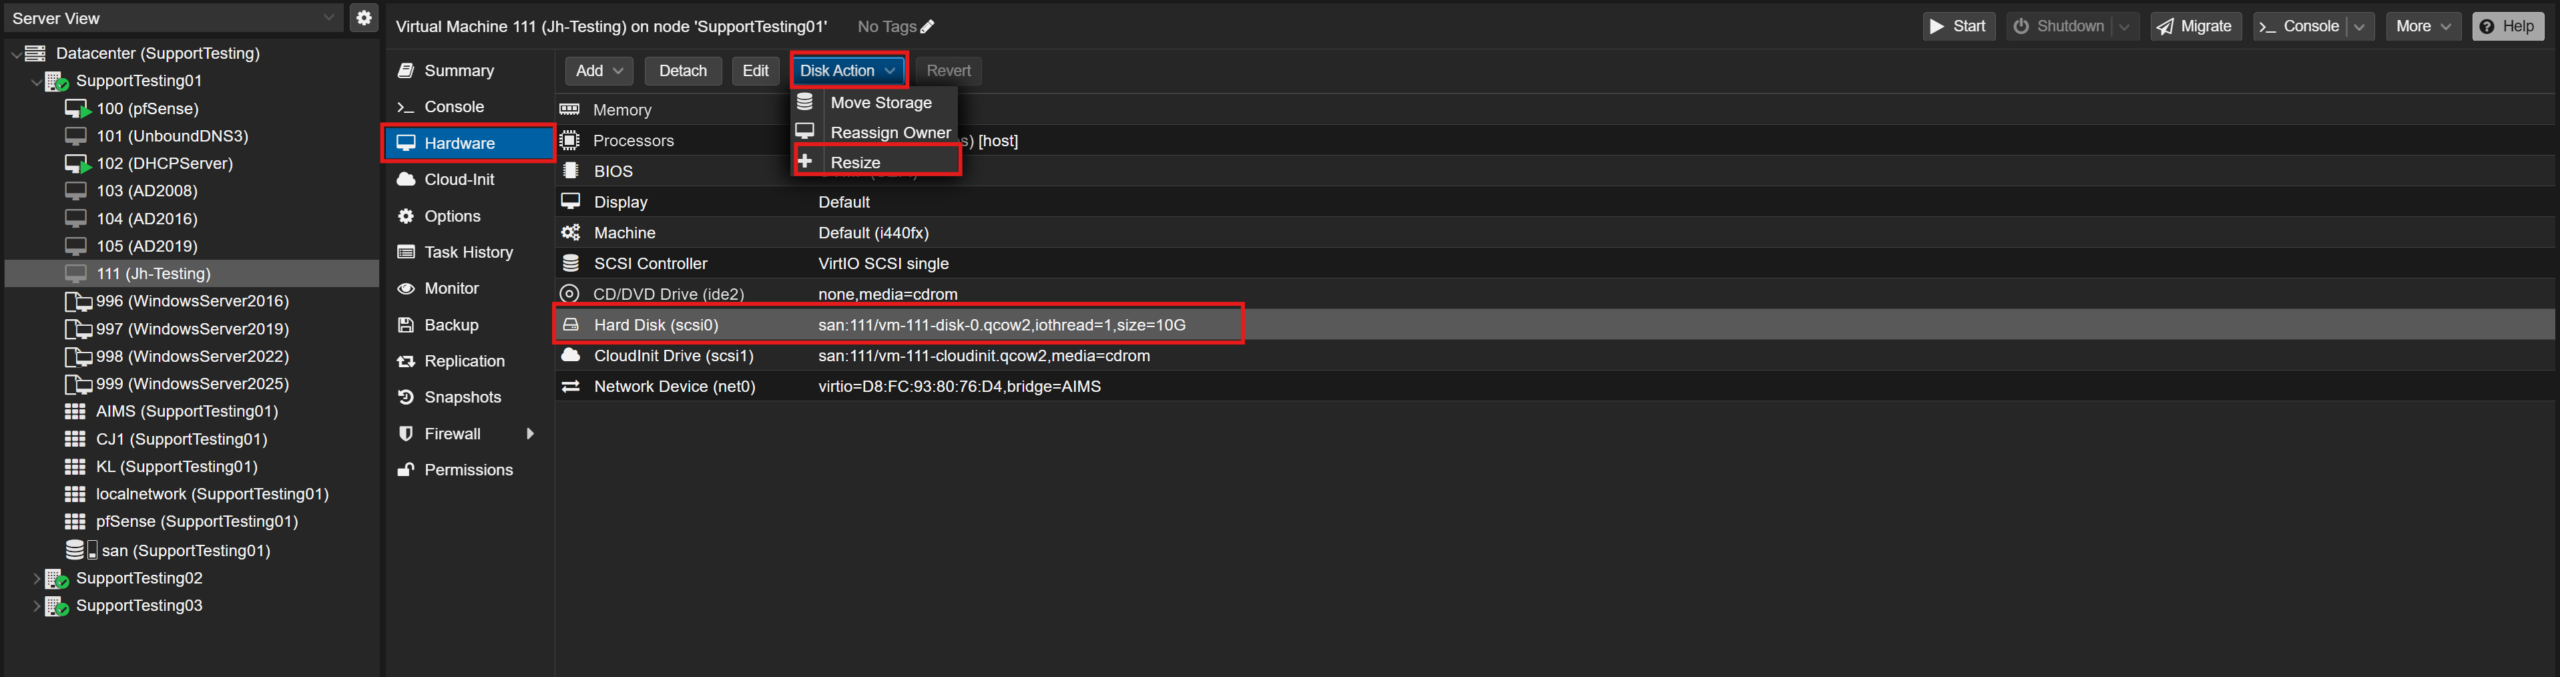
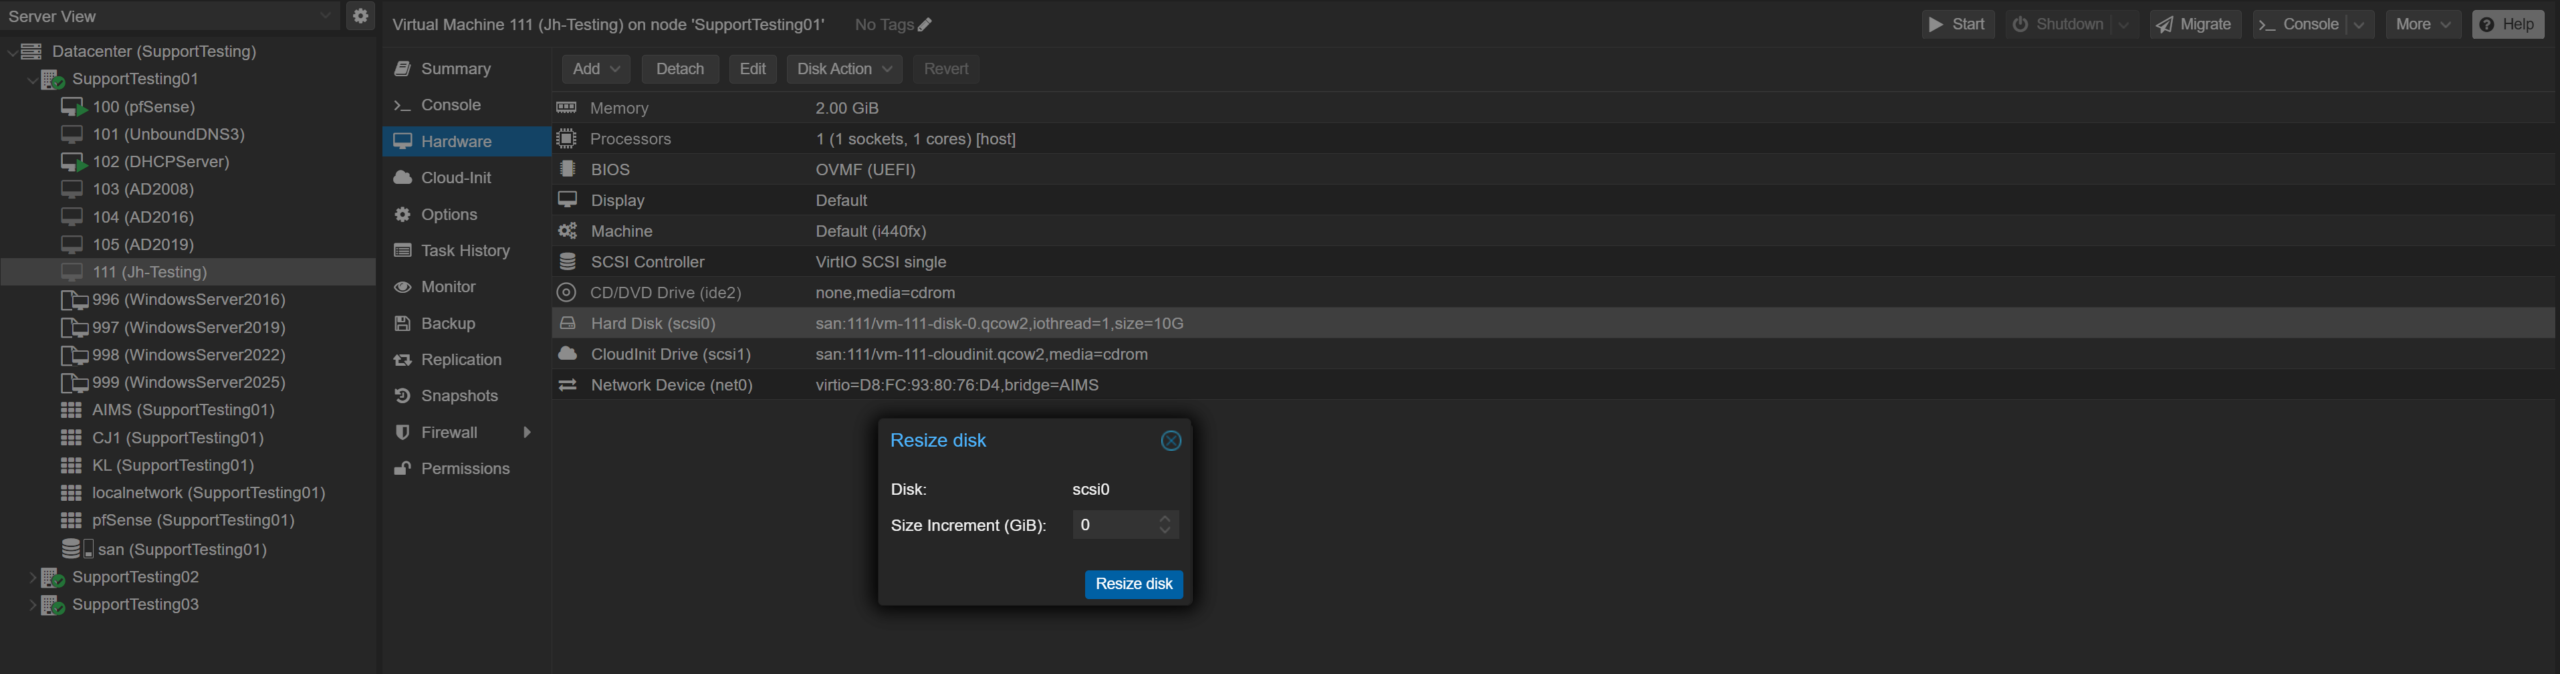
- You may choose the Size Increment that you want. and press Resize disk
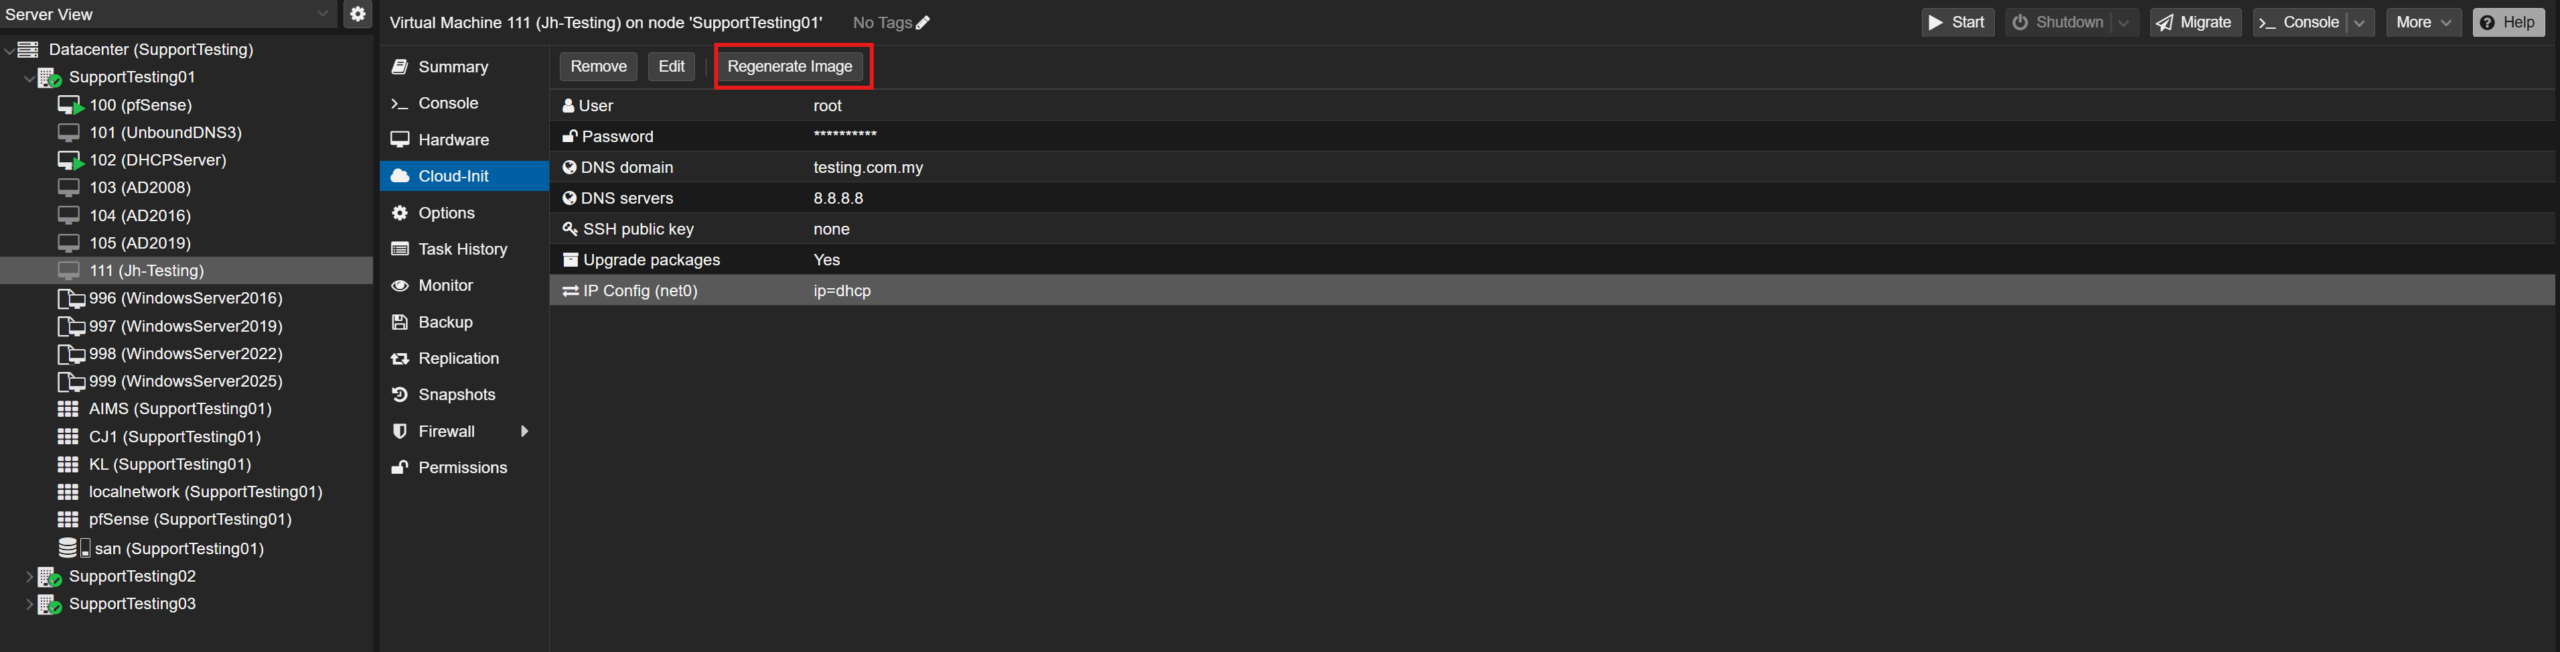
Step 7: Enter Cloud-Init details
- Enter User
- Enter Password
- Enter DNS Domain
- Enter DNS Servers
- Enter IP Config or you may choose DHCP for IPv4
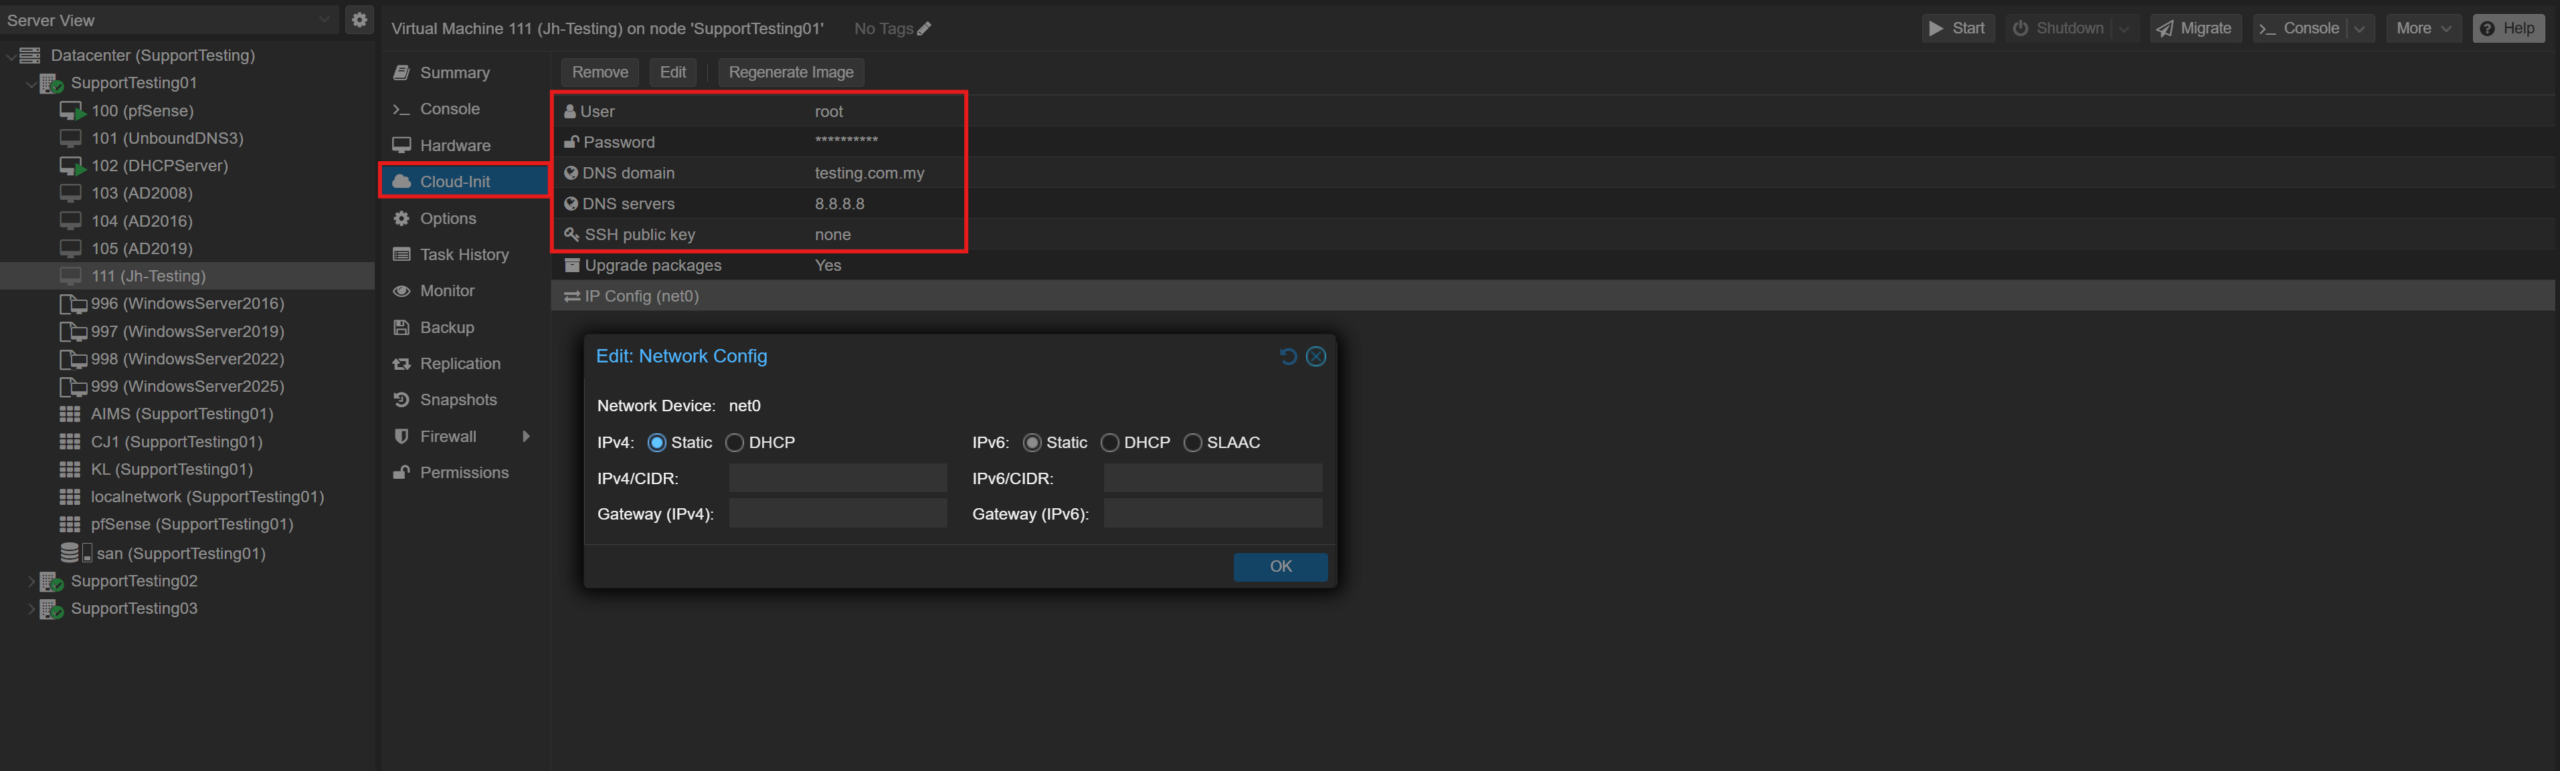
- After done all, remember to click Regenerate Image
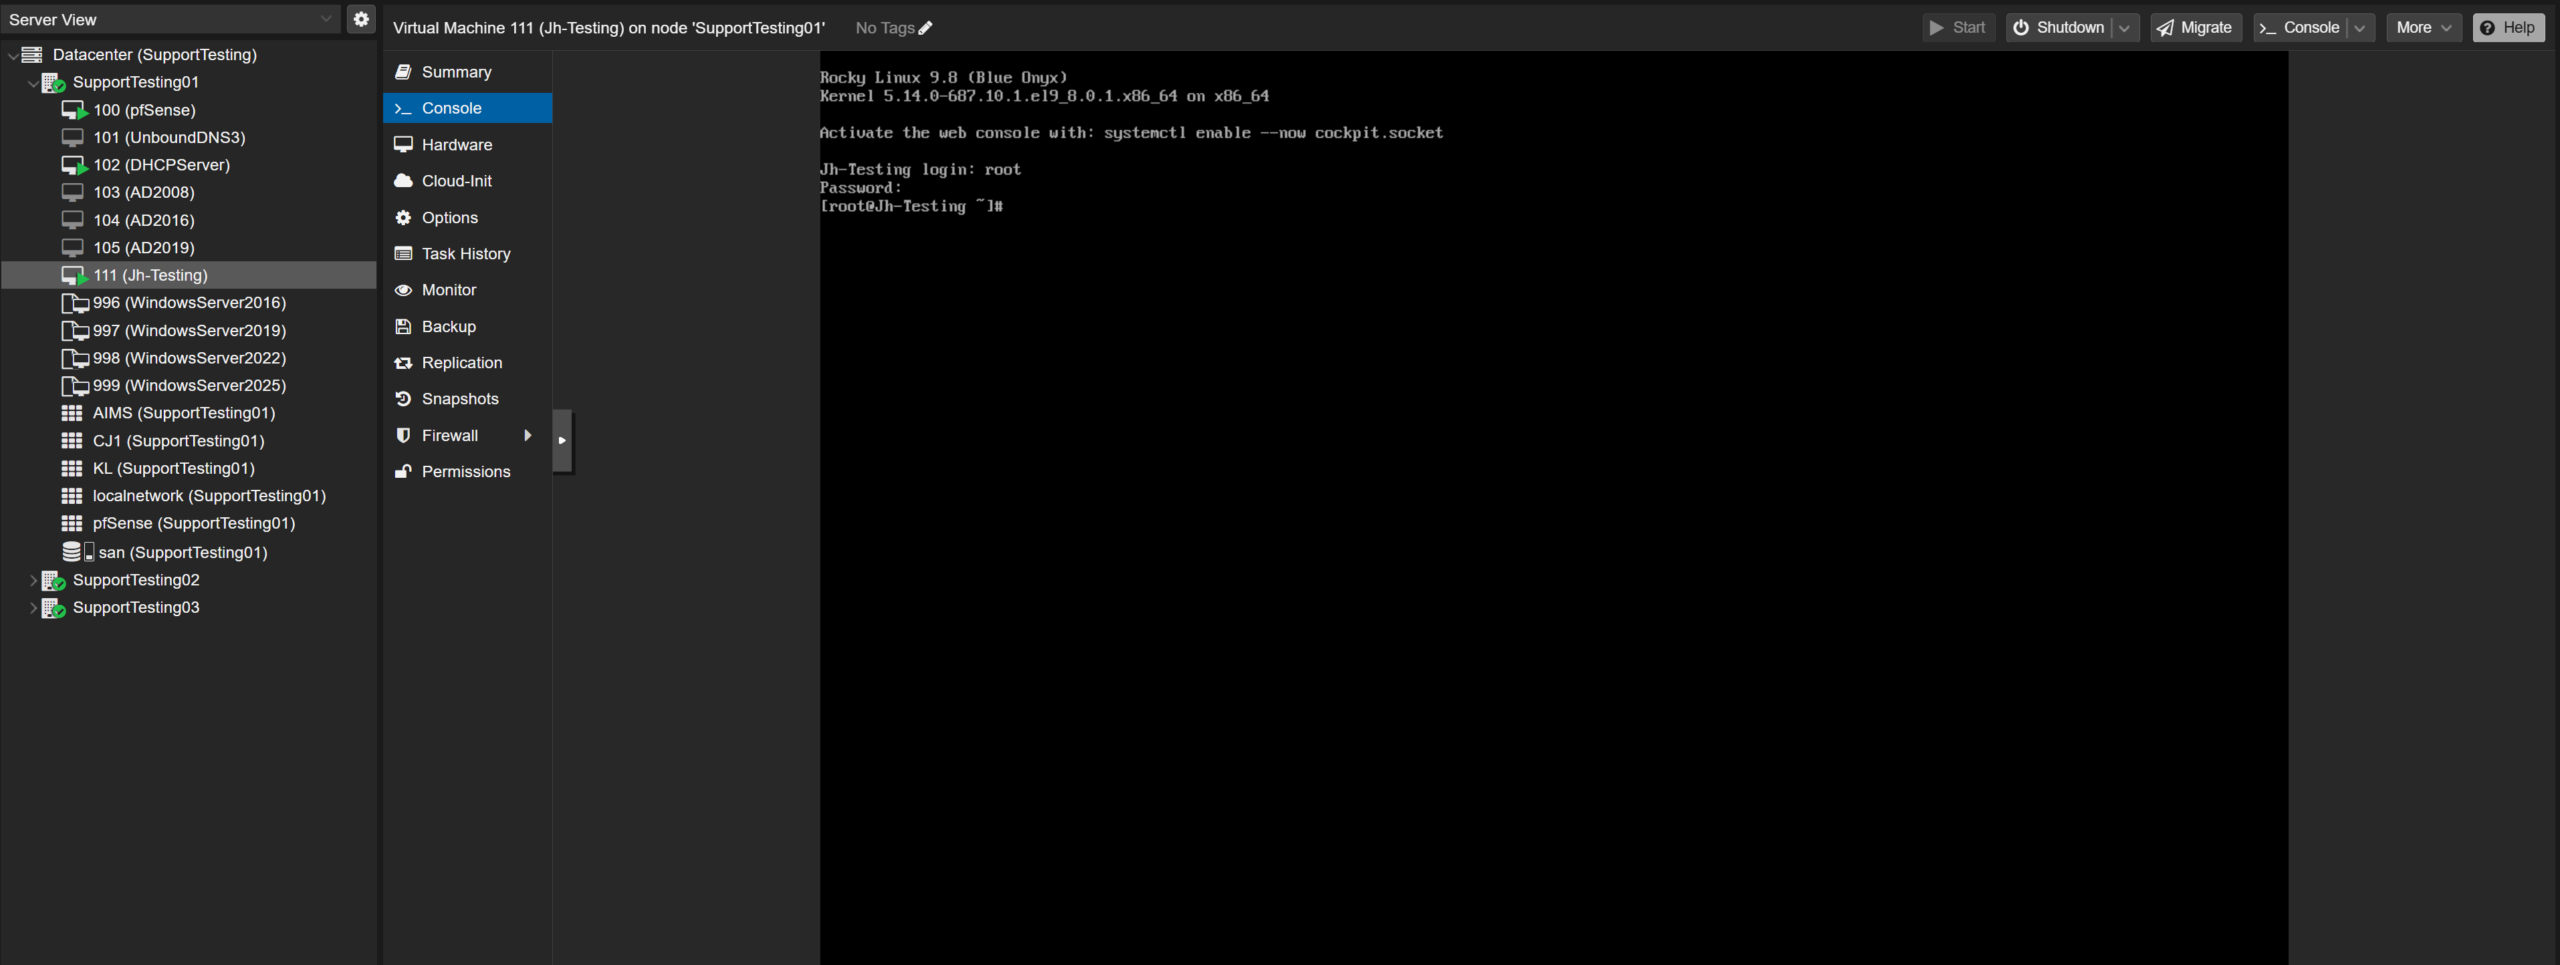
Step 8: Power up the VM
- Go back to Console and press Start Now
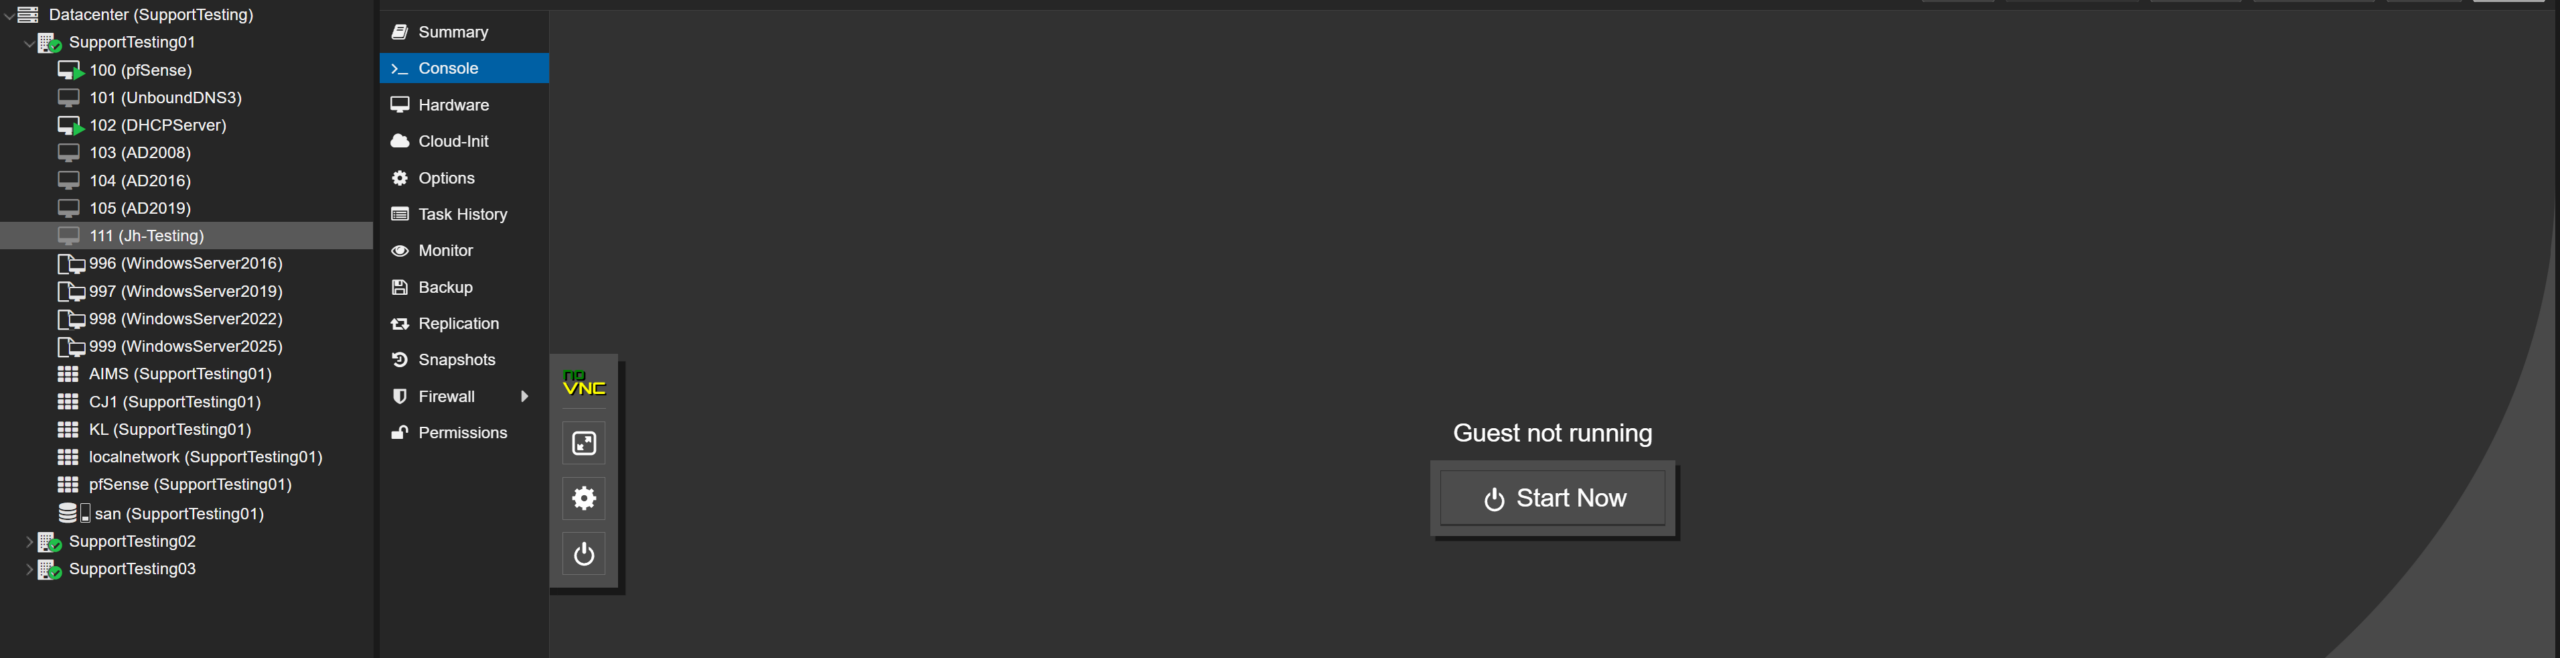
- You may login using User and Password that enter earlier
Conclusion
By following this guide, you have successfully provisioned a Linux Virtual Machine in Proxmox using a Cloud Image. Cloud Images combined with cloud-init provide a fast, repeatable, and scalable method for deploying Linux workloads while minimizing manual configuration.
For additional assistance or if you encounter any issues, please contact our support team at support@ipserverone.com.