
Search Our Database
How to run a Virus Scan in cPanel
Introduction
The Virus Scanner in cPanel allows you to scan your account for malicious software, protecting your website, emails, and account data from potential threats. You can choose to scan your entire home directory, your mail folders, the public FTP space, or the public web space where your website files are stored. This guide shows cPanel users how to run a virus scan for each target, so infected files, scripts, or attachments can be detected and removed before they compromise your account.
Prerequisite
- Access to your cPanel login page.
Step-by-Step Guide
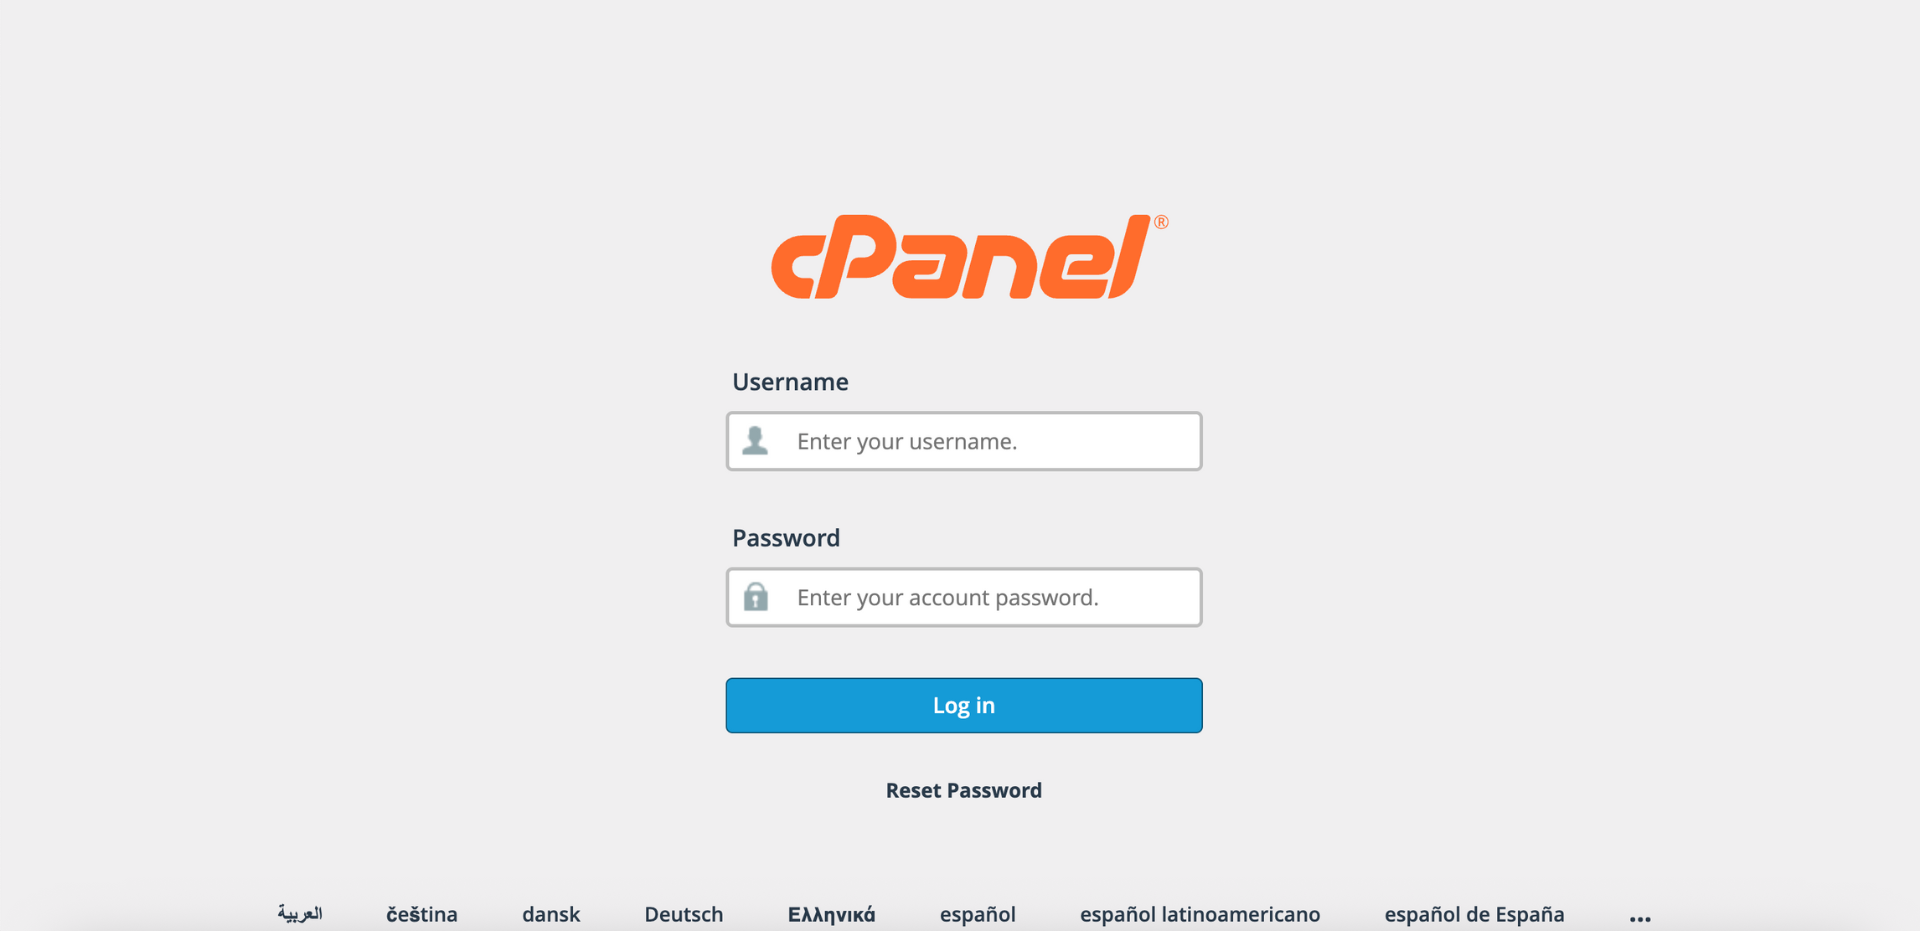
Step 1: Log in to cPanel
- Access and log in to your cPanel account using your username and password.
Step 2: Open Virus Scanner
- Under the Advanced section, click Virus Scanner.

Step 3: Select Your Scan Target
- In the Virus Scanner interface, choose the scan target that matches the area you want to check:
- Choose Scan Entire Home Directory to scan all files and folders under your account’s home directory (usually /home/username), including website files, emails, and account data.

- Choose Scan Mail to scan all of your account’s email folders (usually /home/username/mail), including inbox, sent items, and custom folders, to detect malicious files attached to incoming or outgoing emails.

- Choose Scan Public FTP Space to scan all files publicly accessible via FTP (usually /home/username/public_ftp), so malicious files are detected before they can harm your website or be downloaded by visitors.

- Choose Scan Public Web Space to check all files in your website’s root directory (usually /home/username/public_html), helping detect and remove infected scripts, malware, or backdoors that could compromise your website’s security.

Step 4: Start the Scan
- Click Scan Now to begin scanning.

Step 5: Monitor Scan Progress
- During the scan, the interface will display:
-> File: Number of files scanned vs total files.
-> Data: Amount of data scanned vs total data.
-> Scanner Progress: Current scan progress.
-> Infected Files: Any files where malicious software is detected.

- The scan may take several minutes depending on the number and size of files in the selected target.

Step 6: Verify Scan Results
- Once the scan is complete, a pop-up window will appear showing the results.
- If no threats are detected, the message “Virus Scan Complete, No virus found.” will appear. Click Close to return to the Virus Scanner interface.
- If infected files are detected, they will be listed in the results. Review them carefully and take the necessary action.

Conclusion
By following this guidance, you can scan your entire home directory, mail folders, public FTP space, or public web space in cPanel for viruses. Regularly performing these scans helps maintain the safety and integrity of your hosting account, prevents infected attachments from reaching recipients, and reduces the risk of unauthorized access, defacement, or downtime caused by infected files.
If you encounter any issues or require further assistance, please reach out to our support team at support@ipserverone.com.
Article updated on 16 November 2026 by Johnny