
Search Our Database
How to move emails to different folders in Roundcube Webmail
Introduction
Managing your email interface effectively requires a clean directory structure to organize correspondence, prevent clutter, and keep track of important incoming messages. This guide demonstrates how non-technical users can seamlessly manage their digital correspondence by moving emails to various default directories like Inbox, Drafts, Sent, Spam, Deleted Items, Archive, and Junk within the Roundcube Webmail interface. Whether you need to archive client project updates today, sorting unverified subscriptions next week, or clearing out junk advertisements from your web browser view, this walkthrough provides the necessary steps to organize your mailbox layout. By utilizing these native webmail folder management features, you can optimize your daily workflow and maintain a highly organized inbox.
Prerequisite
- Access to Roundcube Webmail account with valid login credentials
- Basic knowledge of navigating webmail interfaces
Step-by-step guide
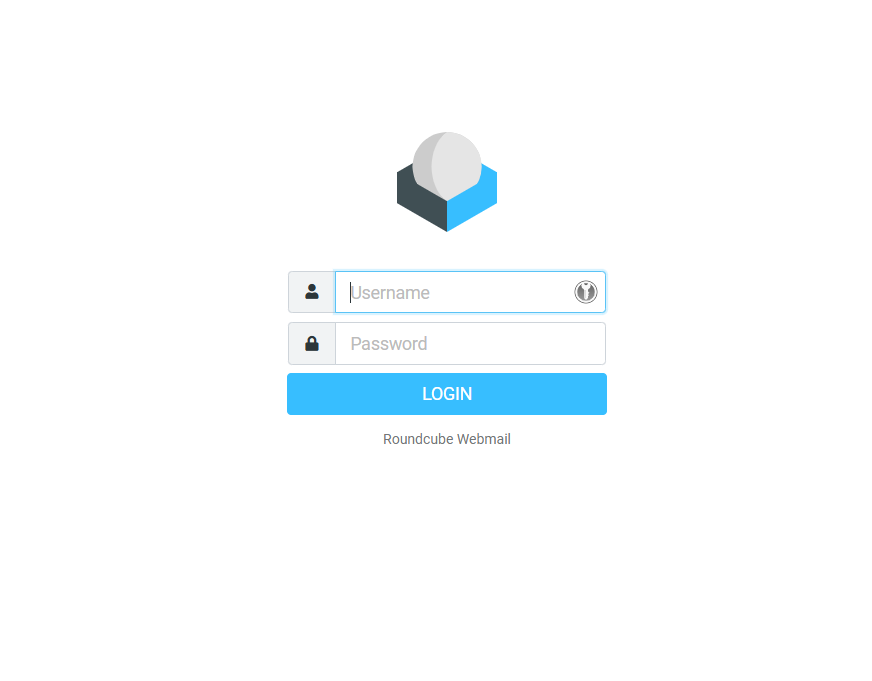
Step 1: Log in to Roundcube Webmail
- Visit the webmail login page (e.g., https://webmail.yourdomain.com).
- Enter your email address and password, then click Login.
Step 2: Moving emails to different folders
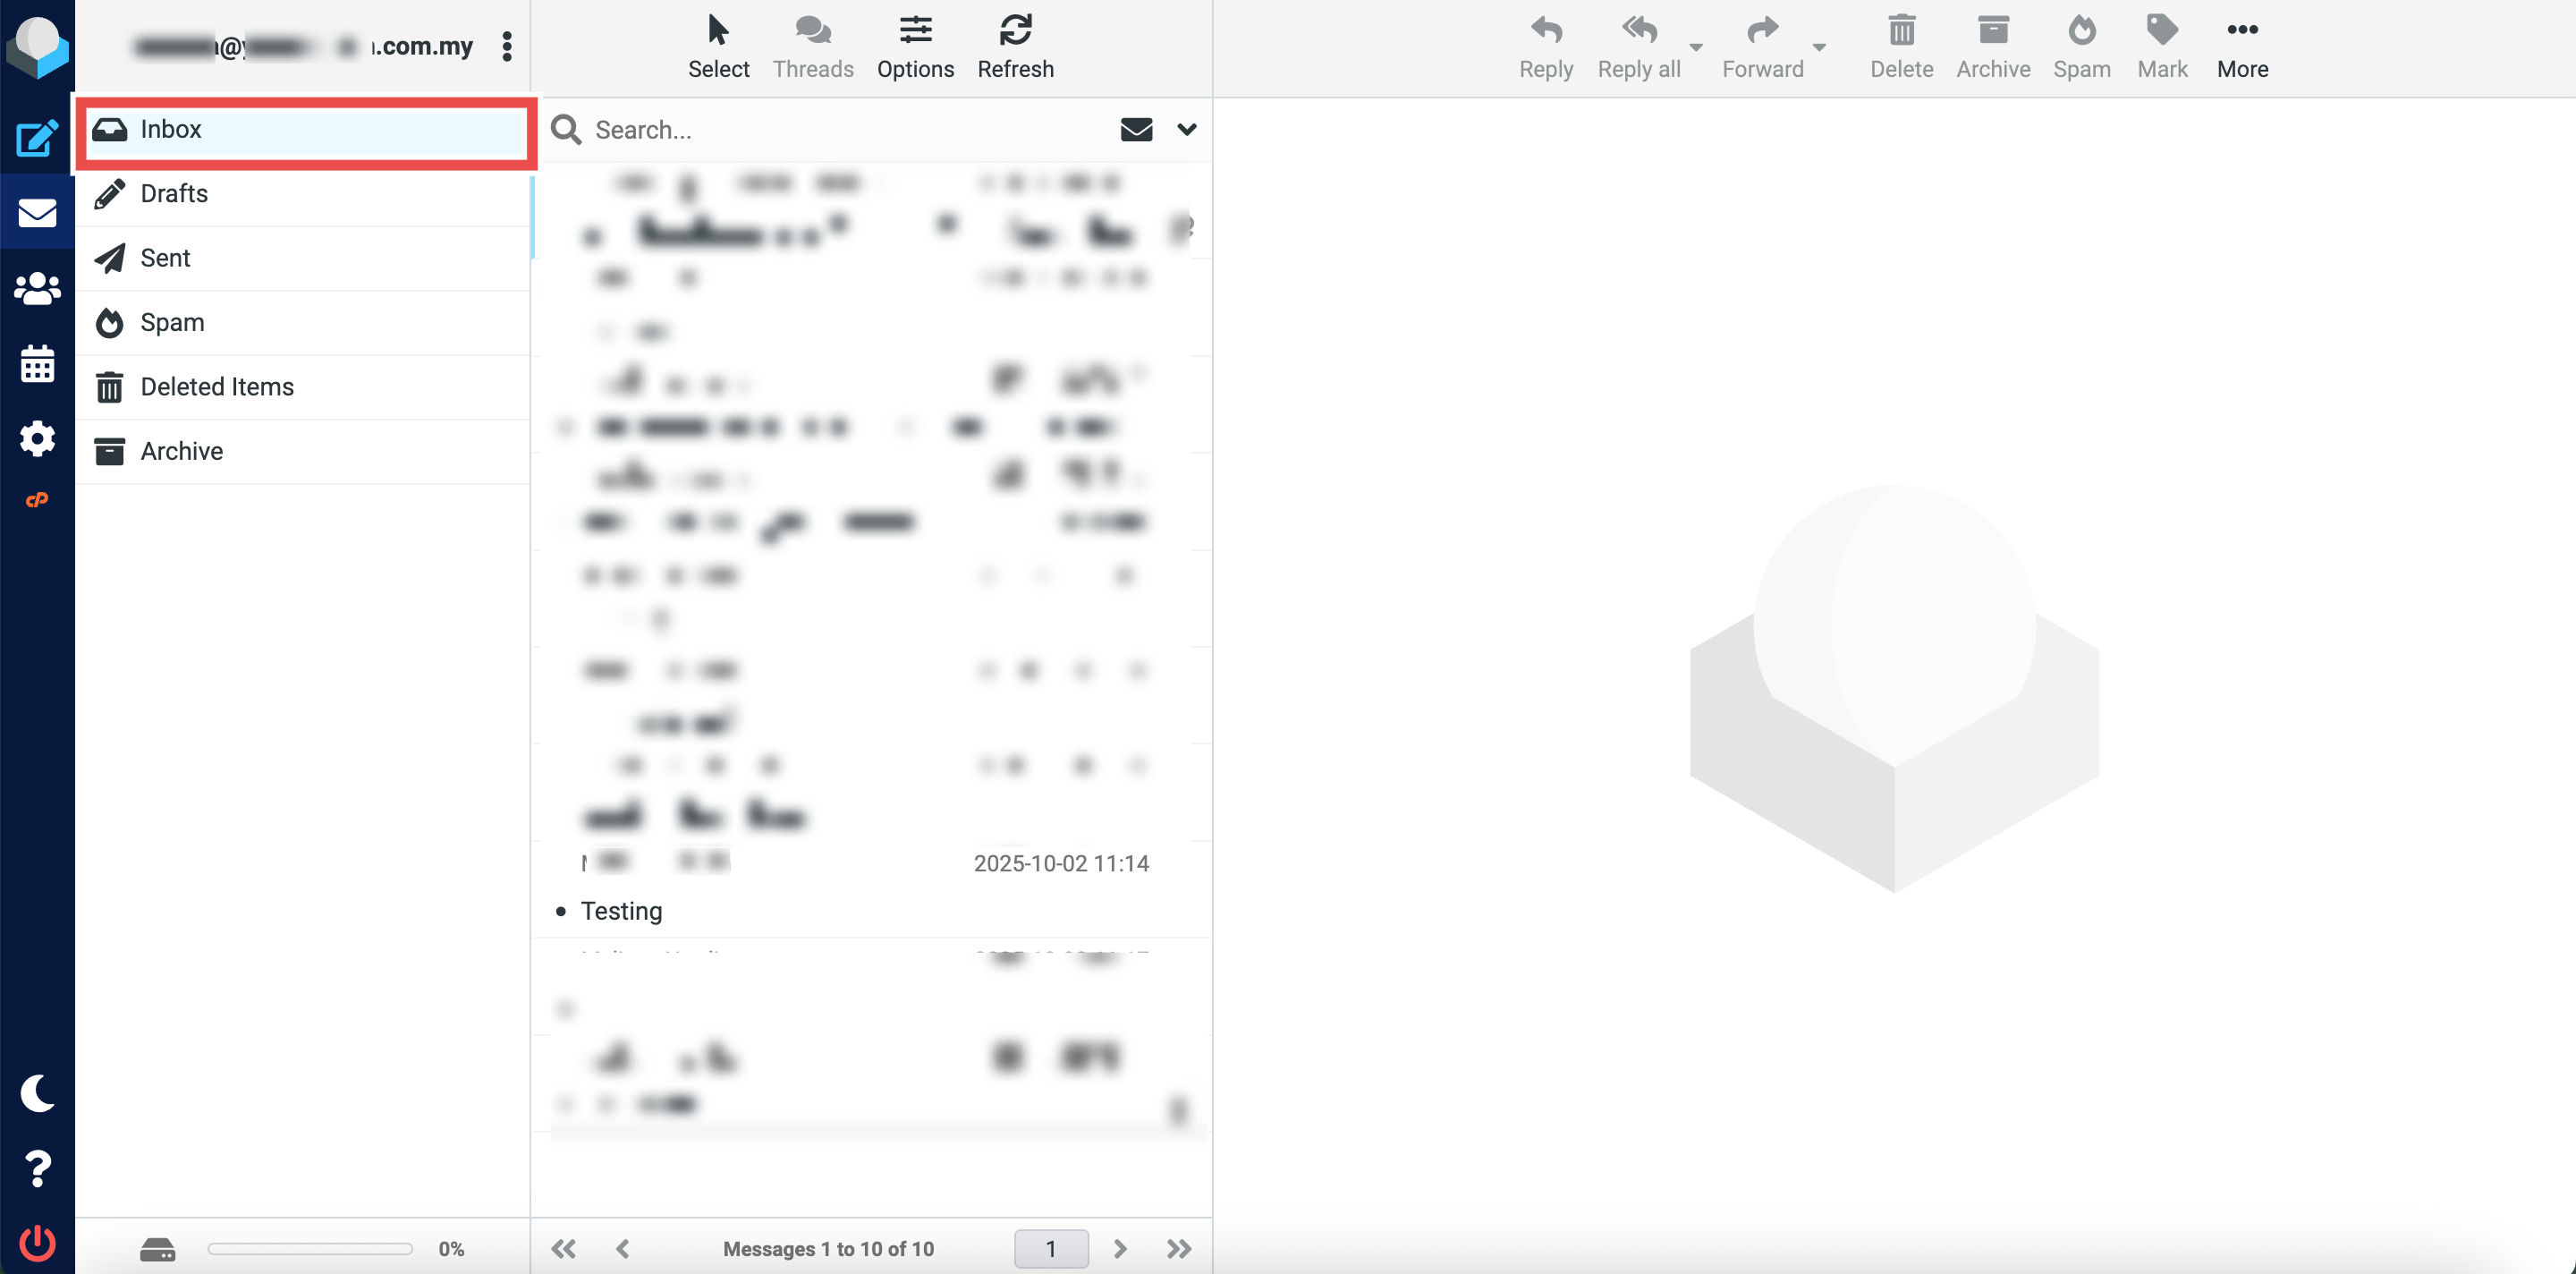
- Navigate to the folder containing the email you want to move (e.g., Inbox).
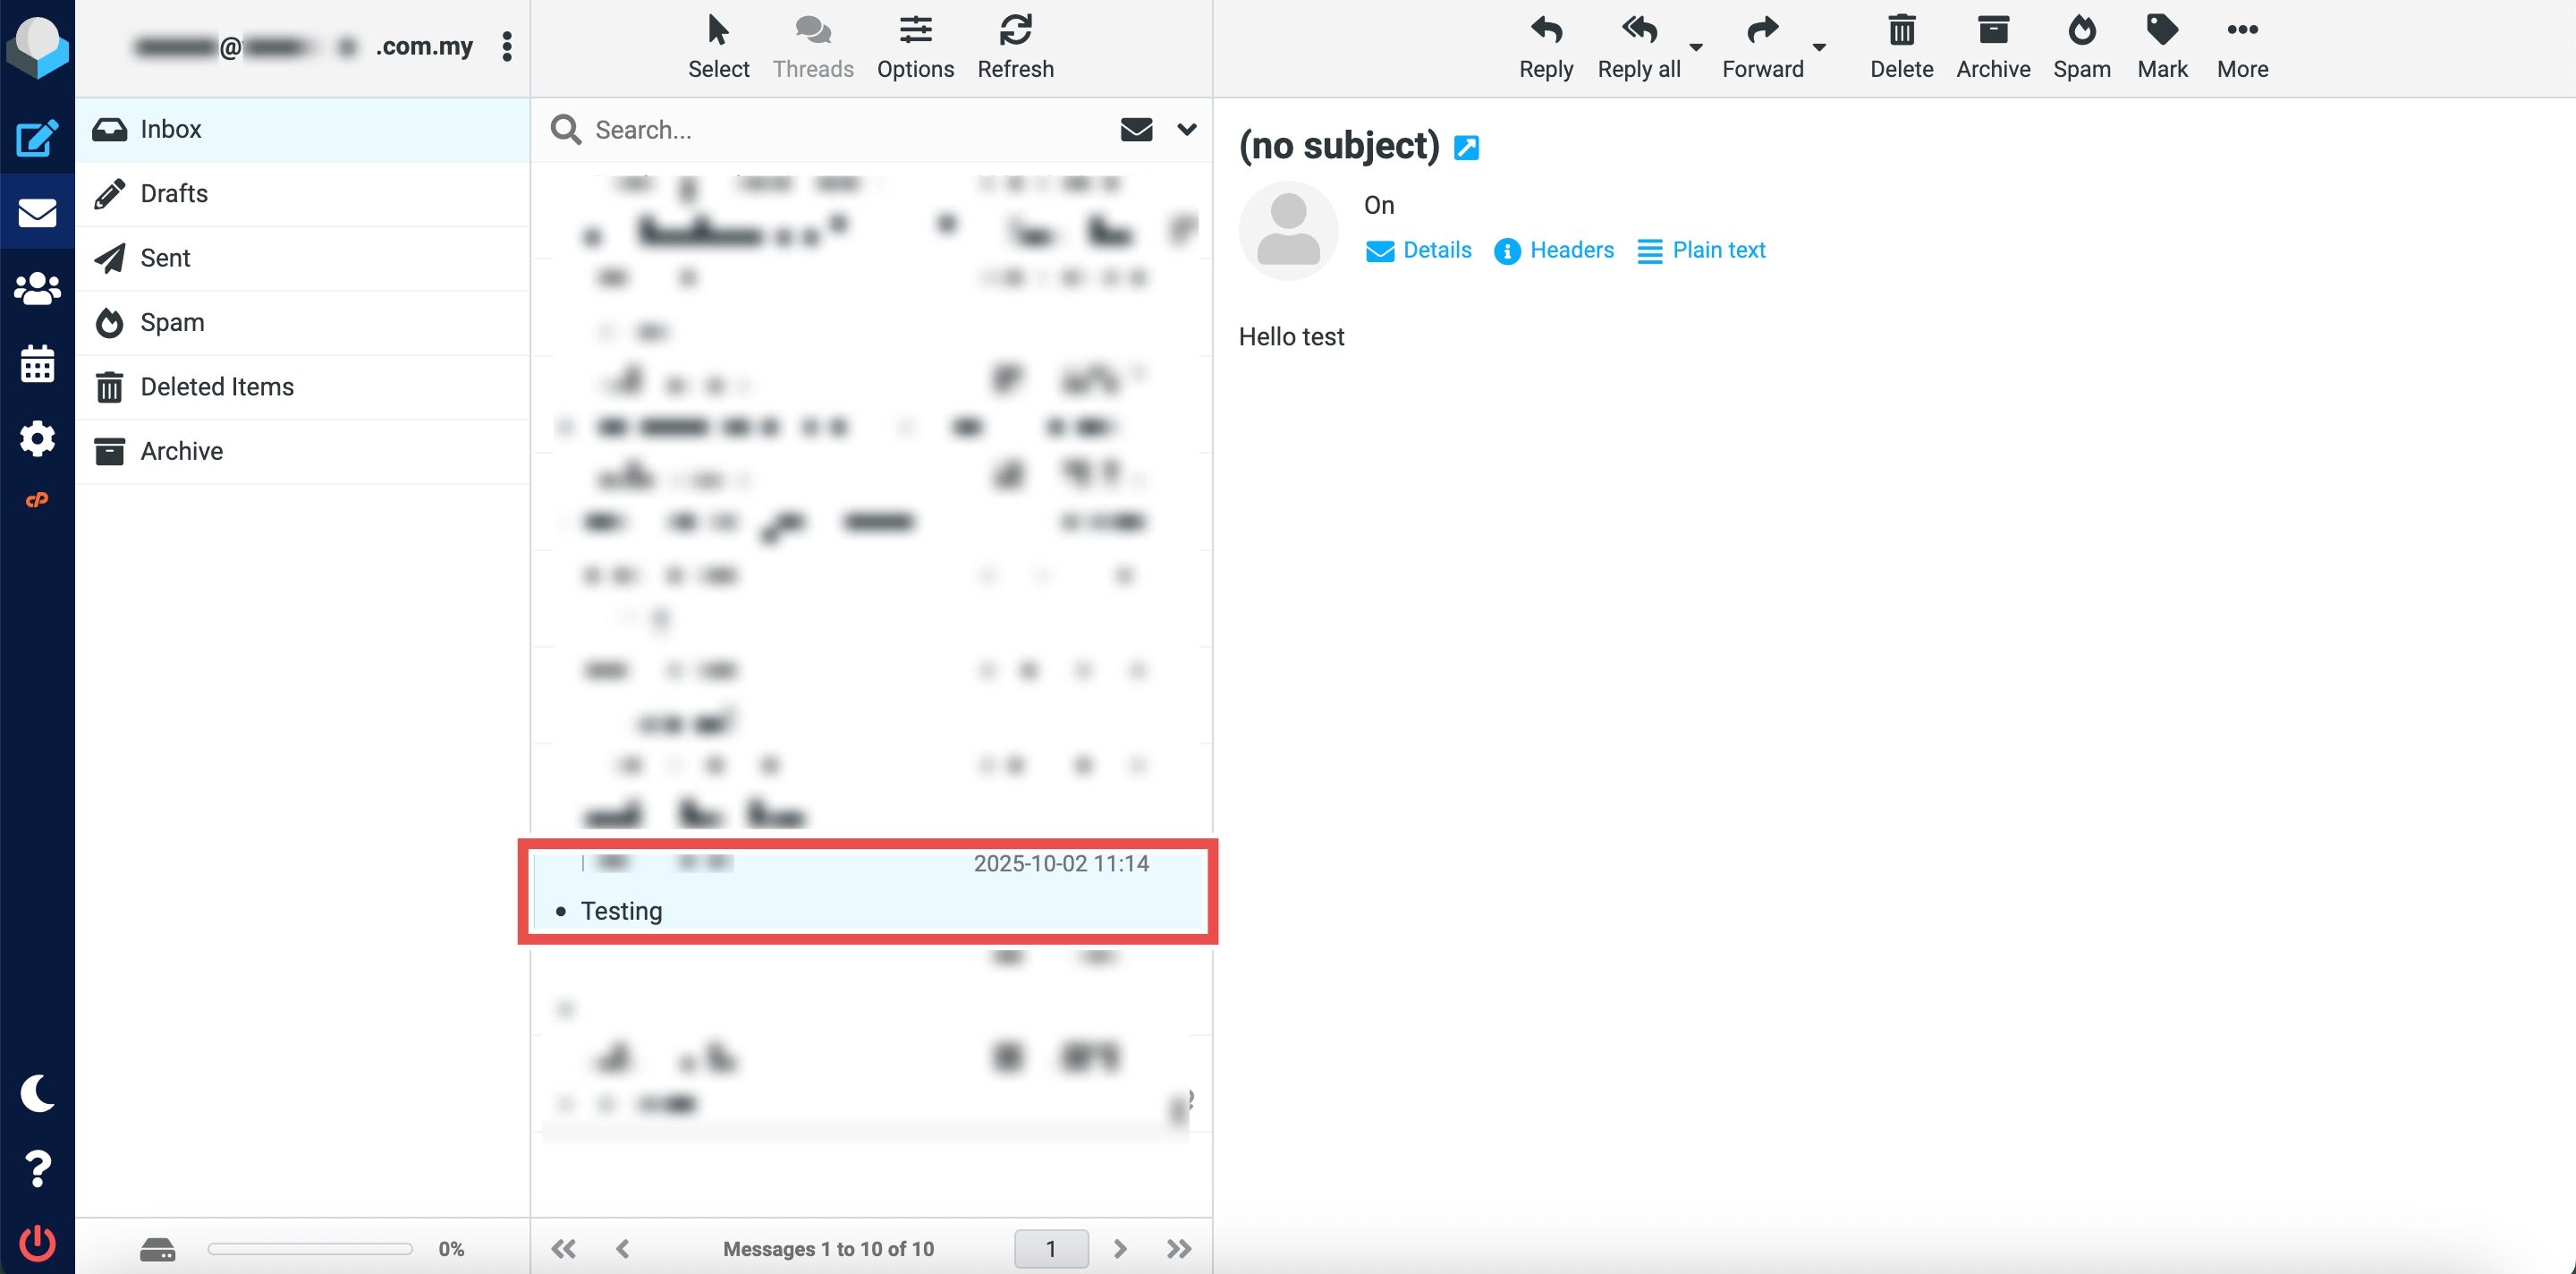
- Locate the email message you wish to move to the Spam folder.
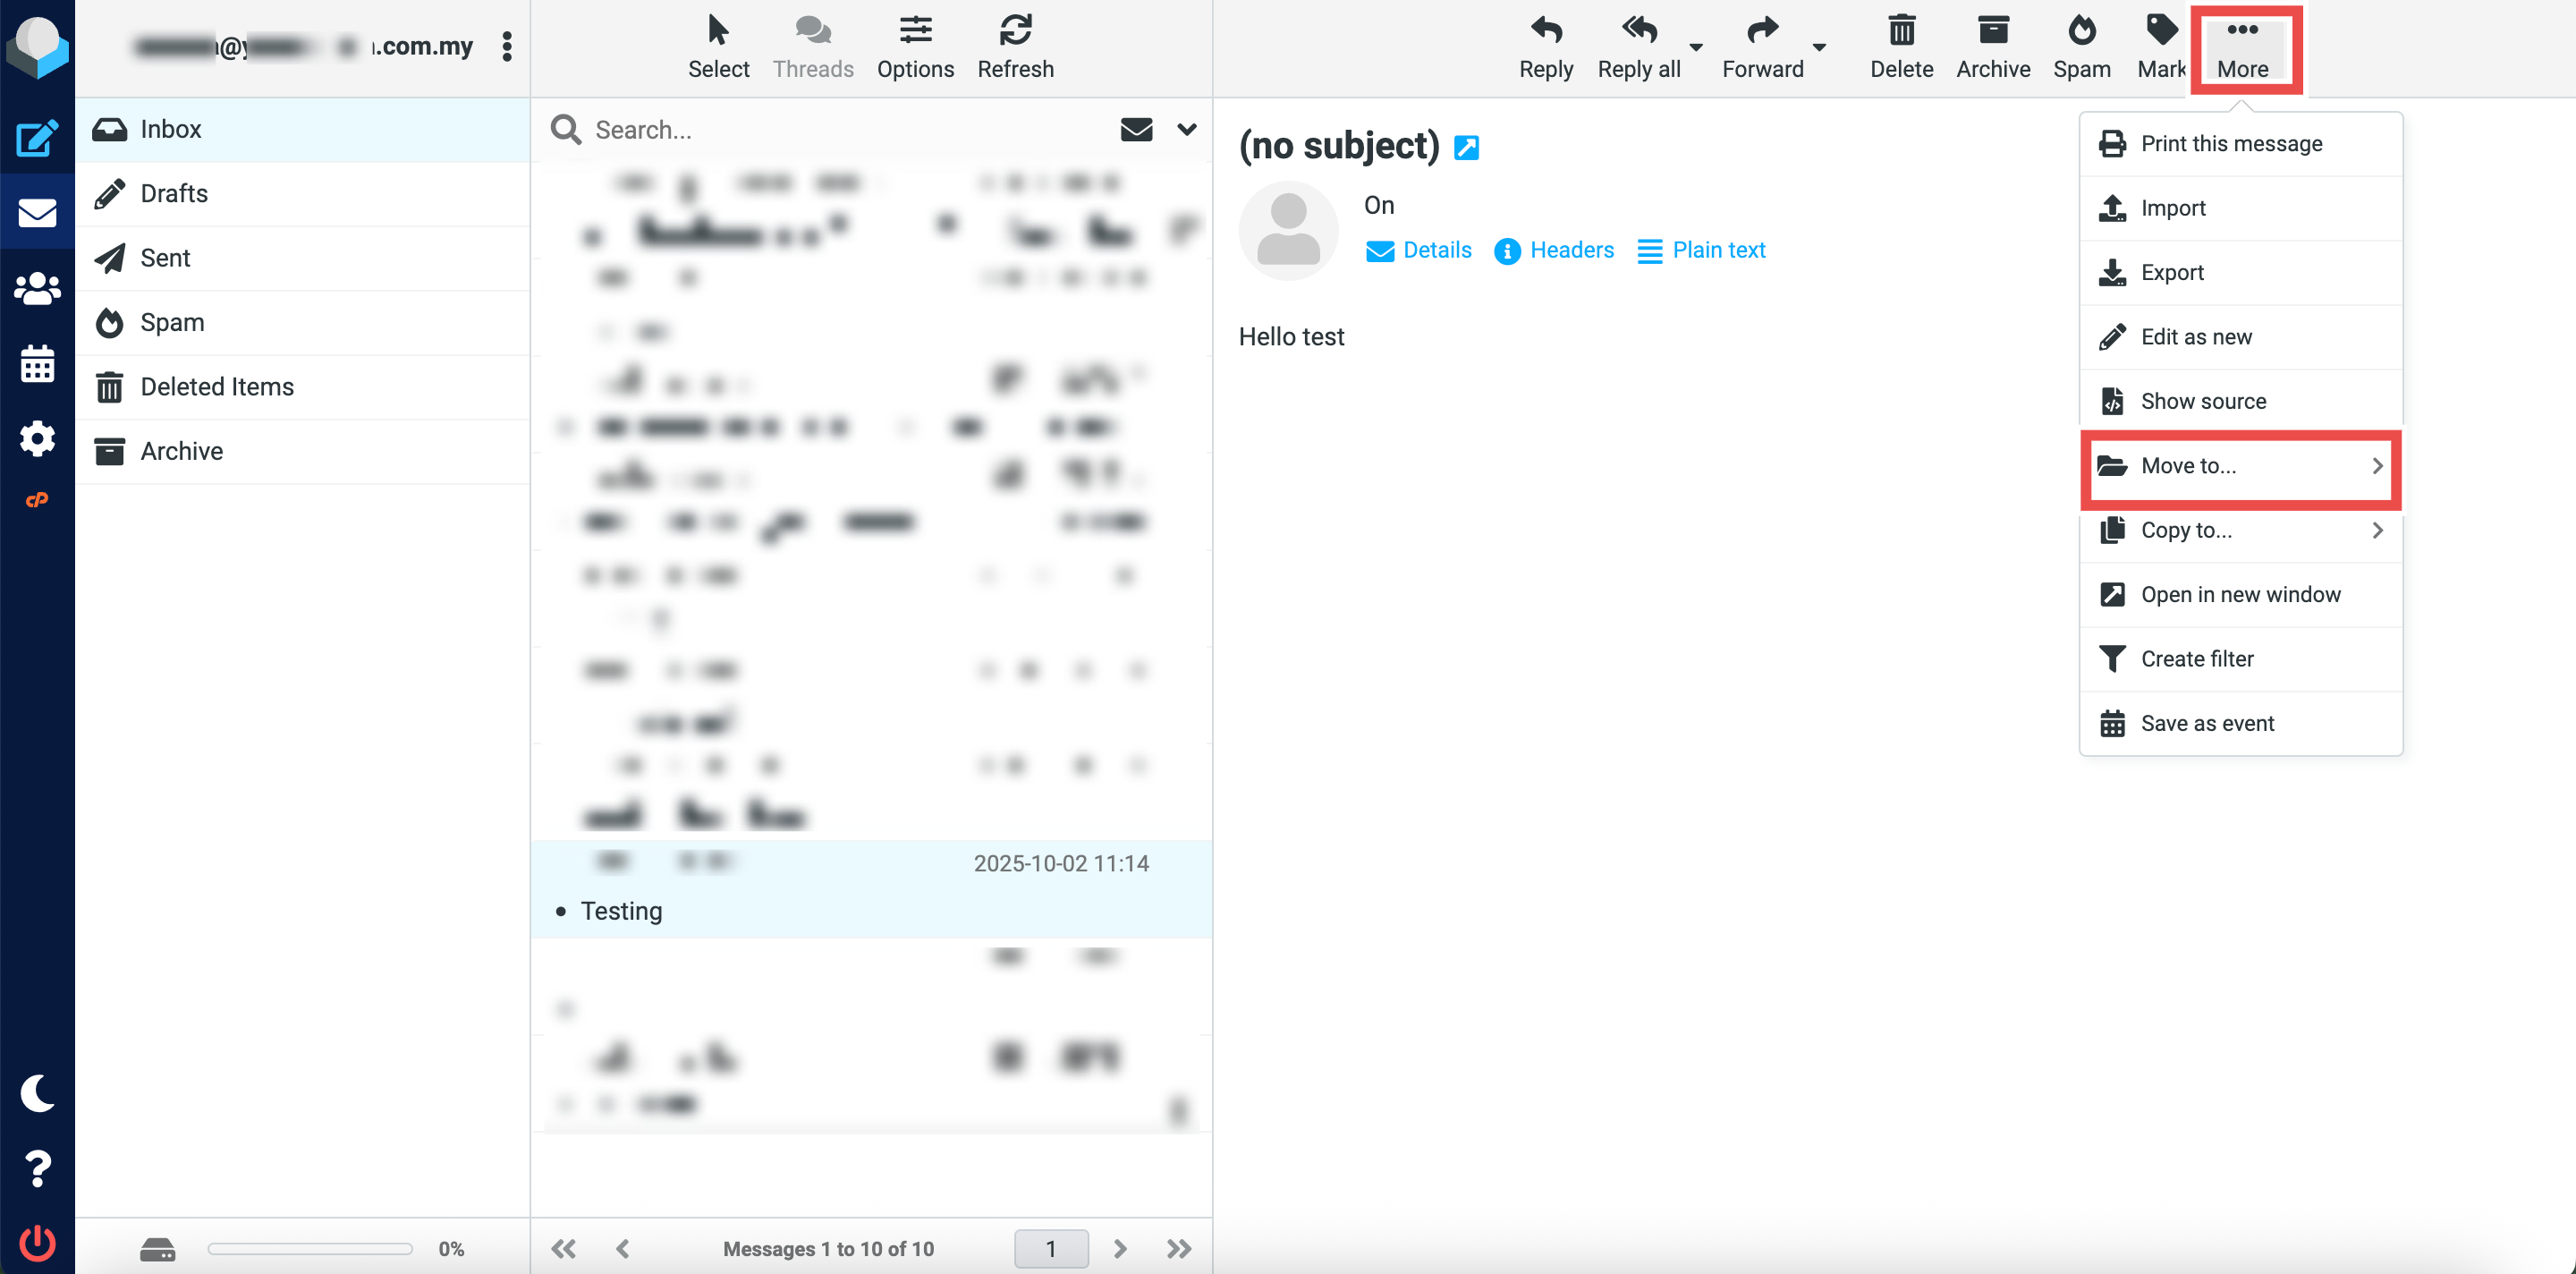
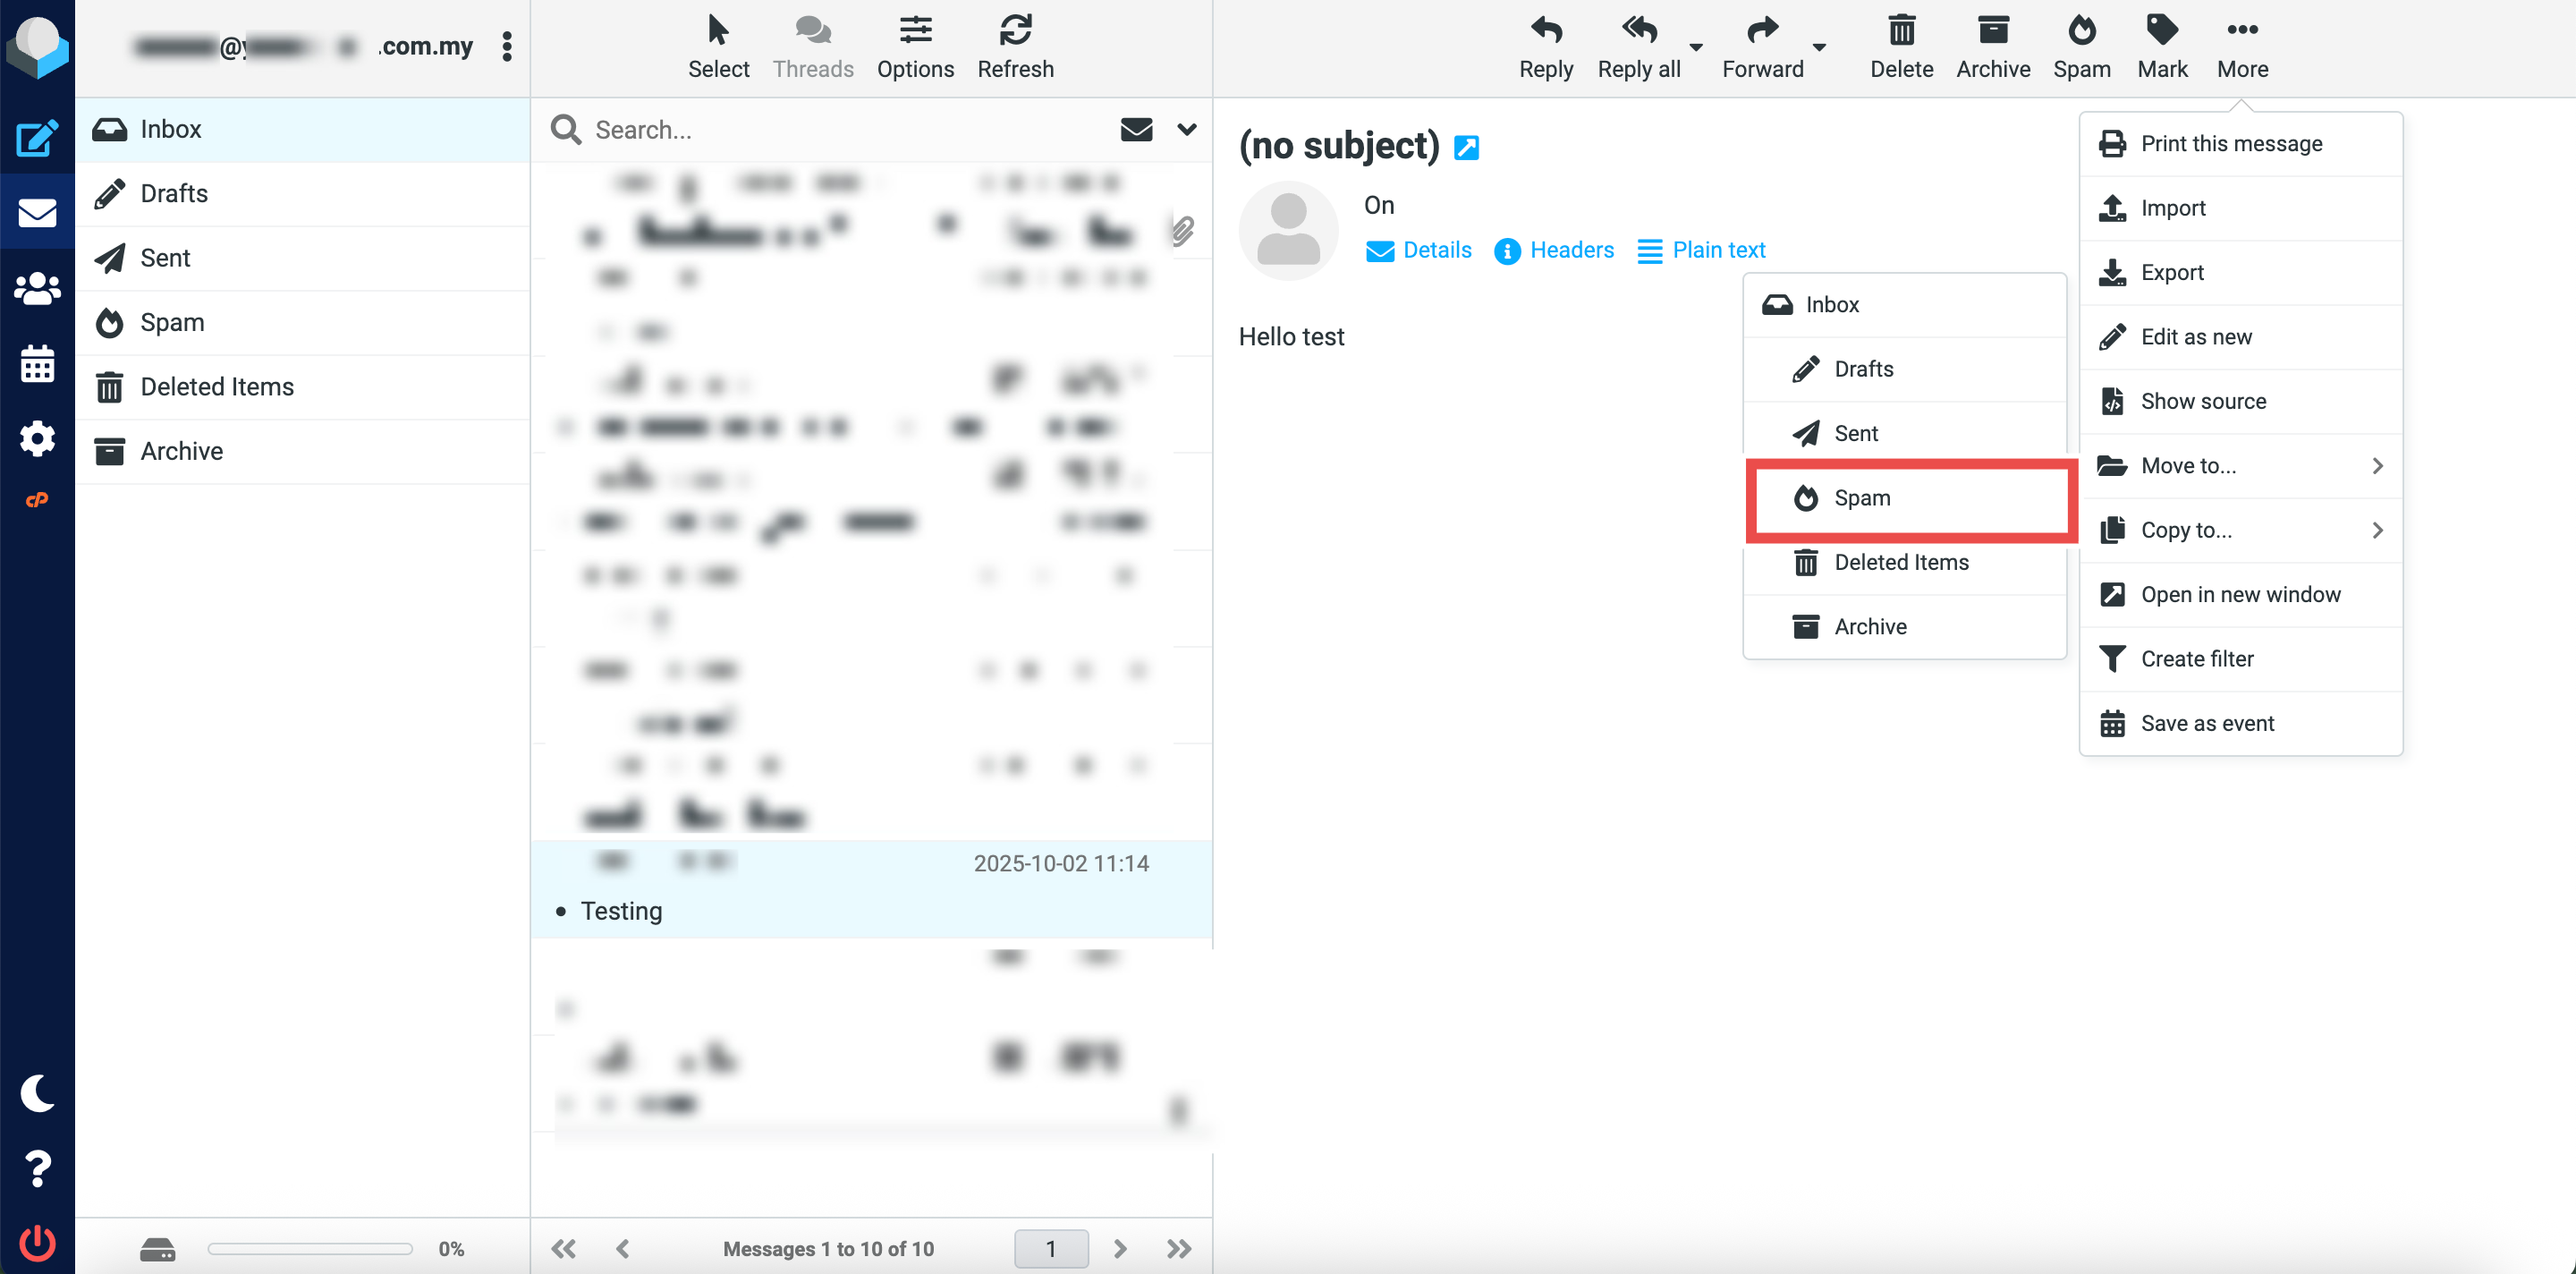
- Click More button at the top right of the page. Then, click Move to button from the dropdown options.
- Click Spam to move the selected email(s) to the Spam folder.
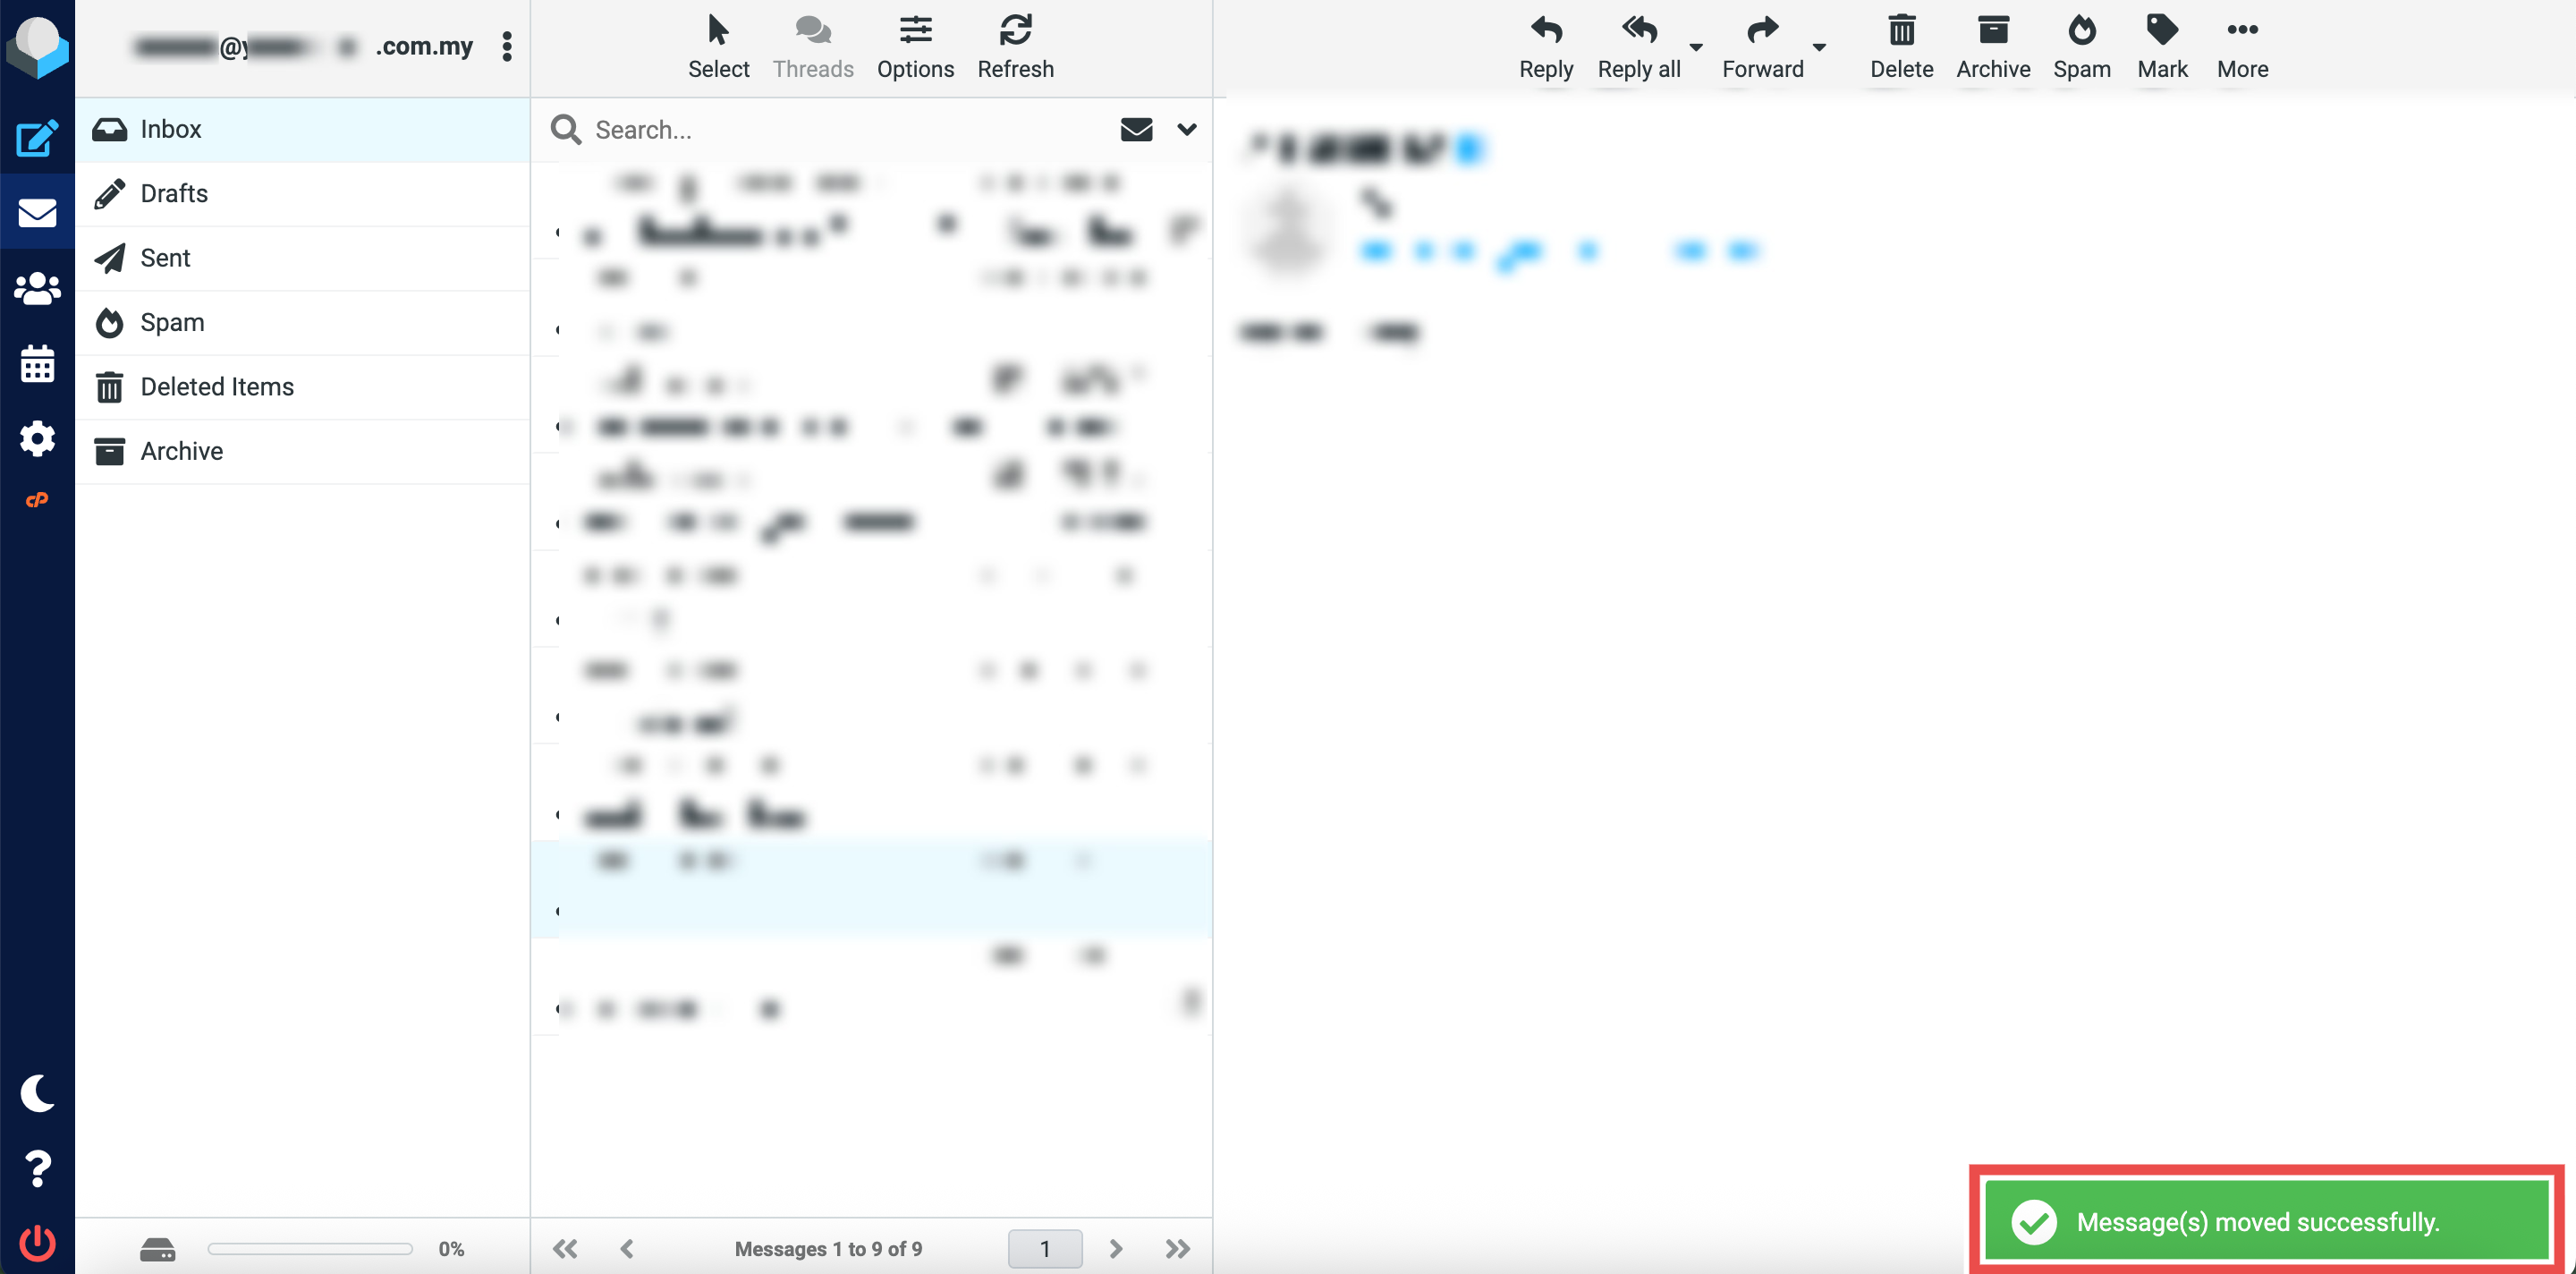
- Successful message will appear confirming the email has been moved to the Spam folder.
- Additionally, you may click on the Spam folder in the left sidebar and locate the email you just moved in the folder, the email should now appear in the Spam folder and be removed from its original location.
Conclusion
By following this guidance, you can successfully move emails to different folders in Roundcube Webmail to keep your inbox organized and structured.
For additional assistance or if you encounter any issues, please contact our support team at support@ipserverone.com.