
Search Our Database
How to use Email Autoresponders in cPanel
Introduction
Autoresponders in cPanel automatically reply to incoming emails with a predefined message, which is useful when you are on vacation, out of the office, or need to send consistent follow-ups. Managing autoresponders involves creating them for specific email accounts, modifying their settings when circumstances change, and deleting them once they are no longer needed. This guide shows cPanel users how to create, modify, and delete an email autoresponder from the Autoresponders interface, ensuring timely and professional automatic communication throughout its lifecycle.
Prerequisite
- Access to your cPanel login page.
Step-by-Step Guide
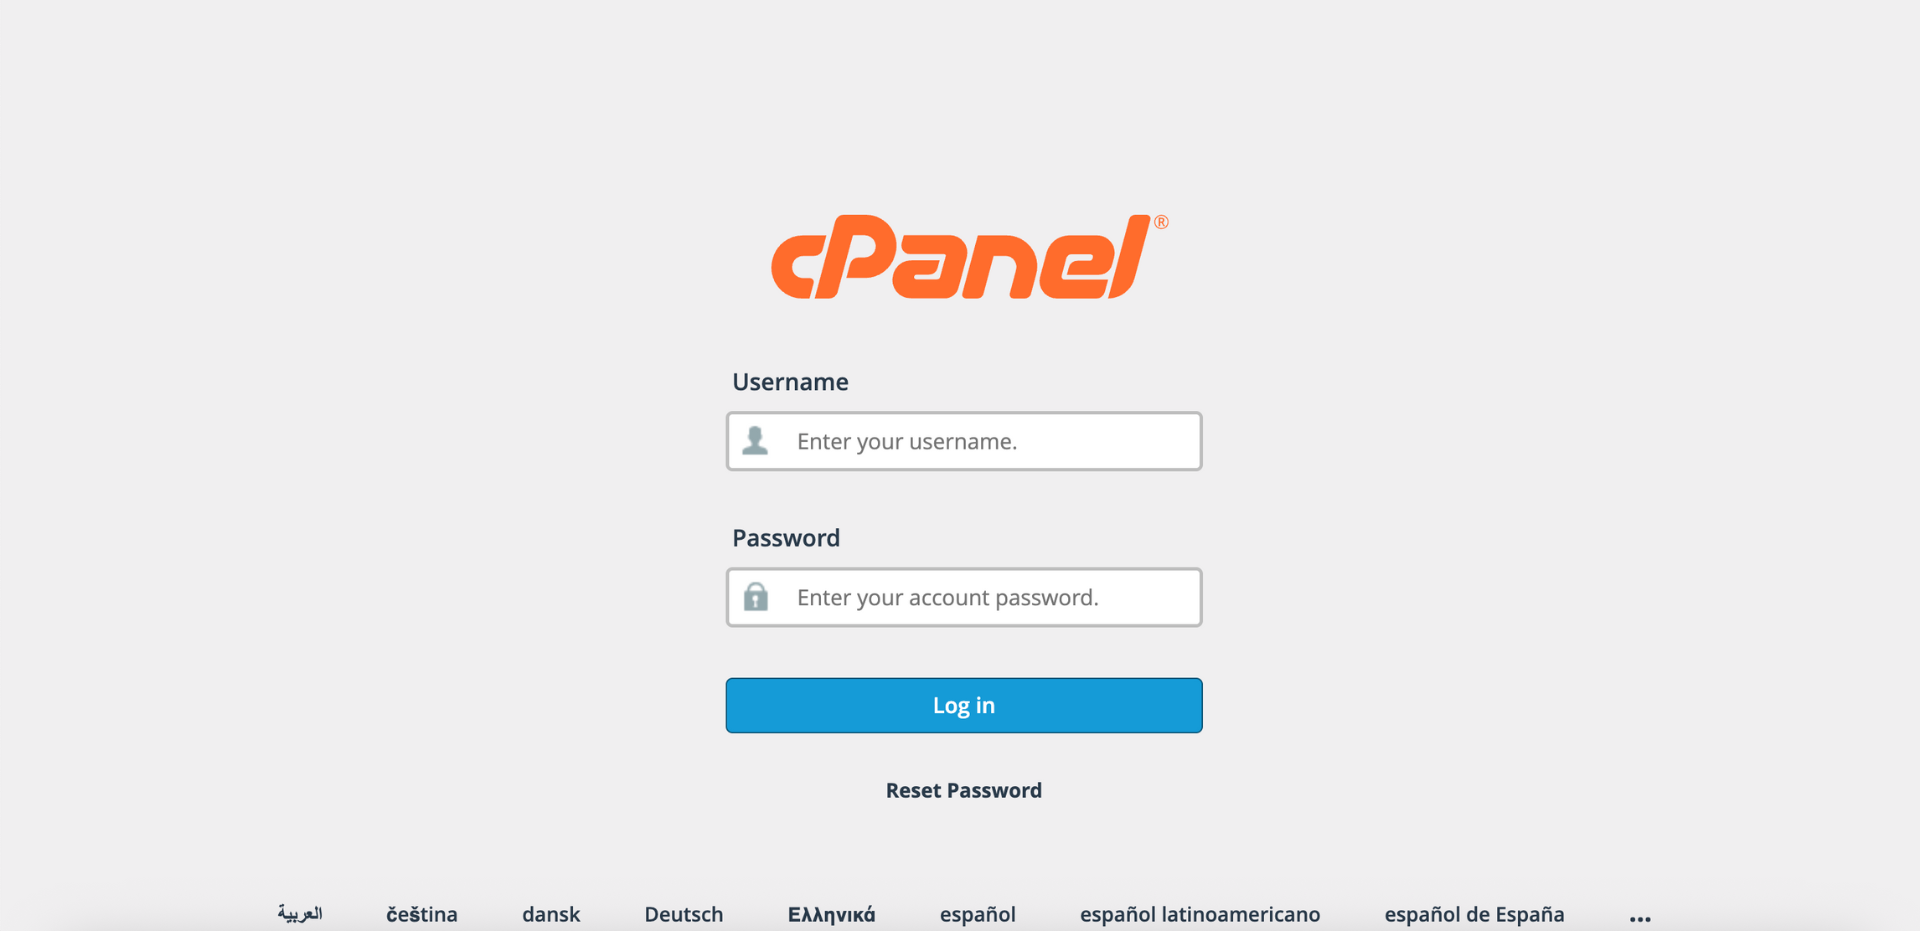
Step 1: Log in to cPanel
- Access your cPanel account using your username and password.
Step 2: Open Autoresponders
- In the Home page, under the Email section, click Autoresponders.

Step 3: Select Your Domain
- From the Managing menu on the top left side of the interface, select the domain for which you want to manage autoresponders.

- Select All Domains if you want to manage autoresponders across all of your domains.
Important Note⚠️: You can only have one autoresponder per email address.

Step 4: Create, Modify, or Delete an Autoresponder
Choose one of the following actions:
- Click Add Autoresponder.

- Fill in the required fields, click Create to save.
- Character Set: Usually utf-8 (default).
- Interval: Hours to wait before sending another autoresponse to the same email address.
- Email: The email account you want the autoresponder set for.
- From: Name that should appear in the autoresponder email.
- Subject: Subject line of your autoresponse.
- Body: Type your message. You may use HTML or plain text.
- Start: Choose whether the autoresponder starts immediately or at a future date.
- Stop: Set an optional end time for the autoresponder.

- The autoresponder will appear in the Current Autoresponders list.

- In the Current Autoresponders table, locate the autoresponder you want to edit. You can use the Search text box to find a specific autoresponder by entering a keyword and clicking Go.

- Click Edit next to the autoresponder.

- Update the settings as needed, then click Modify to apply the configuration.

- A confirmation message will appear indicating that the autoresponder has been updated. Changes take effect immediately, and the system continues delivering messages to the inbox as usual.


- In the Current Autoresponders table, click Delete next to the autoresponder you want to remove.

- review the details to ensure you are deleting the correct one and click Delete Autoresponder to confirm.

- The autoresponder will be removed from the Current Autoresponders list, and automatic replies will stop being sent.

Conclusion
By following this guidance, you can create, modify, and delete email autoresponders in cPanel. Managing autoresponders properly ensures your contacts receive timely automatic replies while preventing outdated responses from being sent once they are no longer needed.
If you encounter any issues or require further assistance, please reach out to our support team at support@ipserverone.com.
Article updated on 13 November 2026 by Johnny