
Search Our Database
How to use Email Filter in cPanel
Introduction
Email filters in cPanel let you automatically manage incoming messages for an individual email account by defining rules and actions — for example, moving emails from a certain sender into a folder, or discarding unwanted messages. This guide shows cPanel users who manage their own mailboxes how to create a new filter, modify an existing one, or remove filters that are no longer needed, all from the Email Filters interface without deleting and recreating rules.
Prerequisite
- Access to your cPanel login page.
- An active email account in your cPanel.
Step-by-Step Guide
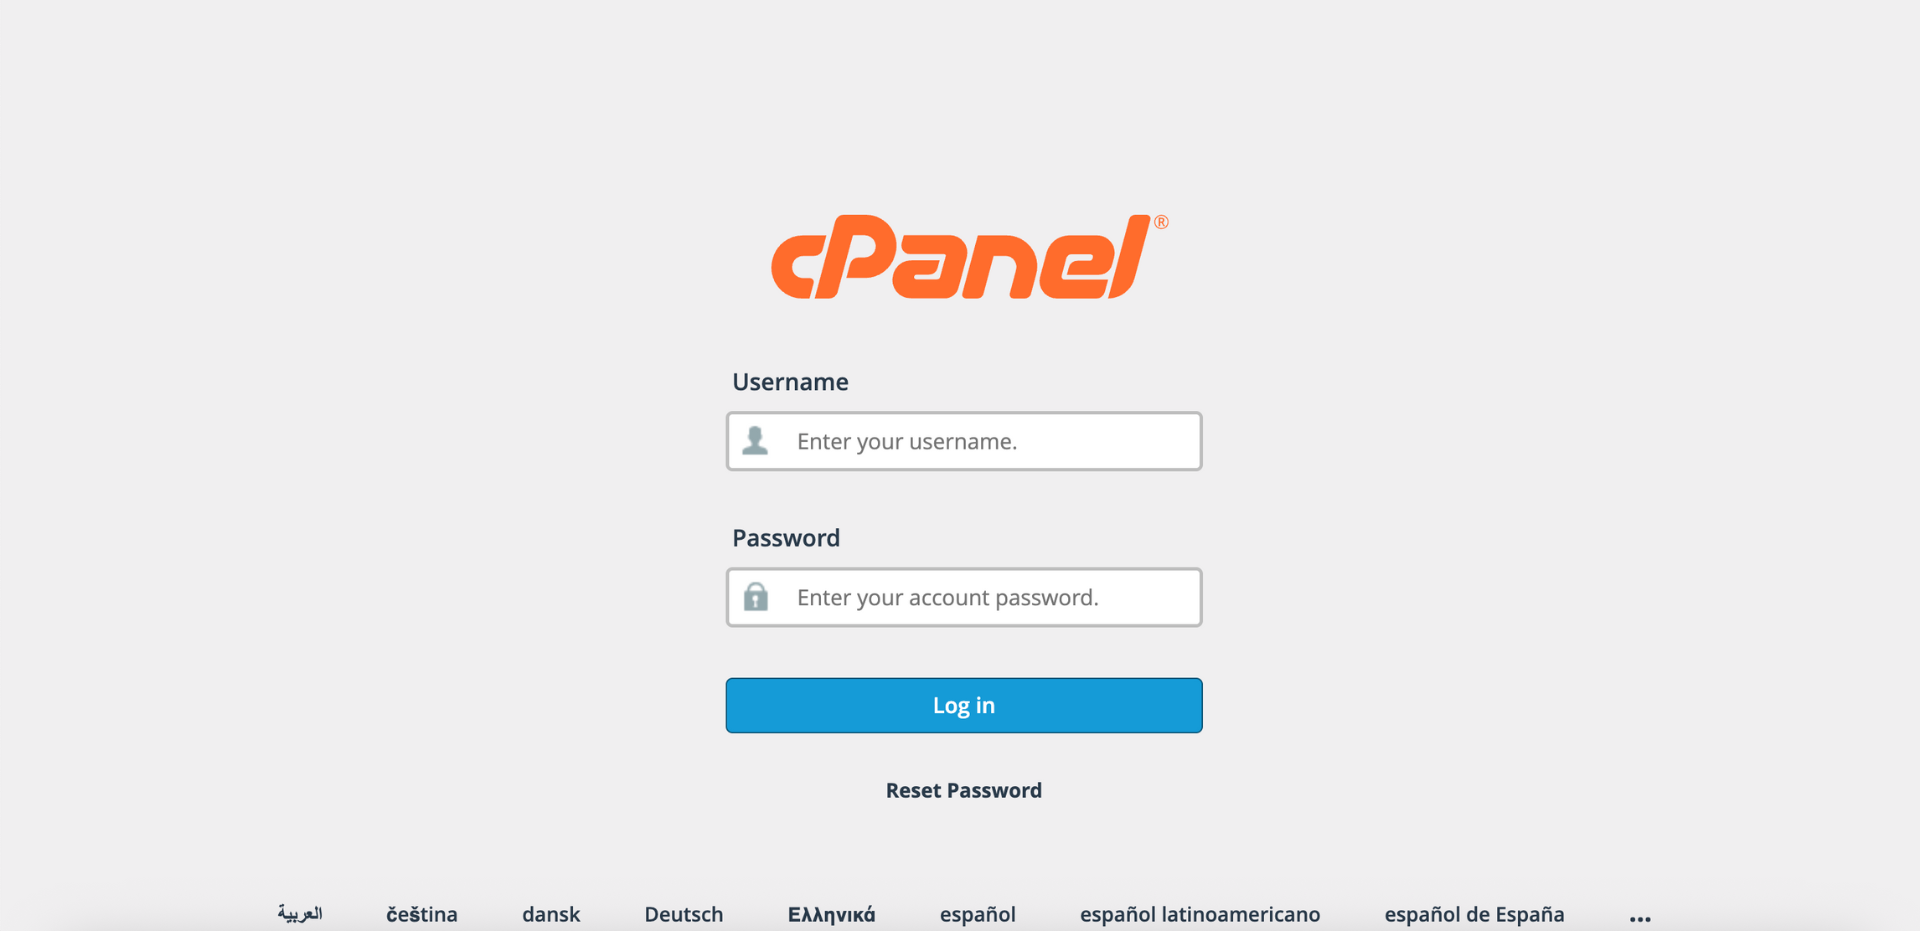
Step 1: Log in to cPanel
- Access and log in to your cPanel account using your username and password.
Step 2: Open Email Filters
- In the Home page, under Email, click Email Filters.

Step 3: Select the Email Account
- In the Filters by Users table, locate the email address you want to manage. Click Manage Filters next to that email address.

- The Current Filters table lists all existing filters for the account. Expand a section below depending on what you want to do.
- Click Create a New Filter.

- Configure the filter:
-> Filter’s Name: The label for your filter (e.g., Block Promo Emails).
-> Rules: Conditions that trigger the filter (like sender, subject, or keywords).
-> Actions: What happens when the rules match (like discard, redirect, or move email). - Each Rules and Actions field includes a dropdown menu. Click the + or – icon to add or remove rules and actions; use AND or OR to decide how multiple rules apply together. Click Create.

- In the Current Filters table, find the filter you want to modify and click Edit.

- Change the filter’s Name, Rules, or Actions as needed.

- Click Save to apply the changes.

- In the Current Filters table, find the filter you want to remove and click Delete.

- In the confirmation message, click Delete Filter to permanently remove it.

Conclusion
By following this guidance, you can create, edit, and delete email filters in cPanel to keep your inbox rules accurate and your mailbox organized. Regularly reviewing your filters helps maintain a clean and efficient email workflow.
If you encounter any issues or require further assistance, please reach out to our support team at support@ipserverone.com.
Article updated on 18 November 2026 by Johnny