
Search Our Database
How to create Spam Filter in cPanel
Introduction
cPanel’s Spam Filters feature, powered by Apache SpamAssassin, allows you to control how incoming mail is handled — from how aggressively spam is identified, to where spam is stored, to whether it is deleted automatically. Configuring these settings helps reduce unwanted spam emails, improve inbox organization, and prevent your email storage from filling up with junk. This guide walks you through how to configure Spam Filters in cPanel: enabling Apache SpamAssassin, adjusting the Spam Threshold Score, enabling and emptying the Spam Box, enabling Auto-Delete with its threshold score, and customizing individual spam test scores for advanced users.
Prerequisite
- Access to your cPanel login page.
- Apache SpamAssassin must be enabled for your account.
Tips🖊️: To whitelist or blacklist specific email addresses or domains so they always bypass or always trigger spam filtering, please refer to [How to Whitelist and Blacklist Email Addresses using Spam Filters] in cPanel instead.
Step-by-Step Guide
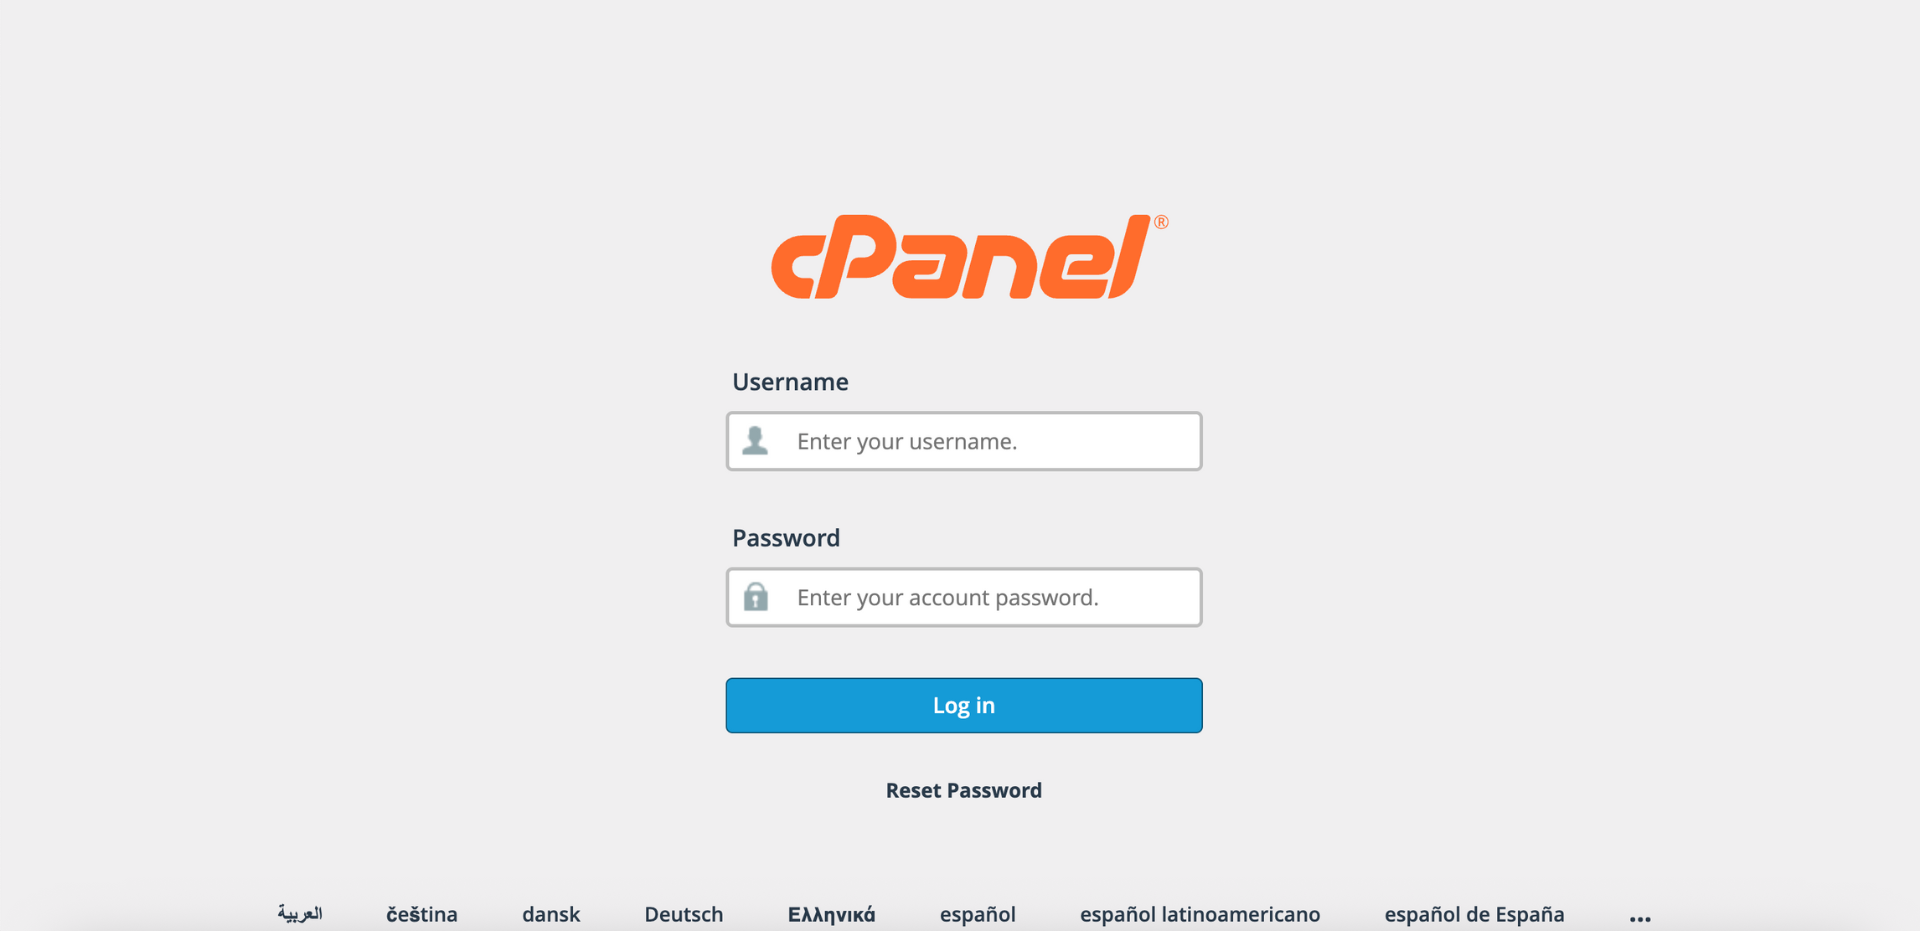
Step 1: Log in to cPanel
- Access and log in to your cPanel account using your username and password.
Step 2: Open Spam Filters
- In the Home page, under Email, click Spam Filters.

Step 3: Enable Apache SpamAssassin
- On the Spam Filters page, check if Apache SpamAssassin is enabled. This tool is required for all spam filtering settings.
- If it is disabled, you may reach out to your hosting provider and request to enable it.
The Spam Threshold Score section is located directly below the Apache SpamAssassin toggle. The score determines how aggressively Apache SpamAssassin identifies and marks emails as spam — a lower score (such as 1) is more aggressive and may label legitimate emails as spam, while a higher score (such as 10) is more passive and only flags obvious spam.
Important Note⚠️:
- Aggressive, Many False Positives (1): Most aggressive filtering that may mark many legitimate emails as spam.
- Recommended for Well-Tested Servers (4): Balanced filtering for servers with established spam patterns.
- Default (5): Standard recommended setting that balances spam detection and legitimate email delivery.
- Recommended For Internet service providers (8): More lenient filtering suitable for ISPs handling diverse email traffic.
- Passive, Only Very Obvious Spam (10): Least aggressive filtering that only marks clearly identifiable spam.
- Custom: Allows you to enter your own threshold value based on specific requirements.
Step 1: Open Spam Threshold Score Settings
- Click Spam Threshold Score.

Step 2: Select the Threshold Value
- From the drop-down menu, select your desired Spam Threshold Score value.

- For a custom value, select Custom from the menu and enter your preferred score.

Step 3: Save and Verify
- Click Update Scoring Options to save your changes.

- A pop-up message will appear to confirm that your spam threshold score has been updated.

The Move New Spam to a Separate Folder (Spam Box) section is located directly below the Spam Threshold Score section. The Spam Box automatically stores emails that Apache SpamAssassin identifies as spam, allowing you to review them before permanent deletion. Over time, this folder can accumulate messages and consume your email quota, so it should be emptied periodically.
Important Note⚠️: The Empty all Spam Box folders option deletes spam from all email addresses associated with your cPanel account.
Step 1: Enable the Spam Box
- Ensure the Spam Box toggle in this section is turned on. If it is disabled, enable it to activate the Spam Box feature.

Step 2: Open Spam Box Settings
- Click Configure Spam Box Settings.

Step 3: Empty the Spam Box
- Click Empty all Spam Box folders.

- A confirmation prompt will appear. Click Empty all Spam Box folders to proceed.

- The system will display a success message confirming the spam folders have been EMPTIED.

The Automatically Delete New Spam (Auto-Delete) section is located directly below the Spam Box section. Auto-Delete allows Apache SpamAssassin to permanently delete emails that meet or exceed a specified spam score threshold, without storing them in the Spam Box. This is useful for managing obvious spam, but must be configured carefully to avoid deleting legitimate emails.
Important Note⚠️:
- Enabling Auto-Delete will permanently delete emails that meet or exceed the Auto-Delete Threshold Score.
- Deleted messages cannot be recovered, including legitimate emails that may be incorrectly identified as spam.
- Ensure you set an appropriate threshold score to minimise the risk of losing important emails.
Step 1: Enable Auto-Delete
- Ensure the Auto-Delete toggle in this section is turned on. If it is disabled, enable it to activate the auto deletion feature.

- A pop-up message will appear confirming that Auto-Delete has been enabled.

Step 2: Open Auto-Delete Settings
- In the same section, click Configure Auto-Delete Settings.

Step 3: Adjust the Auto-Delete Threshold Score
- Enter your desired Auto-Delete Threshold Score value.
Important Note⚠️:
- The setting defaults to 5.
- A higher number will mark fewer messages as spam.
- You cannot set the score below the current Spam Threshold Score (configured in Step 4).

Step 4: Save and Verify
- Click Update Auto-Delete Score to save the changes.

- A pop-up message will appear to confirm that the Auto-Delete Threshold Score has been updated.

The Customize Spam Test Scores (Advanced) section located at bottom of the page. Apache SpamAssassin uses hundreds of individual tests to evaluate emails, and each test contributes a specific score to the overall spam calculation. By customizing these individual test scores, advanced users can fine-tune spam detection for specific scenarios. This feature is recommended for advanced users who understand spam filtering mechanics.
Important Note⚠️:
- Increasing a test score makes that particular check more influential in marking emails as spam.
- Decreasing or disabling a test score reduces its impact on spam detection.
- To disable a specific test, set its score value to 0.
Step 1: Open Additional Configurations
- Scroll down to the Additional Configurations (For Advanced Users) section. Click Show Additional Configurations to display additional settings.

Step 2: Open Calculated Spam Score Settings
- In the Calculated Spam Score Settings section, click Configure Calculated Spam Scores Settings.

Step 3: Add Test Scores
- Click Add A New “scores” Item to customize a test score.

- Select a test from the score menu drop-down and enter a new score value in the text box (values can include up to three decimal places).

Step 4: Save and Verify
- Click Update Scoring Options to save your changes.

- A pop-up message will appear to confirm that your spam test scores have been updated. The customized spam scores will appear in the Calculated Spam Score Settings section.

Conclusion
By following this guidance, you can configure Spam Filters in cPanel — from setting the Spam Threshold Score and managing the Spam Box, to enabling Auto-Delete and fine-tuning individual spam test scores. For optimal results, regularly review your spam filter settings, especially if Auto-Delete is enabled, to prevent legitimate emails from being inadvertently filtered.
For additional assistance or if you encounter any issues, please contact our support team at support@ipserverone.com.
Article updated on 12 November 2026 by Johnny